Lessons Learned from Years of Soil Triaxial Testing: Tips for Accurate and Reliable Results
Triaxial testing rewards boring consistency. Every quiet plot and tidy c–φ set I’ve trusted came from the same four disciplines: prep, saturation, control, and QA. Here’s the field guide I wish I’d had on day one.

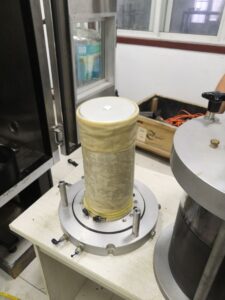
Get the Specimen Right: Preparation Wins Tests
If the specimen is wrong, the device can’t save you.
Build rules that actually matter
- Targets first: set ρₙ (dry density) or e₀ and w% before touching the mold.
- Mixing: for fines, premix water and rest sealed 12–24 h1 for suction equilibrium.
- Compaction: 3–7 equal lifts (±5% thickness). Scarify between lifts for clays; avoid segregation for sands.
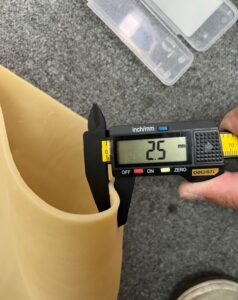
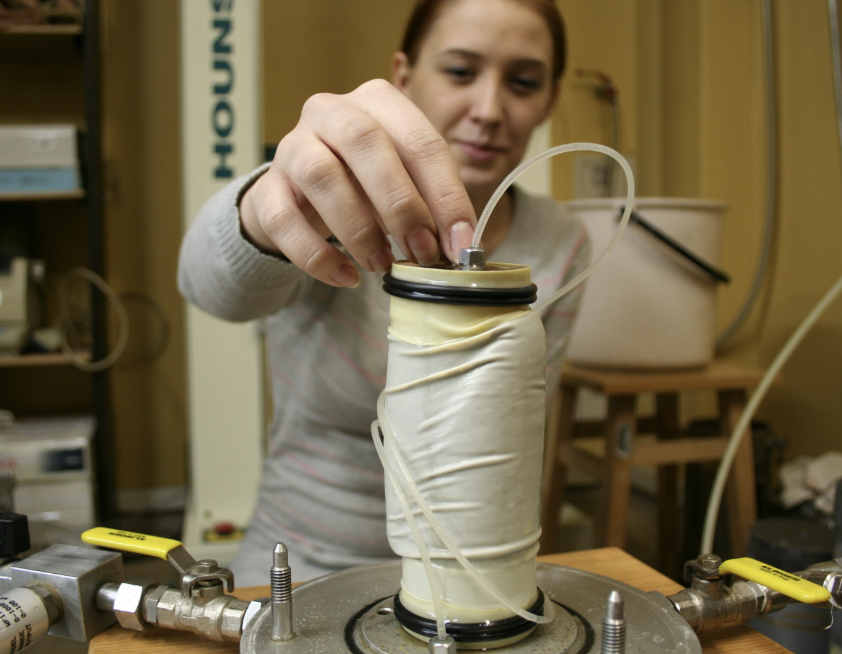
- Geometry: H/D = 2.0 ± 0.1; end faces parallel (straightedge gap < 0.05 mm).
- Membrane fit: 1–3% undersized I.D. for a wrinkle-free sleeve; deburr cap edges; always use fresh O-rings.
- Leak pre-check: apply 10–20 kPa2 cell pressure, hold 2–5 min → Δp ≈ 0.
60-second acceptance (printable)
| Check | Target | Pass Cue |
|---|---|---|
| Density/void ratio | Plan ±1–2% | Mass/volume agree |
| Lift uniformity | ±5% | Even scribe marks |
| Ends | Tip: When overlays won’t overlay, don’t blame the soil. Recheck prep, ends, and membrane fit first. |
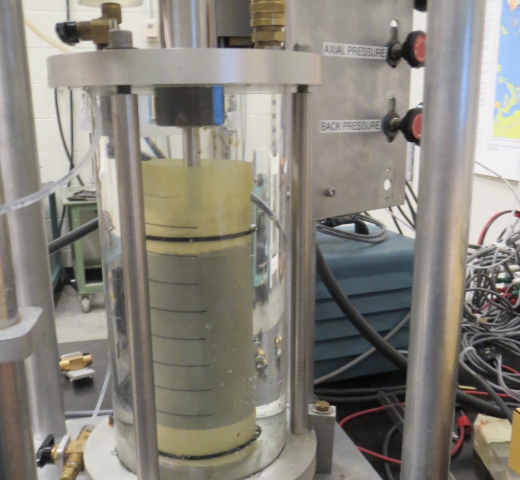
Saturate Like a Pro: B-Value or Bust
“Almost saturated” is a fancy way to say “biased.” Make effective stresses actually effective.
Clean saturation sequence (CU/CD)3
- CO₂ flush stones/lines → de-aired water fill.
- Step back pressure in 25–100 kPa increments while keeping σ′ ≈ 2–5 kPa (adjust cell pressure).
- At each step, pause until volume drift ~0.
- Run a crisp B-check (two pulses of +Δσ₃ ≈ 20 kPa). Values should match within a few thousandths.
Targets & triage
| B-value | What it means | Action |
|---|---|---|
| ≥ 0.98 | Fully saturated | Proceed |
| 0.95–0.98 | Acceptable with note | Proceed, watch Δu |
| 0.90–0.95 | Air somewhere | Extend holds; flush stones; re-seat O-rings |
| your acceptance band → check B-value, leaks, rate, area before keeping or discarding (document either way). |
Fast symptom → fix table
| Symptom | Likely Cause | Practical Fix |
|---|---|---|
| B stuck at 0.92–0.94 | Air in lines/stone | Back-flush; new O-rings; extend holds |
| Δu spikes at steady rate | Controller overshoot | Ramp limits; tune PID; slow slightly |
| “Too-stiff” early q–εₐ | Thick/loose membrane; wrong A(ε) | Snug/thinner sleeve; verify area correction |
| CD volume stair-steps | Drain restriction / low sampling | Clear lines; increase log rate |
| Scatter across “identical” tests | Prep variation; rate drift | Standardize lifts/ends; log setpoint≍achieved |
One-page bench card (paste to HMI)
- Specimen: ρ target ±1–2%, lifts ±5%, ends flat, membrane snug, leak hold OK.
- Saturation: stepped BP, σ′≈2–5 kPa, B ≥ 0.95–0.98 (twice).
- Control: confirm rate vs CU/CD intent; ramp limits on; setpoint≍achieved.
- Analysis: consistent failure rule; area correction applied; p′–q regression; c′–φ′ reported with units.
- Archive: raw + processed + calibration files + notes.
Final Thought
Triaxial testing doesn’t reward heroics; it rewards habits. Prep the specimen like it matters (because it does), chase B-value like your c–φ depends on it (because it does), control paths and rates with intent, and make QA so quick you never skip it. Do that, and your plots get quiet, your parameters get trustworthy, and your re-tests get rare.
-
Understanding the significance of this step can enhance your compaction techniques and improve material performance. ↩
-
Exploring this topic will provide insights into effective leak testing methods and ensure better device reliability. ↩
-
Understanding the clean saturation sequence is crucial for achieving accurate effective stress results in testing. ↩