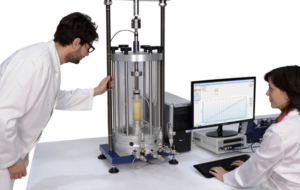
Choosing the Right Miniature Penetrometer for Your Triaxial Testing System
I’ve seen great penetrometers deliver bad data—usually because they were the right tool in the wrong setup. Let’s pick yours deliberately so every penetration trace actually means something.
Understanding Load Capacity and Soil Type
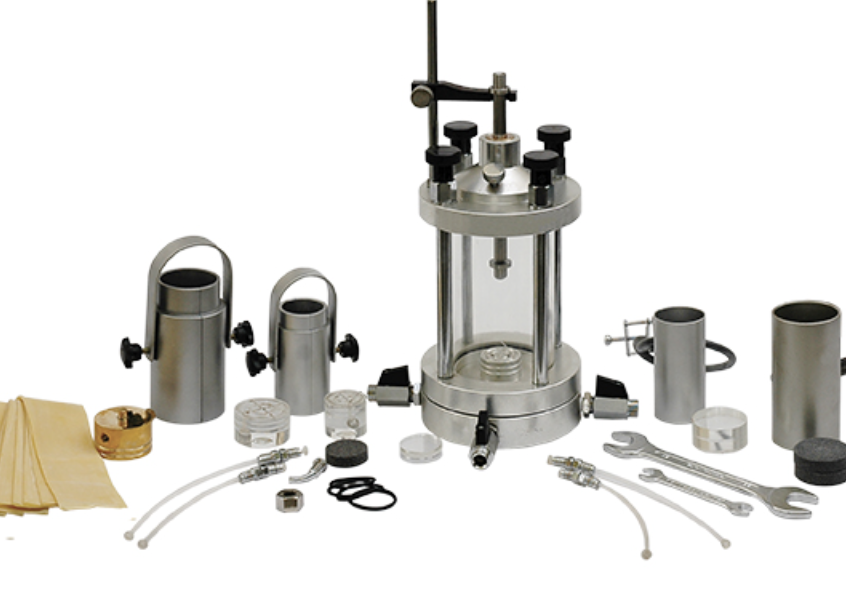
Before brands and brochures, match capacity to the materials you test and the penetration style you use.
Quick rule: Choose a capacity that keeps your peak loads in the 30–70% of full scale (FS) range for most specimens. That’s where sensors are typically most linear with the best signal-to-noise.
Soil/type heuristics
| Material | Typical state | Tip suggestion | Capacity guideline |
|---|---|---|---|
| Very soft clays / peat | Saturated, low su | Small flat/cylindrical tip | 5–20 N FS |
| Soft–medium clays, silts | CU/CD specimens | Small cone (steeper included angle) | 20–50 N FS |
| Fine sands (dense) | Drained, dilation | Polished cone, low roughness | 50–200 N FS |
| Cemented soils / weak rocklike | Bonded, brittle | Hardened cone with low wear | 200–500 N FS |
Don’t oversize by habit. A 500 N penetrometer on soft clay will park you in the lowest 5–10% of FS—hello quantization noise and drift. If you test across a wide spectrum, consider two swappable heads (low and high capacity) or a dual-range device.
Penetration rate matters. Faster rates in fine soils increase rate-dependent strength and friction heat; you may need a stiffer frame and higher capacity margin to keep the signal smooth.
Ensuring Mechanical and System Compatibility
A perfect sensor is useless if it doesn’t fit—or if it fights your triaxial hardware.
Mechanical fit checklist
- Mounting: Does the shank/adapter match your crosshead or hand jig? (e.g., M6/M8, 1/4-20, custom plate)
- Clearance: Can the probe reach the central test zone1 without touching membranes, stones, or caps?
- Alignment: Is there a guide bushing or sleeve to keep the axis true? Wobble = side friction.
- Tip exchange: Can you swap tips (cone/flat) without re-calibrating the entire device?
System integration checklist
- Signal type: Analog (mV/V load cell), 0–10 V, 4–20 mA, or digital (USB/RS-485/CAN)2?
- DAQ bandwidth: Sampling rate ≥ 10× your penetration frequency content (often 100–500 Hz suffices for quasi-static).
- Time base: Can you synchronize penetrometer readings with axial load, pore pressure, and displacement?
- Grounding & shielding: Twisted pair + shield to avoid noise from pressure controllers and motors.
- Cable strategy: Flex-rated cable with strain relief; penetrometers hate kinked leads.
Sanity test: perform a dry run in air—full travel at test rate—while logging. If the signal shows periodic noise or drift, fix wiring/grounding before touching soil.
Selecting the Right Sensor for Data Accuracy
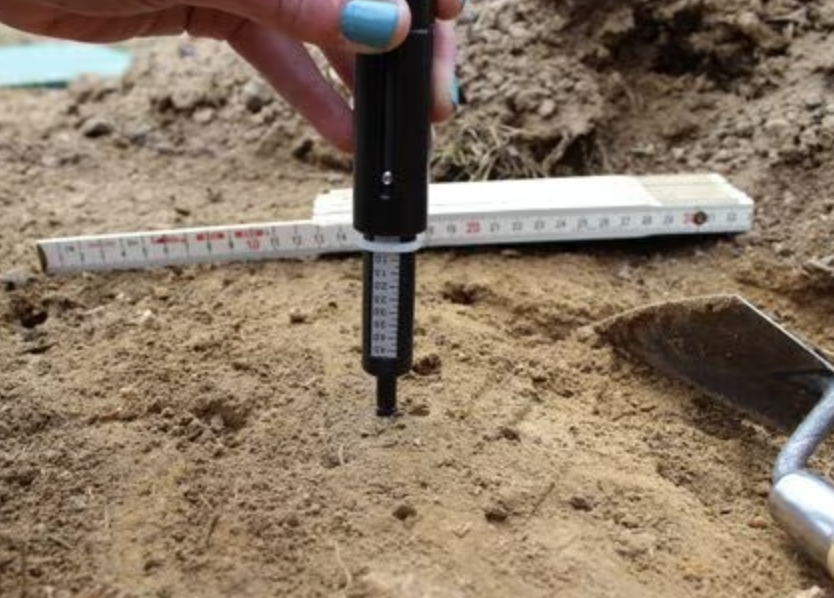
Accuracy is not a single number; it’s an ecosystem of resolution, linearity, hysteresis, creep, and thermal behavior3.
What to ask the vendor (and yourself)
- Accuracy & linearity: Spec as %FS; look for ≤ ±0.25% FS (better if you can).
- Resolution: With your DAQ gain, do you get ≥ 12–14 effective bits across the active range?
- Hysteresis: ≤ ±0.1–0.2% FS keeps up/down passes aligned.
- Creep/relaxation: At a constant load, how much does the output drift over 60–120 s?
- Thermal coefficient: Output change per °C. Small is good; software compensation4 is better.
- Tip wear & area factor: For cones, a polished flat from wear changes projected area. Plan inspection intervals.
Sensor types at a glance
| Sensor | Pros | Watchouts | Best use |
|---|---|---|---|
| Foil strain-gauge load cell | Mature, robust, wide capacity range | Thermal drift without comp; needs stable excitation | General lab use |
| MEMS load cell | Compact, can be digital | Overload sensitivity, limited capacities | Miniature rigs, integration ease |
| Capacitive/Optical micro-force | High resolution, low noise | Cost, environment sensitivity | Very soft soils, research focus |
Trace quality tips
- Keep the electrical range healthy: avoid running in the lowest 5% FS.
- Use anti-alias filters; log raw + filtered if possible.
- Record tip ID and area factor in the file header—future you will need it.
Prioritizing Calibration and Long-Term Stability
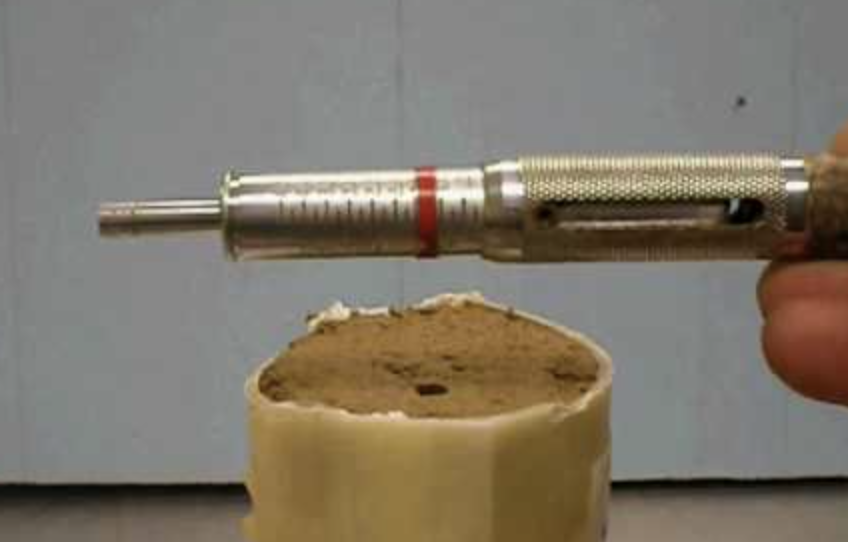
Your penetrometer is only as trustworthy as its calibration discipline5.
Per-session routine (5–8 minutes)
- Warm-up electronics (5–10 min powered).
- Zero in test posture (gravity orientation matters).
- Two-point check with a miniature reference weight/spring.
- Tip inspection under 10×; log area factor.
- Environment note: room/cell temperature (and humidity if tracked).
Periodic calibration (lab schedule)
| Interval | Action | Why |
|---|---|---|
| Monthly | In-house multi-point check (e.g., 0/25/50/75% FS) | Catch drift early |
| 6–12 months | Accredited calibration (traceable) | Audit trail & accuracy |
| After overload | Immediate check or factory service | Protects against hidden damage |
| After tip swap | Quick two-point check | Area/contact changes response |
Stability watchlist
- Thermal drift: Keep tests within a ±1 °C band or apply compensation.
- Cable aging: Replace flex leads on a schedule; micro-breaks cause noise.
- Fixture wear: Loose guides = lateral load; re-bush before you see it in data.
Golden rule: If your duplicate penetrations in fresh zones don’t match within your acceptance band, don’t average—find the cause.
Quick Buyer’s Matrix (Print This)
| Decision axis | Option A | Option B | Choose when… |
|---|---|---|---|
| Capacity | 20–50 N | 100–200 N | Soft clays vs dense sand/cemented soils |
| Signal | Analog mV/V | Digital (USB/RS-485)6 | You already have bridge DAQ vs plug-and-play |
| Tips | Cone only | Cone + flat set | You test variable materials |
| Alignment | Hand-held | Guided sleeve/jig | You need repeatability |
| Calibration | In-house only | In-house + accredited | QA/traceability needs |
Acceptance Test You Should Run Before Signing Off
1) Noise floor: log at zero load, 60 s.
2) Linearity: 0/25/50/75/100% FS—fit and residuals.
3) Creep: hold at ~50% FS, 120 s; record drift.
4) Thermal: +3 °C step (or wait for warm-up); check zero shift.
5) System sync: penetrate a dummy at test rate; confirm timestamps align with frame/pore pressure.
Pass these, and you’ll likely pass real soils.
Conclusion
Pick capacity for the soils you truly test, not the ones you fear. Make sure the mechanics fit your cell, the signals fit your DAQ, and the sensor’s accuracy survives heat and time. Then protect it with calibration habits. Do that, and every miniature penetration tells the same clear story—no translation needed.
-
Understanding the central test zone is crucial for ensuring accurate measurements and effective sensor placement. ↩
-
Exploring the benefits of digital signal types can enhance your system integration and improve data accuracy. ↩
-
Understanding thermal behavior is crucial for ensuring accurate measurements under varying temperatures. ↩
-
Exploring software compensation can reveal advanced techniques to enhance accuracy and stability in measurements. ↩
-
Understanding calibration discipline is crucial for ensuring accurate measurements in testing equipment. ↩
-
Explore this link to understand how Digital signals enhance data accuracy and reliability in various applications. ↩


