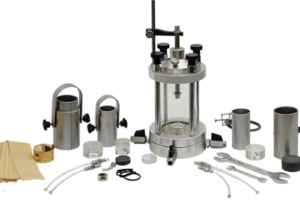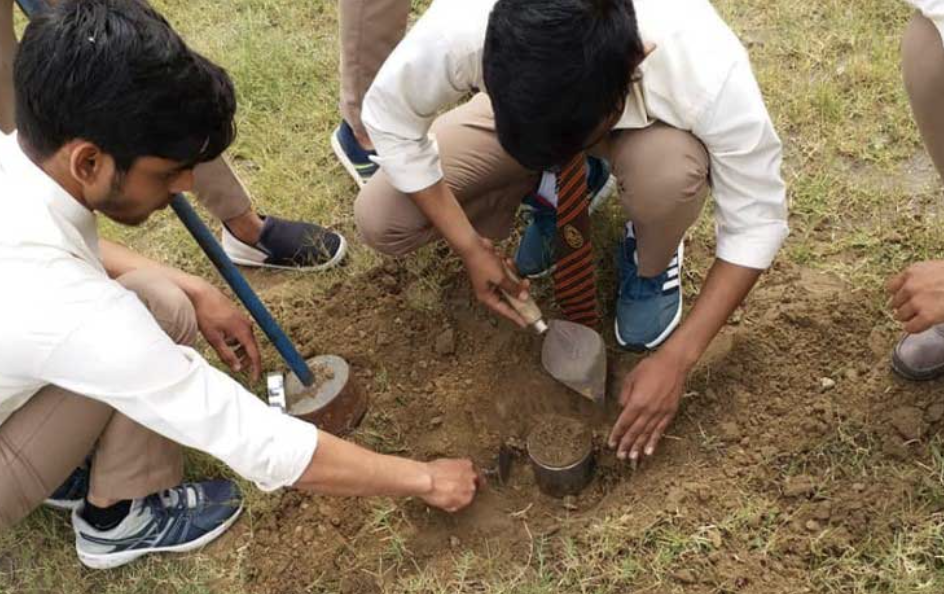
Common Mistakes When Using a Ring Cutter in Soil Testing (And How to Avoid Them)
Using a ring cutter should make specimen prep faster, cleaner, and more repeatable. Yet small mistakes—tilt, over-rotation, rushed ejection—quickly turn into noisy B-values and bent stress paths. Here’s a practical guide to the pitfalls and how to dodge them.
What Happens If You Insert the Ring Cutter Incorrectly?
Typical errors
- Tilting / misalignment: entering the block at an angle creates tapered or oval1 specimens.
- “Screwing” the ring like a tap: continuous rotation smears clays, alters fabric, and lowers measured strength.
- Forcing through coarse grains: drives shear planes and micro-cracks.
Consequences
- Cross-section error → wrong deviator stress.
- Fabric disturbance → depressed B-values, laggy pore pressure.
- More end trimming to “rescue” shape → extra disturbance.
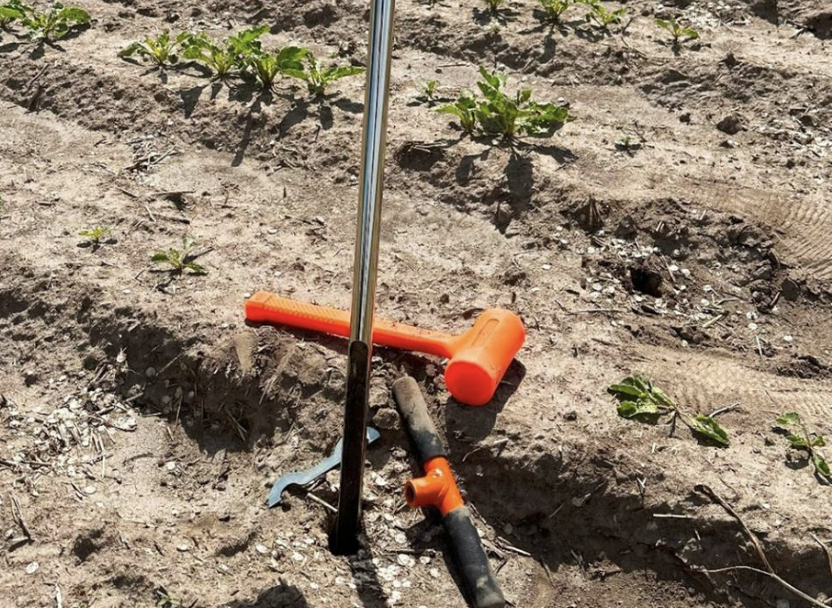
Do it right
- Press—don’t screw. Use steady axial pressure2 with small oscillations (±10–20°).
- Keep the ring vertical using a guide collar/fixture.
- If resistance rises sharply (coarse grains), stop and reconsider diameter or method.
- Target a sharp, single-bevel edge (≈ 20–30°) and a mirror-polished bore.
Why Does Uneven Extraction Damage Samples?
What goes wrong
- Pulling the specimen from the top (tension cracks).
- Uneven plunger3 contact—pushes one side first.
- Ejecting too fast or without releasing side friction.
Symptoms
- Radial cracks, split edges, or surface tearing.
- Height/diameter scatter between repeats.
- Membrane tears at installation (hidden edge damage).
Best practice
- Undercut gently around the outside with a wire (soft clays) to relieve side friction.
- Use a matched plunger (face flush with the ring ID); push evenly, slowly.
- Support the pedestal/porous stone; never pull from the top cap.
- Lightly moisten contact surfaces with de-aired water4 (no oils).

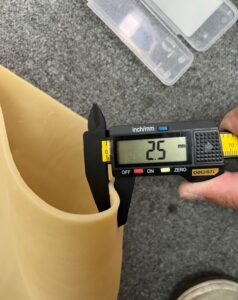
What Problems Arise from Poor Sample Trimming?
Common trimming mistakes
- Ends not parallel; crowned or cupped surfaces.
- Height off-spec (H/D far from ≈ 2.0).
- Rough, torn sides from dull tools.
Impact on accuracy
- End non-parallelism5 introduces bending moments → distorted stress–strain curve.
- Height/diameter errors6 corrupt area corrections and strength parameters.
- Rough sides increase friction with the membrane → nonuniform deformation.
| Tolerance targets (typical lab practice) | Parameter | Recommended Target |
|---|---|---|
| Diameter (D) | within ±0.02–0.10 mm | |
| End non-parallelism | ≤0.02–0.05 mm across diameter | |
| Height (H) | H = 2D ± 1–2 mm |
Trim correctly
- Use piano wire/wire saw with a straightedge jig; verify parallelism with a feeler gauge.
- Finish with fine abrasive on a flat plate sparingly (avoid over-shortening).
- Measure D at three axes; record H, mass for density/area corrections.
Why Is Ring Cutter Maintenance Often Overlooked?
A ring that looks fine can be microscopically dull or nicked—enough to raise friction and smear clay.
Neglected items
- Edge dulling / micro-chips after a few dozen cuts.
- Scratches inside the bore (sand grains, mishandling).
- Corrosion from poor drying.
- Unprotected storage → dropped edges, bent rims.
Preventive care
- Inspect before each use under strong light; feel the bevel with a fingernail.
- Re-hone bevel (20–30°) at first sign of drag; retire chipped edges.
- Keep the bore mirror-smooth; polish out scratches.
- Rinse with de-aired water, dry fully; avoid solvents that craze plastics nearby.
- Store in a padded sleeve with an edge guard; label size/ID.
| Simple PM schedule | Interval | Action |
|---|---|---|
| Daily | Visual edge/bore check; rinse & dry | |
| Weekly | Measure a gauge plug (ID check); inspect rim roundness | |
| Monthly | Light re-hone if needed; update tool log |
Quick Do / Don’t (Pin to the bench)
Do
- Press with small oscillations; keep vertical.
- Undercut soft clays7 before ejection.
- Use a matched plunger; extract slowly and evenly.
- Trim ends parallel; verify H/D; log dimensions.
- Protect and re-hone the edge regularly.
Don’t
- Twist like a drill or force through coarse grains.
- Pull specimens from the top.
- Over-trim to fix bad geometry8.
- Use oils on latex contact surfaces.
- Store rings unprotected.
Troubleshooting Matrix
| Symptom | Likely Cause | Fast Fix |
|---|---|---|
| Tapered/oval specimens | Tilted entry | Use guide collar; slow, vertical insertion |
| Ragged sides, smear zones | Dull/chipped bevel | Re-hone/replace; reduce oscillation angle |
| Cracks after extraction | Pulled from top; uneven plunger | Undercut; use matched plunger; slower push |
| Low, scattered B-values | Disturbance / trapped air | Improve cutting & trimming; bottom-up flood |
| Membrane tears at install | Nicked rim / rough sides | Round/polish rim; refine trimming finish |
Conclusion
Accurate triaxial data starts with disciplined ring-cutter technique: vertical entry, gentle extraction, precise trimming, and a well-maintained tool. Fix these small habits and you’ll see the payoff—higher B-values, cleaner pore-pressure traces, and tighter, more repeatable strength parameters.
-
Understanding the causes of tapered or oval specimens can help improve testing accuracy and specimen quality. ↩
-
Learning the correct application of steady axial pressure is crucial for achieving reliable and consistent test results. ↩
-
Understanding the impact of uneven plunger contact can help improve extraction techniques and reduce specimen damage. ↩
-
Exploring the role of de-aired water can enhance your knowledge of best practices in specimen preparation and improve outcomes. ↩
-
Understanding end non-parallelism is crucial for improving machining accuracy and preventing costly errors. ↩
-
Exploring height/diameter errors can help you enhance your machining processes and ensure better product quality. ↩
-
Exploring this resource will provide you with expert techniques and tips for effectively handling soft clays. ↩
-
This link will guide you on correcting geometry issues in pottery, ensuring your pieces maintain their intended design. ↩