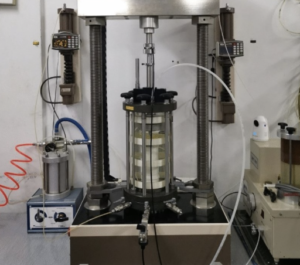
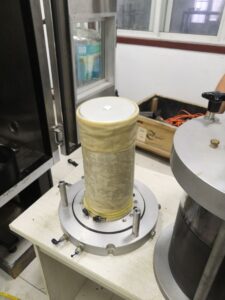
Step-by-Step Guide: Using a Triaxial Saturator for Clay and Sand Samples
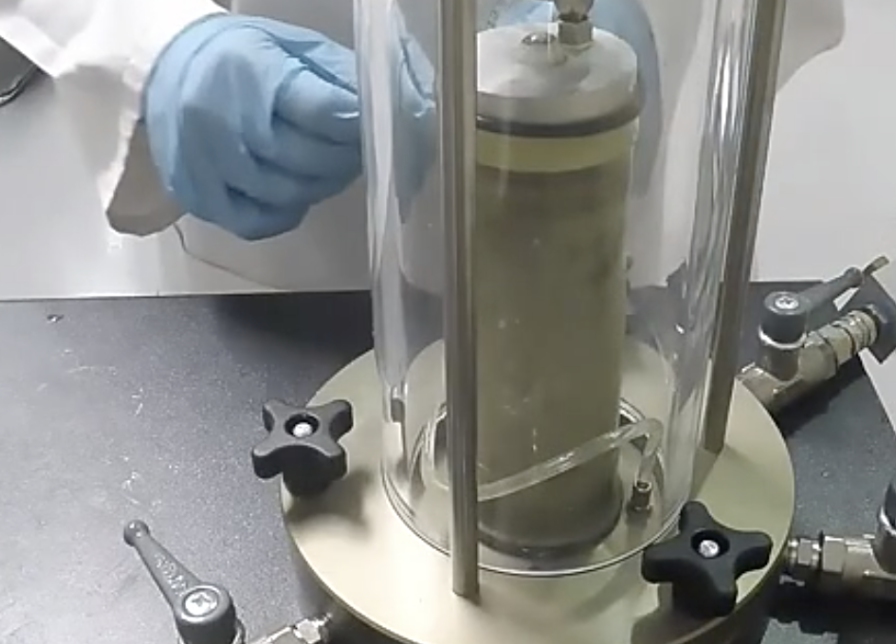
I’ve learned this the hard way: good saturation makes bad data disappear. Clay or sand—follow a calm, repeatable routine.
Quick takeaway: Prepare clean specimens, remove air with CO₂ and de-aired water, raise back pressure in steps while keeping effective stress tiny, and watch B-value. Clay needs patience; sand needs careful flow.
Let’s walk through prep, clay steps, sand differences, and why B-value rules the process.
How Do You Prepare Clay and Sand Samples Before Saturation?
Good prep saves hours later. I keep it simple, clean, and the same every time.
In short: Trim true, check membranes and porous stones1, use CO₂ + de-aired water, verify valves, and log dimensions, mass, and moisture.
I still remember a soft clay that kept “leaking” in the data. The real leak was in our routine: a tired porous stone and one careless O-ring. After we fixed both, saturation flew. Since then, I run a quiet checklist2 before any back pressure. It’s boring. It works.
What to prepare (side-by-side)
| Item | Clay | Sand |
|---|---|---|
| Trimming | Sharp wire saw; smooth ends | Use split mold or pluviation |
| Porous stones | Re-boil, back-flush | Same, pick higher k if possible |
| Filter paper | Often used to speed drainage | Usually not needed |
| Membrane & O-rings | Inspect, replace early | Same; avoid nicks |
| Fluids | CO₂ then de-aired water | CO₂ optional; de-aired water essential |
| Leak test | Low confining hold test | Same hold test |
| Logs | Dimensions, mass, w% | Relative density / void ratio |
Prep flow I trust
- Inspect & clean: stones, caps, lines. Porous stone care
- CO₂ flush → de-aired water: purge air from voids. De-air routine
- Membrane check: no whitening or pinholes. Seal checklist
- Plumb valves: confirm upflow path is clear. Valve map
- Low-pressure hold: 10–20 kPa for 5–10 min; watch drift. Hold script
What Steps Are Involved in Saturating Clay Samples?
Clay rewards patience. Let water replace air slowly, with tiny effective stress and steady logs.
Short answer: Apply small confining pressure, introduce back pressure in steps, pause to equalize, verify B-value, then move to consolidation.
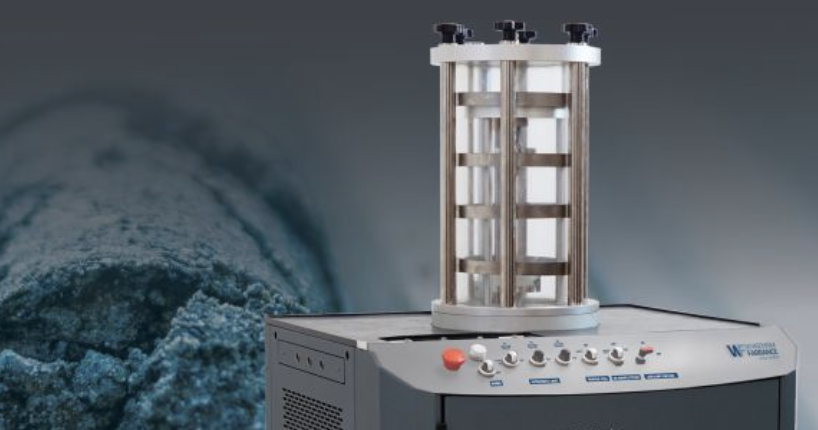
Here’s my clay rhythm: I keep effective stress near zero3 (about 2–5 kPa), add back pressure in 50–100 kPa steps, and let the specimen “breathe.” I note time-to-B and volume drift4 during short holds. When B ≥ 0.95 (or your lab’s target), saturation is usually trustworthy. If it stalls, I check stones, lines, and the membrane before blaming the soil.
A calm, step-by-step route
- Seat the specimen with ~10–20 kPa cell pressure; check for leaks.
- CO₂ then de-aired water through the specimen (slow).
- Start back pressure at ~50–100 kPa; reduce cell pressure to keep σ′ ≈ 2–5 kPa.
- Pause & equalize 10–30 min; log ΔV and pore pressure.
- Increase back pressure another 50–100 kPa; repeat equalization.
- Run B-check: apply a small cell pressure pulse; compute Δu/Δσ₃.
- If B low, hold longer or re-flush lines; inspect stones.
- At target B, proceed to consolidation stage.
Handy targets & notes (clay)
| Parameter | Typical target / tip |
|---|---|
| Effective stress during saturation | 2–5 kPa (avoid swelling or damage) |
| Back pressure ceiling | 300–600 kPa (depends on system & safety) |
| B-value target | ≥ 0.95 common; ≥ 0.98 for sensitive work |
| Equalization pauses | Longer for low-k clays |
| Troubleshooting | Check stones, air traps, valve O-rings |
Tools I keep nearby: air-free burette, fine bleed valve, spare O-rings. Templates: B-ramp planner worksheet • Saturation log sheet.
How Is Sand Saturation Different from Clay?
Sand wants flow, not long waits. Think upflow, gentle gradients, and minimal air entrapment.
Bottom line: Use upward flow, maybe a brief vacuum assist, keep gradients small, and avoid pre-shearing the specimen.
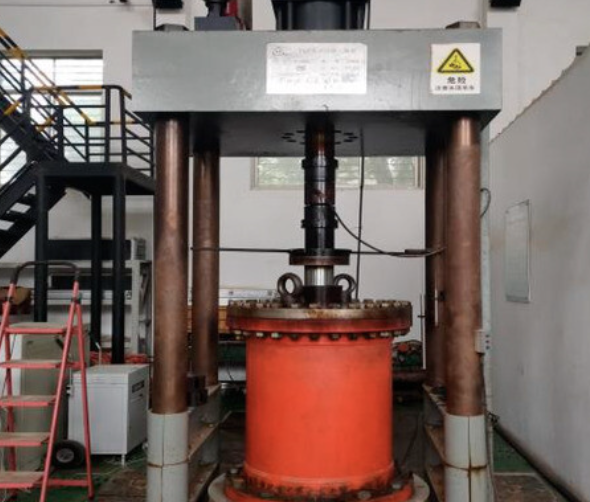
With sand, I focus on pathways5. Trapped bubbles love dead ends. I plumb for upflow, remove high points in tubing, and—if needed—use a short vacuum step with the cell sealed, then back-fill with de-aired water. After that, I raise back pressure in smaller jumps than with clay. The goal: saturate pores6 without rearranging the fabric.
Sand-focused routine
- Build the specimen by pluviation or moist tamping; cap quickly.
- Upward seepage with de-aired water at low head.
- Optional gentle vacuum (system-rated) to pull residual air.
- Step back pressure in 25–50 kPa increments; keep σ′ tiny.
- Short equalization holds—sands respond faster than clays.
- B-check; aim high, but expect slightly lower B for dense sands.
Clay vs. sand: quick contrasts
| Aspect | Clay | Sand |
|---|---|---|
| Dominant control | Time (low k) | Path (flow paths, air traps) |
| Increment size | 50–100 kPa | 25–50 kPa |
| Equalization | Longer | Shorter |
| Risk | Swell/structure damage | Fabric disturbance / piping |
| Extra tricks | Filter paper | Upflow, gentle gradient, vacuum assist |
Watchouts: avoid hydraulic gradients that cause piping; clamp fixtures gently to avoid membrane scuffing. References: Upflow plumbing guide • Vacuum-assist notes brief.
Why Is Monitoring B-Value Important During Saturation?
B-value tells you if pore space is water-filled. High B means your effective stress picture is real, not fiction.
Core idea: B = Δu / Δσ₃ under a small cell pressure pulse. When B is high, the specimen is fully saturated and test results are trustworthy.
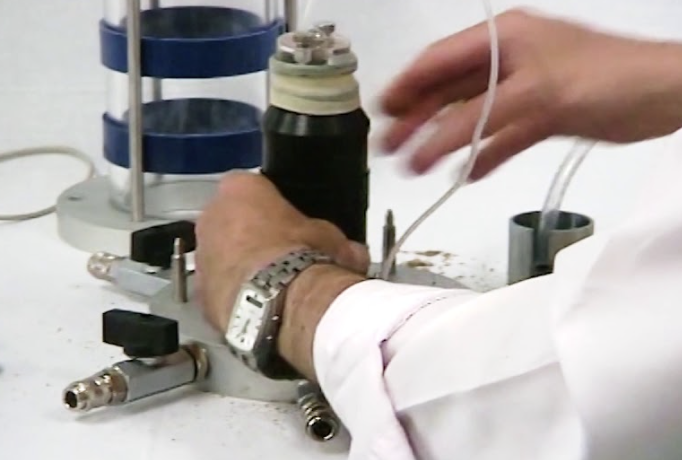
I treat B like a traffic light7. Green (≥ 0.95)—proceed to consolidation and shearing. Yellow (0.90–0.95)—hold and re-check lines; you might scrape by, but why risk it? Red (< 0.90)—air remains; fix the process. Also, watch the trend8: if B climbs with each hold, you’re on track. If it stalls, suspect stones, lines, or a tiny leak at the cap.
Simple B-check routine
- Apply a small Δσ₃ (e.g., +20 kPa).
- Record immediate Δu.
- Compute B = Δu/Δσ₃.
- Repeat to confirm stability.
Target bands & actions
| B-range | Meaning | Action |
|---|---|---|
| ≥ 0.98 | Excellent | Move ahead with confidence |
| 0.95–0.98 | Good | OK to proceed; note in log |
| 0.90–0.95 | Borderline | Extend hold; inspect stones/lines |
| < 0.90 | Inadequate | Re-saturate; check for leaks, re-flush |
Pro tips: log time-to-B, hold drift, and a photo of valve settings. Future you will thank you. Quick tools: B-tracker template • Pulse test card one-pager.
Conclusion
Keep saturation slow, steady, and logged; clay needs patience, sand needs flow—B-value tells you when to move on.
-
Explore this link to learn effective techniques for using porous stones, ensuring optimal results in your experiments. ↩
-
Discover how a checklist can streamline your experimental process, enhancing efficiency and accuracy. ↩
-
Understanding effective stress is crucial for soil stability and behavior, making this resource invaluable for your research. ↩
-
Exploring this topic will enhance your knowledge of soil testing methods and improve your experimental accuracy. ↩
-
Exploring this link will provide you with innovative methods and insights on optimizing sand pathways. ↩
-
This resource will guide you on the best practices for pore saturation, ensuring structural integrity. ↩
-
Exploring the traffic light system can enhance your project management skills and decision-making. ↩
-
Understanding the concept of trend is crucial for effective process management and improvement. ↩

