Top Mistakes to Avoid When Using a Miniature Penetrometer in Triaxial Tests
Miniature penetrometers are brilliant for quick strength profiling inside a triaxial specimen, but they’re unforgiving. I’ve seen tiny slips balloon into bad curves, retests, and confused design meetings. Here’s a clear, lab-ready guide to what goes wrong—and how to keep your data clean.
Ignoring Calibration Before Each Test
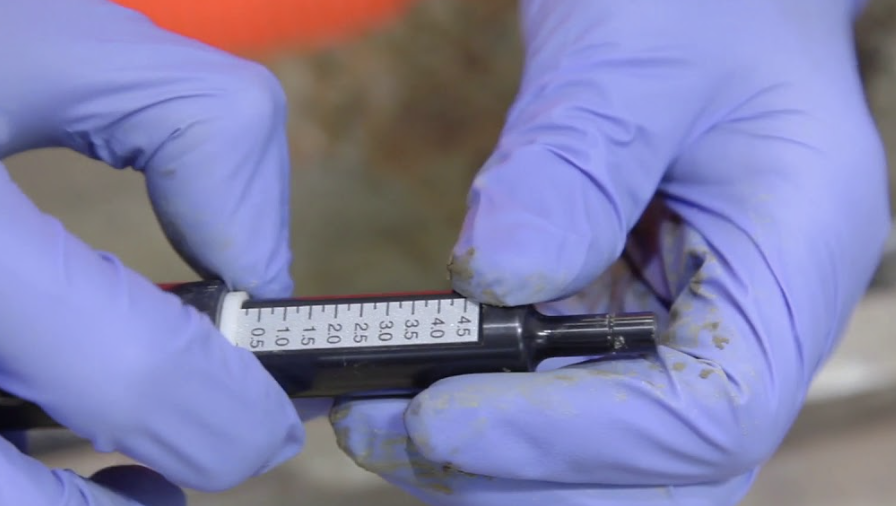
Skipping calibration is the fastest way to turn a good device into a random-number generator.
What goes wrong
- Load cell zero drifts1 between runs.
- Tip wear alters projected area and friction, inflating apparent strength.
- Cable/connector changes shift gains without anyone noticing.
Do this instead
- Zero + two-point check every session (e.g., zero and a known mini-load).
- Tip inspection at 10× magnification: no burrs, chips, or polishing flats.
- Area factor log: record the exact tip area (or cone factor) in your worksheet.
- Temperature-stable warm-up2: 5–10 minutes powered before zeroing.
| Bench card: quick calibration | Step | Target | Pass Cue |
|---|---|---|---|
| Power-on warm-up | 5–10 min | Stable zero | |
| Mechanical zero | 0 ± 0.5% FS | Flat baseline | |
| Check load | Within ±1% | Matches reference | |
| Tip area record | Current value | Logged in sheet |
Applying Uneven or Excessive Penetration Force
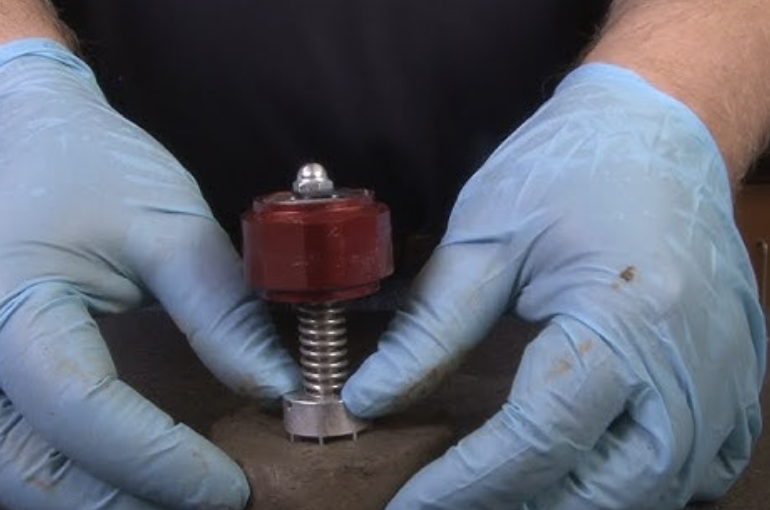
Speed kills. So does wobbly alignment.
What goes wrong
- Over-speed penetration spikes friction and pore pressure, overstating strength.
- Lateral wobble scuffs the bore, adding side resistance.
- Sudden starts/halts cause stick–slip artifacts that look like structure.
Do this instead
- Controlled rate3: keep penetration velocity constant (e.g., 0.5–2 mm/min; match your lab SOP).
- Axial alignment4: use a guide sleeve or jig; verify with a quick dry run into a dummy.
- Preload discipline: apply a tiny, repeatable seating load (e.g., 0.5–1 N) before moving.
- No pecking: continuous motion; avoid micro-pauses that create false peaks.
Watch the trace
- Smooth rise with mild scatter = good contact.
- Serrated, sawtooth spikes at constant material = technique issue, not soil fabric.
Testing Unsaturated or Improperly Prepared Samples
If the specimen isn’t in the state you think it is, your penetrometer will faithfully report the wrong thing.
What goes wrong
- Residual air (low B-value)5 makes the response look stiffer/stronger.
- Disturbed tops or end zones bias readings (membrane effects, trimming scars).
- Heterogeneity from poor reconsolidation or moisture gradients drives scatter.
Do this instead
- Verify saturation6 (e.g., B ≥ 0.95–0.98 depending on your spec) before any intrusions.
- Location matters: avoid edges and end influence zones; penetrate from a clean, central face.
- Specimen history: document consolidation state (σ′, drainage condition) at time of test.
- Surface prep: trim smooth; avoid polishing (glazing) that changes interface friction.
Simple placement rule-of-thumb
- Stay ≥1.5–2× tip diameter away from membranes, stones, or previous holes.
- Keep a map of intrusions to avoid overlap effects.
Neglecting Temperature and Moisture Effects
Strength at 19 °C is not strength at 27 °C, and water activity shifts friction and suction.
What goes wrong
- Temperature drift alters load cell output and soil response (especially clays).
- Moisture changes shift apparent strength during a long test window.
- Evaporation from uncovered faces creates gradients you didn’t plan.
Do this instead
- Temperature control7: record room/cell temperature; keep within a narrow band (≤ ±1 °C during a session).
- Moisture discipline8: cover exposed faces between runs; minimize time from trimming to test.
- Timing consistency: standardize the wait time after seating the tip before penetration.
- Log it: temp, humidity (or at least “covered/uncovered”), and elapsed time since prep.
| Environment checklist | Control | Target | Notes |
|---|---|---|---|
| Room/cell temp | ±1 °C band | Warm-up device before zero | |
| Specimen exposure | Covered | Film or lid between runs | |
| Timing | Fixed SOP | Same delay each test point |
Bonus: Quick SOP You Can Paste into Your Lab Manual
1) Calibrate: warm-up, zero, two-point check, tip inspection, record area factor.
2) Confirm specimen state: B-value, consolidation stage, location map.
3) Position & align: jig in place, seating load applied, start timer.
4) Penetrate at constant rate: no pecking, no lateral load, capture full trace.
5) Log environment: temp, cover status, elapsed time since prep.
6) Repeatability check: duplicate one location in a fresh zone; compare within your acceptance band.
7) Document exceptions: any deviation goes in the remarks—future you will thank present you.
Common Artifacts and Fast Fixes
| Symptom | Likely Cause | Fix |
|---|---|---|
| Sudden high peak then drop | Over-speed or tip burr | Lower rate; polish/replace tip |
| Gradual upward drift across session | Temp rise / device warm-up | Warm-up before zero; tighten temp band |
| Wild scatter across points | Unsaturated or heterogenous zones | Verify B; relocate & re-map |
| Low values near edges | End/membrane influence | Move inward; respect edge offsets |
Conclusion
Miniature penetrometers can be wonderfully honest—if you are. Calibrate every session, move straight and slow, test specimens in the state you claim, and lock down temperature and moisture. Do that, and the numbers will finally tell the same story, every time.
-
Understanding load cell zero drifts is crucial for maintaining accuracy in measurements. Explore this link to learn effective prevention methods. ↩
-
A temperature-stable warm-up can significantly enhance measurement accuracy. Discover the science behind it and improve your calibration process. ↩
-
Understanding controlled rate is crucial for accurate penetration testing results, ensuring consistent and reliable data. ↩
-
Exploring axial alignment can enhance your testing accuracy, reducing errors and improving overall results. ↩
-
Understanding the effects of residual air can help you improve the accuracy of your penetrometer readings. ↩
-
Learning how to properly verify saturation is crucial for accurate soil testing and can enhance your testing methods. ↩
-
Understanding temperature control is crucial for accurate soil testing results, ensuring reliable data and better project outcomes. ↩
-
Exploring moisture discipline can enhance your testing accuracy, leading to more reliable assessments of soil behavior. ↩


