Porous Stone Maintenance Tips to Ensure Accurate Triaxial Test Results
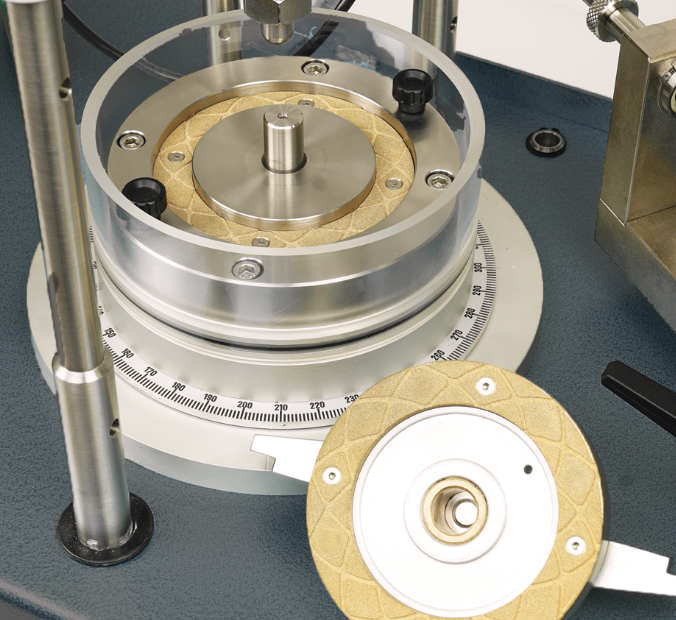
Porous stones might look like simple tools, but in triaxial testing, they’re the unsung heroes of precision. I’ve learned the hard way that a poorly maintained stone can skew an entire test. If you’re serious about accuracy, maintenance isn’t optional—it’s essential.
To keep your triaxial tests accurate and repeatable, porous stones must be cleaned thoroughly, stored correctly, inspected for damage, and replaced on a regular schedule. These habits prevent contamination, structural failure, and inconsistent saturation—leading to more reliable lab results.
Let’s walk through how I keep my lab stones in top shape.
Clean Thoroughly After Every Use
Skipping cleaning? Big mistake. You don’t want yesterday’s soil messing with today’s data.
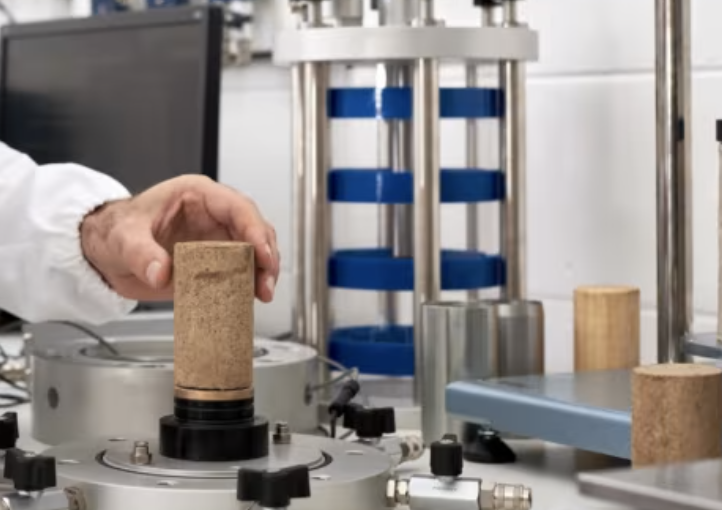
After each test, porous stones1 should be soaked in de-aired water, gently scrubbed, and then cleaned with an ultrasonic cleaner2 if available. This removes fine particles lodged in pores that could cause inconsistent saturation in future tests.
My Cleaning Routine
| Step | Details |
|---|---|
| Rinse | Use de-aired or distilled water to flush soil debris |
| Manual Brush | Soft-bristle brush to loosen compacted particles |
| Ultrasonic Cleaning | 15–20 minutes in warm water (if available) |
| Dry Naturally | Air dry in a dust-free environment |
Never use soap or harsh chemicals—they can clog pores or leave residue.
Use Proper Storage Techniques
How you store porous stones is just as important as how you use them.
Always store porous stones in a clean, dry container to avoid dust contamination3 and accidental damage. Keep them separated or cushioned to prevent edge chipping or fractures. Avoid exposing them to sudden temperature changes.

Storage Do’s and Don’ts
| Do | Don’t |
|---|---|
| Use foam-lined compartments | Stack stones loosely in a drawer |
| Label sizes to avoid confusion | Leave them wet in sealed bags |
| Keep away from direct sunlight | Store in metal containers (can rust) |
| Use breathable containers | Wrap in plastic without ventilation |
A little care here saves time and replacements later.
Check for Damage Before Reuse
I’ve reused a chipped stone once—it cost me a full day’s work.
Before every test, inspect porous stones for cracks, edge damage, or discoloration. Even hairline fractures can affect the uniformity of stress and fluid flow, compromising the test results.

What to Look For
| Checkpoint | What It Means |
|---|---|
| Surface cracks | Possible structural failure |
| Chipped edges | Can misalign sample or damage membranes |
| Discoloration | Possible contamination or chemical exposure |
| Poor drainage during test | Internal clogging or hidden damage |
Don’t take chances—swap it out if you’re unsure.
Establish a Replacement Schedule
Even the best-maintained porous stones have limits.
Create a replacement schedule4 based on usage frequency and soil type5. Stones used with fine, clog-prone soils or in high-volume labs should be replaced more often. Regular tracking prevents test errors due to degraded performance.
Sample Replacement Plan
| Usage Scenario | Recommended Replacement Interval6 |
|---|---|
| Daily use with silty clay | Every 3–4 months |
| Weekly use with clean sand | Every 6–12 months |
| Low-frequency academic use | Annually (with regular checks) |
| Any sign of crack or clogging7 | Immediate replacement |
Keep a log—it’ll save you time and confusion down the line.
Conclusion
Porous stones may be small, but they carry the weight of your test’s credibility. Clean them well, store them smartly, inspect with care, and replace with foresight. It’s a simple formula that’s helped me protect both my data—and my reputation in the lab.
-
Explore this link to learn effective cleaning techniques for porous stones, ensuring accurate and reliable test results. ↩
-
Discover the benefits of using an ultrasonic cleaner for laboratory equipment, enhancing cleanliness and precision in your tests. ↩
-
Preventing dust contamination is crucial for preserving the integrity of your stones; explore effective methods to keep them clean. ↩
-
Understanding how to create an effective replacement schedule can enhance the longevity and performance of porous stones. ↩
-
Exploring the impact of soil type on porous stones can help optimize their use and prevent performance issues. ↩
-
Understanding replacement intervals helps maintain optimal performance and prolongs the lifespan of your equipment. ↩
-
Identifying these signs early can prevent costly repairs and ensure your system runs efficiently. ↩