What Is a Hoek Cell? A Complete Guide for Rock Triaxial Testing
I like tools that tell the truth fast. A Hoek cell does that for rock strength under high confining pressure.
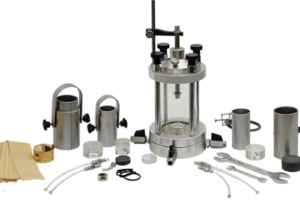
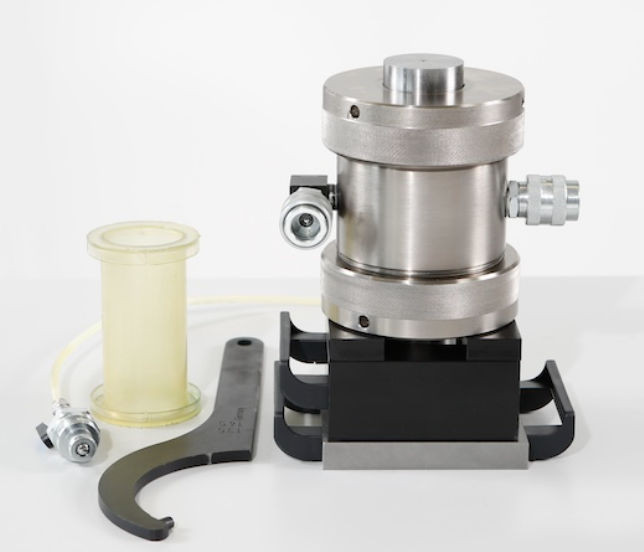
A Hoek cell is a compact, high-pressure triaxial device for rock cores. It prioritizes strength and modulus under confinement with simple, rugged hardware—fast setup, high pressure, limited sensors.
Let’s cover how it works, when to choose it, how to set it up, and common mistakes to avoid.
How Does a Hoek Cell Work?
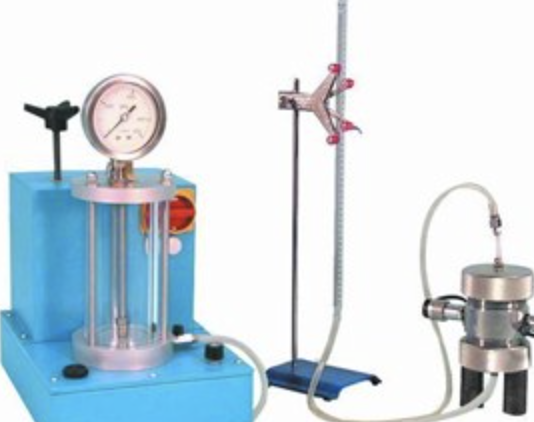
Hoek cells squeeze a rock core radially with fluid pressure while you load it axially—simple body, short plumbing, high pressure.
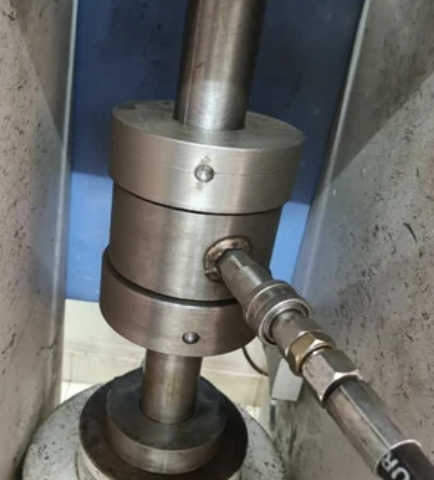
A thick-walled cylinder houses the jacketed specimen; confining fluid applies σ₃, the frame applies axial load σ₁, and you read strength vs. pressure.
I remember the first time I switched from a bulky triaxial vessel to a Hoek cell. The pressure ramp felt instant—tiny internal volume, almost no wobble. That’s the point: low dead volume1 means crisp confining control, so you can map strength envelopes efficiently. You usually measure axial load and displacement2, sometimes radial strain if you add local gauges. Pore pressure measurement is uncommon; Hoek cells are about confined compression more than effective-stress stories.
Dive deeper
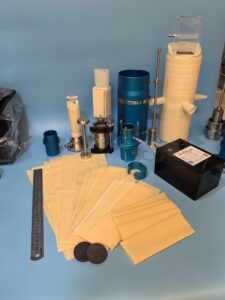
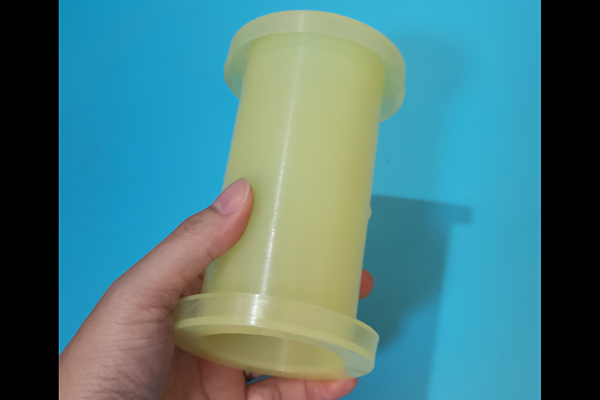
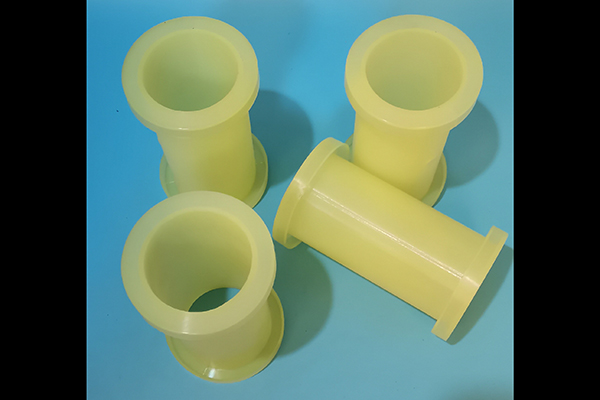
- Core geometry. Typical cores are 25–54 mm diameter with L/D ≈ 2–2.5. You sleeve the specimen with a thin jacket, fit end caps, and seat it inside the pressure body. Core prep guide
- Confining system. Oil or water pressurizes the annulus. Because the cavity is small, you get fast, low-overshoot steps with modest pumps. Pressure ramp card
- Axial system. A load frame or screw jack provides σ₁. You record peak strength, E_tan, and post-peak behavior (dilation is inferred, unless you add radial strain). Axial logging template
- What you don’t get by default. Pore pressure, custom drainage paths, true triaxial states, or rich local strain arrays—those live in conventional or advanced cells.
- Why it’s fast. Few seals, few lines, quick leak checks. Great for screening many cores across σ₃ levels.
Mini table: signals you capture
| Signal | Default Hoek | With add-ons |
|---|---|---|
| Axial load/disp. | ✅ | — |
| Confining pressure | ✅ | — |
| Radial strain | — | Local rings/clip-gauges |
| Pore pressure | — | Rare/special builds |
When Should You Choose a Hoek Cell Over a Conventional Cell?
Pick a Hoek cell when you need speed and pressure; pick conventional when you need instrumentation and effective stress.
Choose Hoek for high-pressure strength envelopes, rapid screening, and rugged simplicity; choose conventional for pore pressure, drainage, anisotropy, and stress-path research.
I use a Hoek cell like a first-pass scanner3. For projects with many lithologies or weathering grades, I can run σ₃ = 5, 15, 30, 60 MPa in one day and sketch the Mohr-Coulomb/Hoek-Brown envelope quickly. If a subset of samples needs deeper stories—dilation, pore pressure, cyclic behavior—I send those to a conventional triaxial cell. This screen-then-deep-dive4 approach saves time and still gives design-grade confidence.
Dive deeper
- Great fits for Hoek:
- Quarry control / mining: quick UCS vs. confined strength trends.
- Tunneling classes: fast estimates of support demand across σ₃.
- Dam abutment checks: pressure-dependent stiffness snapshots.
- QA on core variability: many specimens, same routine.
- Better for conventional:
- Pore pressure & drainage (CU/CD). You need pore lines and transducers.
- Anisotropy/weak planes. Local strain rings, oriented cores, custom paths.
- Cyclic/true triaxial. Multi-channel coordination and rich sensing.
- Hybrid labs win. Screen with Hoek; instrument the critical few in a conventional rig. Hybrid test planner
Decision snapshot
| Question | If “Yes” → Lean |
|---|---|
| Many cores; tight schedule | Hoek |
| Need pore pressure or drainage | Conventional |
| Pressure > 60–100 MPa common | Hoek |
| Publishable stress-path data | Conventional |
| Limited bench space | Hoek |
Setup, Instrumentation, and Test Workflow
Clean setup and repeatable steps make rock results trustworthy—fast doesn’t mean sloppy.
Standardize core prep, jacket sealing, pressure ramps, and logging. Add local strain if you need dilation trends; otherwise keep it simple and fast.
I keep a bench-side checklist5 and never skip it. It’s amazing how many headaches disappear when jackets are fresh, end caps are square, and the ramp profile is known. One day we chased “random” strength jumps; the villain was a worn O-ring6 leaving a faint weep. Fresh seals, flat holds, clean curves.
Dive deeper
1) Core preparation
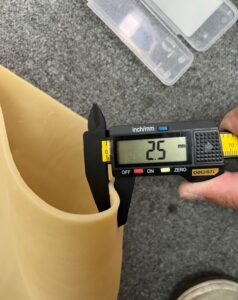
- Trim parallel ends; aim for <0.02 mm non-parallelism if you can.
- Measure diameter & length at 3–4 points; log mass and moisture.
- Sleeve with a thin latex or poly jacket; avoid wrinkles. Jacket guide
2) Instrumentation options
- Default: axial load cell, LVDT (or crosshead displacement), confining pressure gauge.
- Add-ons: radial strain rings, clip-gauges, or circumferential extensometers for dilation. Local strain setup
3) Pressure & loading profile
- Seat at σ₃-start (e.g., 5 MPa) → hold (leak check).
- Axial load at constant rate (or stress control) to failure; record peak and post-peak.
- Repeat for higher σ₃ levels. Ramp/hold script
4) Data you should always capture
- σ₃ setpoint vs achieved (flat holds tell you seals are good).
- Load–disp curve, peak strength, secant/tangent moduli.
- Notes: end spalling, barreling, shear plane, specimen photos.
Example workflow table
| Step | Target | Pass/fail cue |
|---|---|---|
| Seal & seat | No visible weep | Hold drift ≈ 0 |
| Confining ramp | Low overshoot | Stabilize in <30 s |
| Hold check | Flat line | Δp < 0.05 MPa/5 min |
| Axial loading | Smooth | No grip slip |
| Post-run | Photo + notes | Plane logged |
Common Mistakes and Practical Tips
Most Hoek problems are small: a tired seal, a rushed ramp, or a crooked cap. Fix the little things first.
Avoid jacket nicks7, misalignment, and sloppy leak checks8. Keep ramps gentle, holds flat, and logs complete; your envelope will stop wandering.

I’ve made these mistakes so you don’t have to. My most expensive failure was a micro-cut in the jacket I didn’t see; the hold drift looked fine—until peak. Now I do one bright-light jacket scan and a short pressure hold every time.
Dive deeper
- Jacket damage. Even a pinhole can soften your peak. Use smooth tools; avoid sharp edges on end caps. Seal checklist
- End misalignment. Non-parallel ends push shear planes early. Check squareness; use calibrated platens.
- Skipping the hold. A 2–3 min hold at start saves hours later. Drift = leak or seat issue.
- Over-ramping σ₃. Fast ramps can shock brittle rocks; rate-limit to keep microcracks honest. Ramp limiter
- Dirty oil/water. Debris chews seals and valves; filter and keep a maintenance log.
- No photos/no notes. A quick post-test photo of the failure plane helps you read dilation and brittleness later.
Quick fixes (symptom → action)
| Symptom | Likely cause | Fix |
|---|---|---|
| Peak scatter at same σ₃ | Jacket/seat issues | Replace seals; extend hold |
| Sudden pre-peak drop | Grip slip | Reface caps; re-texture grips |
| Pressure wobble | Air or valve wear | Bleed lines; service valve |
| Early barreling | End friction | Lubricate membranes lightly; check cap flats |
Conclusion
Use a Hoek cell for fast, high-pressure strength envelopes; keep setup clean, holds flat, and notes precise for trustworthy rock data.
-
Understanding low dead volume is crucial for efficient strength mapping in geotechnical testing. ↩
-
Exploring this topic will enhance your knowledge of measurement techniques in confined compression tests. ↩
-
Understanding the concept of a first-pass scanner can enhance your knowledge of efficient testing methods in geotechnical projects. ↩
-
Exploring this approach can provide insights into optimizing testing processes and improving project outcomes. ↩
-
Exploring this resource will help you understand the importance of a bench-side checklist in enhancing efficiency and preventing issues. ↩
-
This link will provide insights into how a worn O-ring can impact performance and maintenance, helping you avoid costly mistakes. ↩
-
Understanding jacket nicks is crucial for maintaining equipment integrity and preventing costly repairs. ↩
-
Exploring the impact of sloppy leak checks can help you ensure safety and efficiency in your operations. ↩