Common Mistakes and Practical Solutions in Soil Triaxial Tests
If the specimen is wrong, the plot yells. I’ve learned (sometimes the hard way) that most triaxial problems come from a few repeat offenders. Here’s a calm, practical checklist to stop noisy curves, mystery scatter, and late-night retests.
Inconsistent Sample Preparation and Moisture Control
Small misses in density or moisture become big arguments in CU/CD plots.
Typical mistakes
- Different lift thickness1 or energy between specimens.
- Moisture drifting while the mold sits open.
- Trimming that leaves tilted end faces or visible laminations.
Do this instead
- Plan targets: ρd (or e₀) and w%. Split soil into equal lifts; aim for lift thickness ±5%.
- Moisture discipline: premix fines, seal 12–24 h2; cover soil/mold between steps; log room temperature.
- End control: apply a seating pressure and use a trimming jig; non-parallelism < 0.02–0.05 mm.
- Measure, don’t guess: diameter at 3–4 points, height, wet mass; confirm ρd within ±1–2% of target.
| 60-second acceptance | Check | Target |
|---|---|---|
| H/D ratio | Specified (e.g., 2.0 ± 0.1) | |
| Lift uniformity | ±5% | |
| Dry density | ±1–2% of plan | |
| Ends | < 0.05 mm gap under straightedge |
Poor Membrane Sealing and Leakage
Leaks don’t always gush; they bias quietly3—side-wall flow in k-tests, fake volumetric change in CD, drifting Δu in CU.
Typical mistakes
- Oversized sleeve → folds and bypass flow.
- Nicked membrane from sharp cap edges.
- Old O-rings; uneven clamp compression.
Do this instead
- Fit: choose a membrane 1–3% undersized vs. specimen diameter for a snug, wrinkle-free contact.
- Deburr & radius cap edges; inspect under bright light.
- Fresh O-rings, opposite-side tightening for even compression.
- Leak precheck4: 10–20 kPa hold for 2–5 minutes; Δp ≈ 0 before proceeding.
Quick fixes
- Edge tear pattern → polish edge / increase radius; replace O-rings.
- Mid-span pinholes → thicker wall or replace aged stock.
- Persistent micro-weep → re-seat cap; clean and re-lube lightly with a compatible film (no solvents).
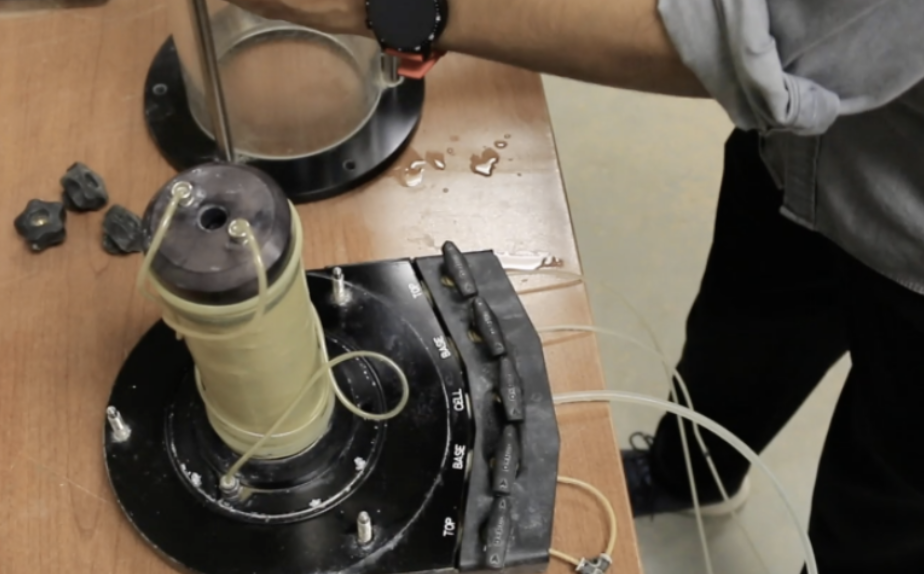
Incomplete Saturation and Skipped B-Value Check
If the specimen isn’t fully saturated, your effective stress story is fiction.
Typical mistakes
- Rushing back-pressure steps5; no pauses for equalization.
- Skipping B-value6 or accepting a single shaky pulse.
- Letting σ′ rise during saturation, locking in fabric changes.
Do this instead
- Sequence: CO₂ flush → de-aired water → back-pressure steps (25–100 kPa by soil type).
- Keep σ′ low (≈2–5 kPa) during steps; trim cell pressure accordingly.
- Pause between steps until volume drift ~0.
- B-check: apply a small, crisp +Δσ3 (e.g., +20 kPa). Repeat twice; values should agree.
| Targets | B-value | Action |
|---|---|---|
| ≥ 0.98 | Proceed to consolidation/shear | |
| 0.95–0.98 | Proceed; note and monitor | |
| 0.90–0.95 | Extend holds; clean lines/stones | |
| < 0.90 | Re-saturate / leak hunt |
Pro tips
- Back-flush porous stones; retire old ones.
- Script pulses on pneumatic controllers for repeatable B-checks.
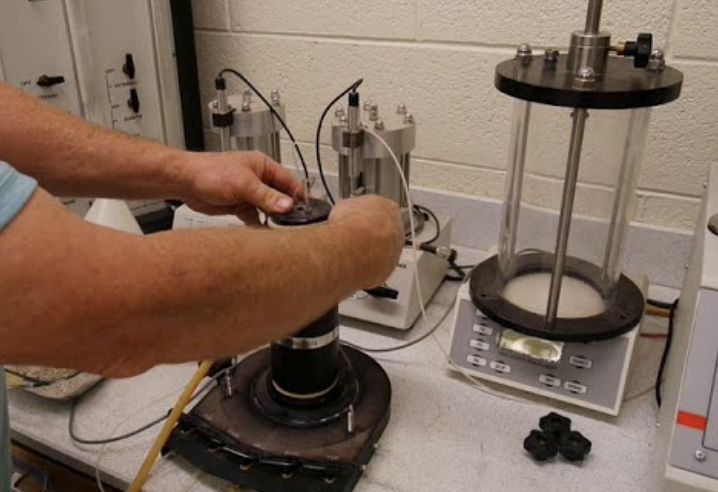
Inaccurate Calibration and Loading Rate Control
Bad calibration and wandering rates make honest soils look dishonest.
Typical mistakes
- Load cell zero drift; no multi-point check.
- Displacement transducer not zeroed under test posture.
- Shear rate too high7 for drainage condition; controller overshoot.
Do this instead
-
Per-session routine (5–8 min)
1) Warm-up electronics 5–10 min
2) Zero load/displacement in test posture
3) Multi-point check8 (0/25/50/75/100% FS) on load (monthly if not daily)
4) Verify cell/back-pressure sensors against a reference
5) Record room/cell temperature (±1 °C band) -
Rate control
- CD: rate slow enough to maintain drainage (verify by pore pressure ≈ 0 and smooth volumetrics).
- CU: rate high enough to be undrained (Δu responds, volume ~constant).
- Use ramp limits to prevent overshoot; confirm setpoint vs achieved logs.
Red flags in plots
- Jagged Δu at constant conditions → rate/overshoot or leak.
- Drifting mean effective stress during “hold” → calibration/sensor or micro-leak.
- Hysteresis between up/down segments in calibration → load cell or frame friction.
Handy One-Page SOP (Paste Into Your Lab Manual)
1) Specimen build: lifts ±5%, ends flat, ρd ±1–2%, membrane undersized 1–3%.
2) Leak check: 10–20 kPa hold, 2–5 min, Δp ≈ 0.
3) Saturation: step back-pressure with σ′ ~2–5 kPa; pause until volume drift ~0.
4) B-value: two pulses; B ≥ 0.95 (prefer 0.98). If not, fix before continuing.
5) Calibration: zeroes + rate sanity + quick multi-point check.
6) Shear: rate matches CU/CD intent; confirm logs show setpoint ≈ achieved.
7) QA: duplicate specimen or repeat condition as a control; overlays within acceptance band.
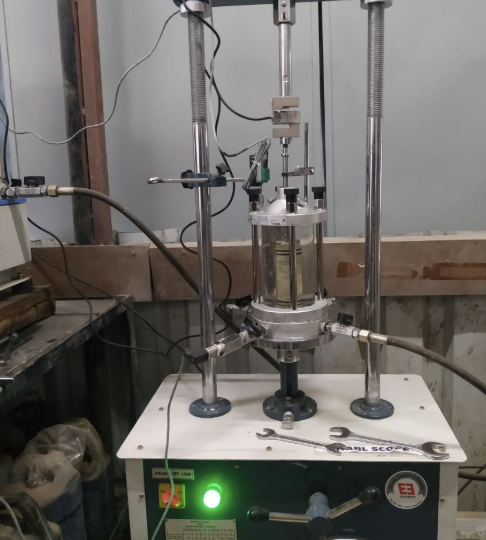
Troubleshooting Table (Symptom → Likely Cause → Fix)
| Symptom | Likely Cause | Practical Fix |
|---|---|---|
| Early stiff curve | Thick/loose membrane; compaction over-energy | Thinner/snug membrane; tune compaction |
| Δu spikes at constant rate | Controller overshoot; leaks | Add ramp limits; leak hunt; tighten fittings |
| Volume change noise (CD) | Side-wall bypass; end friction | Snug sleeve; better end seating; polish caps |
| B won’t exceed 0.93 | Air in lines/stones; micro-leak | Back-flush stones; replace O-rings; extend holds |
| Scatter between “identical” tests | Prep inconsistency; rate drift | Standardize lifts/rate; log setpoint vs achieved |
| Holding pressure drifts | Sensor drift; valve creep | Re-calibrate; service valve; verify controller holds |
Conclusion
Most triaxial headaches shrink when you standardize prep, sealing, saturation (with B-checks), and calibration/rate control. Keep the routine boring and the logs complete—your curves (and design meetings) will get pleasantly quiet.
-
Understanding lift thickness is crucial for achieving optimal density and moisture control in construction projects. ↩
-
Sealing for the right duration ensures moisture retention, leading to better material performance and durability. ↩
-
Understanding 'bias quietly' can enhance your knowledge of subtle leak detection methods, improving your testing accuracy. ↩
-
Learning about leak prechecks can help ensure your tests are reliable, preventing costly errors in your projects. ↩
-
Exploring back-pressure steps can enhance your knowledge of soil saturation processes, leading to better engineering practices. ↩
-
Understanding B-value is crucial for accurate effective stress analysis, ensuring reliable results in soil mechanics. ↩
-
Understanding the impact of high shear rates can help improve soil testing accuracy and reliability. ↩
-
Learning the correct procedure for multi-point checks ensures precise calibration and enhances measurement accuracy. ↩

