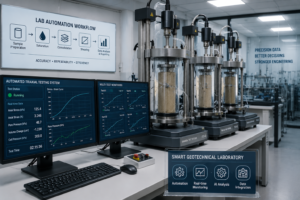
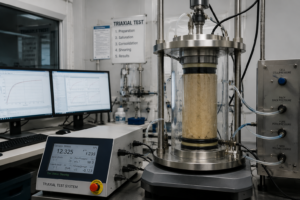
Preparing soil specimens for triaxial testing is time-consuming, especially when handling latex membranes. Fortunately, membrane mounting tools streamline this crucial step—enhancing both speed and accuracy.
By simplifying membrane installation, these tools help geotechnical labs save time, reduce human error, and improve repeatability.
Let’s explore how to improve your lab efficiency using the right membrane mounting tools.
Understanding the Role of a Membrane Mounting Tool in Triaxial Testing
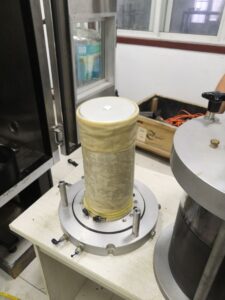
A membrane mounting tool is a cylindrical guide used to stretch and apply a latex membrane over a soil specimen without direct contact.
Why it’s important:
- Protects delicate or soft specimens from deformation
- Prevents membrane tearing or misalignment
- Speeds up preparation and improves standardization across tests
In essence, this tool bridges the gap between precision handling1 and lab productivity2 in the pre-test phase.
How Membrane Mounting Tools Enhance Precision in Test Setup
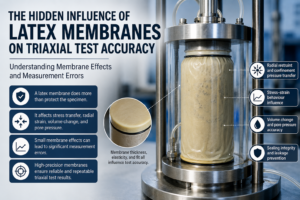
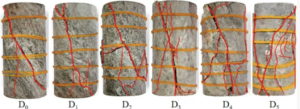
Latex membrane application3 may seem trivial, but poor installation introduces critical flaws:
- Air bubbles beneath the membrane
- Uneven membrane stretch
- Damage to specimen surface
- Leaks at the O-ring seal
Mounting tools4 eliminate most of these risks by ensuring the membrane is applied smoothly and concentrically.
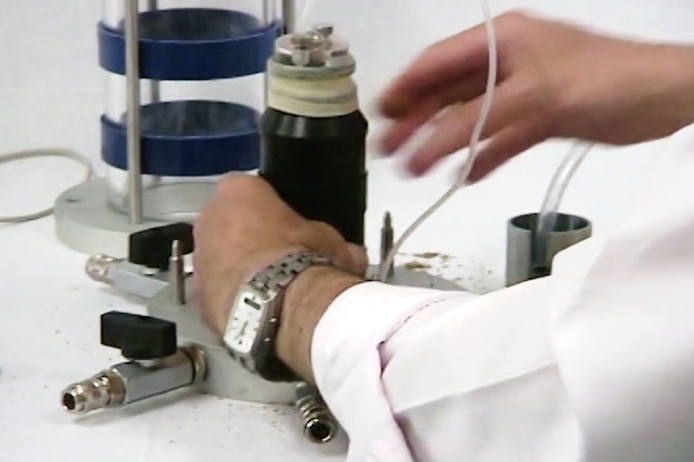
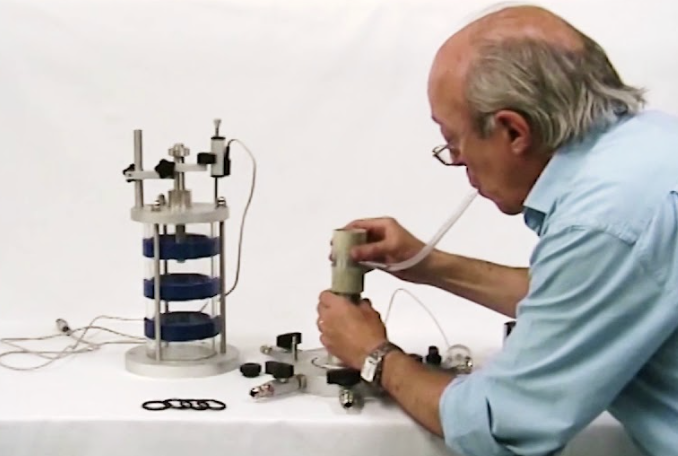
Using vacuum-assisted tools further increases precision by allowing the membrane to be gently sucked onto the tool for seamless transfer.
Key Features of an Efficient Membrane Mounting Tool for Triaxial Tests
| Feature | Function |
|---|---|
| Diameter Match | Should fit snugly with the specimen size (e.g., 33mm, 50mm) |
| Smooth Inner Surface | Prevents membrane abrasion during application |
| Vacuum Port (Optional) | Helps with hands-free membrane installation |
| Durable Materials5 | Preferably made of acrylic or polycarbonate |
| Transparent Body6 | Allows visual alignment and air bubble checks |
Look for tools that offer compatibility with multiple sample sizes and integrate well with your lab’s workflow.
Best Practices for Using Membrane Mounting Tools to Save Time in Lab Preparation
- Pre-stretch the membrane over the mounting tool before placing it on the specimen
- Apply lubricant (e.g., glycerin)7 to prevent friction during installation
- Ensure the membrane is centered and tension is even
- Use a vacuum system8 if available for quicker and more uniform application
- Train lab staff on standard procedures to reduce variability
- Store tools upright and clean to prevent contamination
Tip: Pre-loading multiple membranes on tools can further save time during batch preparation.
By integrating a membrane mounting tool into your triaxial test preparation process, labs can reduce installation time by up to 50%, while simultaneously improving test integrity. This is especially valuable for high-throughput geotechnical labs or academic settings where repeatability is key.
-
Understanding precision handling can enhance your lab’s efficiency and accuracy in specimen management. ↩
-
Exploring ways to boost lab productivity can lead to better results and streamlined processes in your research. ↩
-
Understanding best practices can help you avoid critical flaws during installation. ↩
-
Exploring how mounting tools work can enhance your installation process and reduce risks. ↩
-
Explore this link to discover the most reliable materials for lab tools, ensuring longevity and performance. ↩
-
Learn about the advantages of transparent lab tools, including enhanced visibility and accuracy during experiments. ↩
-
Exploring this link will provide insights into how glycerin can enhance installation processes and reduce friction. ↩
-
This resource will explain the advantages of vacuum systems in achieving uniform application and faster results. ↩