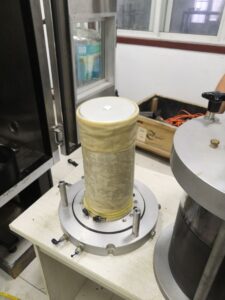
Ring Cutter Maintenance Tips for Geotechnical Testing Labs
A sharp, clean ring cutter is the foundation of reliable triaxial data. Good maintenance protects the cutting edge, keeps diameters in spec, and reduces specimen disturbance—so your B-values, pore-pressure traces, and stress–strain curves stay tight and repeatable.
Why Is Regular Cleaning Important?
Residue on the bevel or inside the bore adds friction, smears clays, and can nick membranes. Cleaning after every session1 prevents corrosion and edge wear.
Post-use cleaning routine
- Rinse immediately with de-aired water2 to remove fines; avoid drying mud on the tool.
- Mild detergent + soft nylon brush for the bore and outer rim; never use wire brushes.
- Ultrasonic bath (optional) for stubborn clay films; limit time and use neutral pH solutions.
- Final rinse with de-aired water; blow dry with clean air and wipe with a lint-free cloth.
- Keep solvents away from nearby acrylic/polycarbonate fixtures (they can craze). If needed on stainless steel, use a small amount of isopropyl alcohol, then re-rinse and dry.
Goal: a mirror-clean bore and debris-free bevel—no grit, no film, no spots.
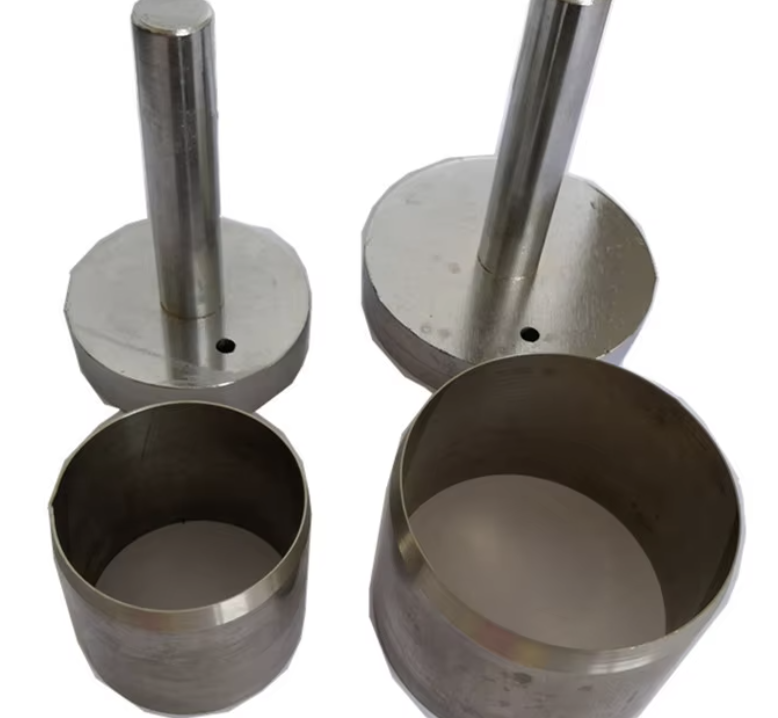
How Should Ring Cutters Be Inspected?
Inspection catches dullness and dimensional drift before they hit your data.
Quick visual & tactile checks (each use)
- Bevel: continuous, nick-free, uniform shine. Drag a fingernail lightly—snags mean chips.
- Bore: mirror finish, no axial scratches.
- Rim roundness: no flats or bends from drops.
| Dimensional checks (weekly or every 10–20 specimens) | Item | Method | Typical Acceptance |
|---|---|---|---|
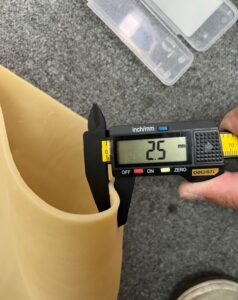
| Inside diameter (ID)3 | Gauge plug/pin set or calibrated ring | Within tool spec (e.g., 38.00 ± 0.02 mm) | |
| Roundness/cylindricity | 3-axis caliper readings, compare spread | ≤0.05 mm spread (program-dependent) | |
| Bevel angle | Optical comparator / bevel gauge | ~20–30° single bevel, uniform | |
| Straightness (tilt) | Roll test on granite plate | No wobble/visible gap |
- Light re-hone at first signs of drag; maintain the original angle.
- If chips persist or the wall has thinned unevenly, retire or factory-service the cutter.
What Role Does Lubrication Play?
For sampling: none. Oils contaminate soils and weaken latex. For corrosion protection during storage: a minimal, removable barrier is helpful.
Do
- After drying, apply a very thin, silicone-free anti-corrosion film5 (e.g., light mineral protective oil or water-based inhibitor) to external surfaces only.
- Before use, fully remove any film from bevel and bore (detergent + water rinse, dry).
- Consider passivation6 for stainless cutters if corrosion spots appear.
Don’t
- Use grease/oil as a cutting “lube” on the bevel or bore.
- Leave protective films on the tool during specimen contact.
For specimen installation, use only de-aired water (or a trace of glycerin in water) on fixtures—not on the ring cutter.
How Should Ring Cutters Be Stored?
Storage protects edges as much as sharpening does.
Best practices
- Edge guards + padded sleeves or a dedicated shadow board; never let cutters touch each other.
- Store upright or flat on soft supports; avoid loading the cutting rim.
- Dry, low-humidity cabinet with silica gel7 desiccant; replace when saturated.
- Keep away from abrasive tools and loose sand; use labeled compartments by size (e.g., 38/50/70 mm).
- Transport in a hard case8 with foam cutouts; log any drops or impacts and re-inspect before use.
Preventive Maintenance Schedule (starter template)
| Interval | Task |
|---|---|
| Each use | Rinse → detergent wash → rinse → dry; visual/tactile edge check |
| Weekly | Dimensional check (ID, roundness); quick roll test on plate |
| Monthly | Light re-hone if needed; polish bore micro-scratches |
| Quarterly | Full inspection record; replace edge guards/desiccant; verify gauge plugs calibration |
| After any drop | Immediate full inspection; retire if bevel chipped or rim bent |
Do / Don’t Cheat Sheet
Do
- Clean immediately; keep the bore mirror-smooth.
- Inspect bevel and ID regularly; document results.
- Use protective film only for storage and remove before sampling.
- Store with edge guards in a dry, padded environment.
Don’t
- “Screw” the ring into soil to compensate for dullness—re-hone instead.
- Use oils/grease in contact with specimens.
- Stack cutters or toss them in drawers.
- Ignore tiny nicks—they grow into big data errors.
Bottom Line
Clean, inspect, protect, repeat. A ring cutter with a sharp, nick-free bevel and a mirror-polished bore preserves specimen fabric and geometry, cutting prep time and improving accuracy. A few disciplined maintenance habits today prevent re-tests tomorrow.
-
Understanding the significance of cleaning tools after each use can enhance their longevity and performance. ↩
-
Exploring the benefits of de-aired water can help you maintain your tools effectively and prevent damage. ↩
-
Understanding the measurement methods for Inside diameter (ID) is crucial for ensuring product quality and precision in manufacturing. ↩
-
Exploring edge maintenance practices can help prolong the life of cutting tools and improve overall efficiency in machining processes. ↩
-
Explore this link to understand the advantages of using silicone-free anti-corrosion films for better tool maintenance. ↩
-
Learn about passivation to enhance the longevity of your stainless cutters and prevent corrosion effectively. ↩
-
Explore how silica gel helps maintain optimal humidity levels, protecting your tools from moisture damage. ↩
-
Learn about the benefits of using a hard case for tool transport, ensuring safety and longevity during movement. ↩

