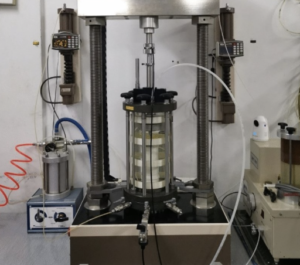
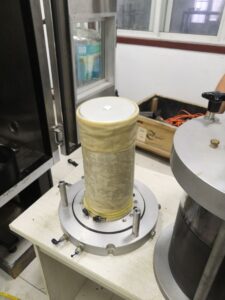
Integrating De-airing Devices with Vacuum Pumps for Maximum Efficiency
If you want faster setup, higher B-values, and cleaner pore-pressure signals in triaxial tests, integrate your de-airing device and vacuum pump as one system—not as separate gadgets.
Goal: deliver low-gas water consistently, evacuate lines and porous stones reliably, and keep vacuum stable under daily lab loads.
Why Does Integration Matter in Soil Testing?
Poorly integrated systems waste time and hide errors.
What tight integration delivers:
- Higher saturation quality1 — easier B ≥ 0.95 thanks to reliably de-aired water.
- Fewer retests — less trapped air in lines, stones, and caps.
- Shorter prep time — faster membrane mounting and line evacuation.
- Stable pore pressures — fewer “springy” responses from micro-bubbles.
Typical integration points
- A shared vacuum backbone2 feeding both the de-airing unit (chamber or membrane contactor) and the pre-evacuation manifold for stones/lines.
- Bleed/vent tees near transducers and top caps so you purge air exactly where it hurts data.
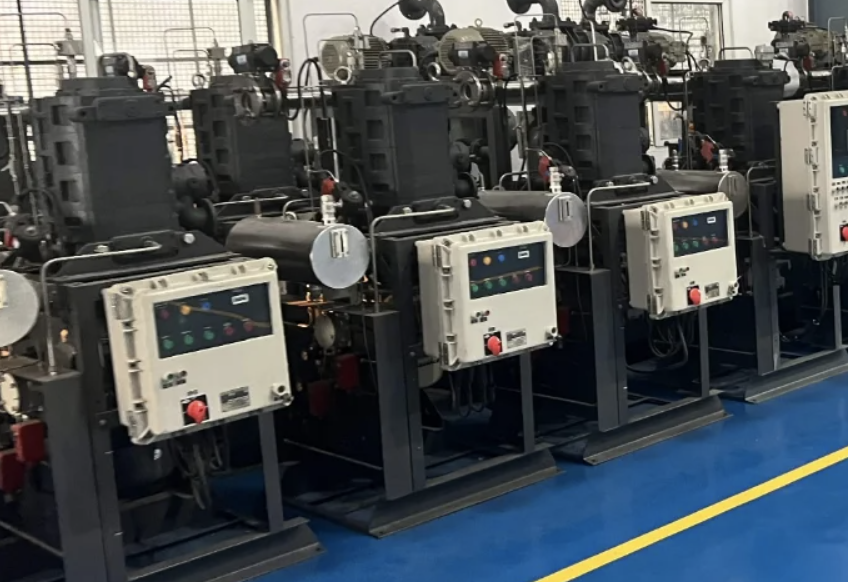
What Vacuum Pump Specifications Should Be Considered?
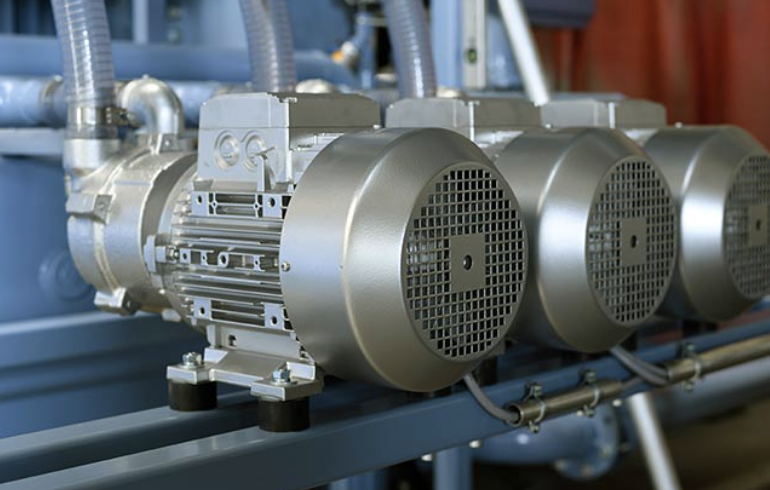
Match the pump to the work. Key specs and why they matter:
| Spec / Feature | Why It Matters in Triaxial Work | Typical Target / Guidance |
|---|---|---|
| Ultimate vacuum | Drives dissolved gas out of water; improves line evacuation | −70 to −85 kPa (gauge) at the device |
| Pumping speed (L/min) | Sets how fast you degas and evacuate the system | 20–60 L/min for single cell; 60–120+ for multi-cell labs |
| Duty cycle & cooling | Continuous operation during batch prep without overheating | Rated for continuous duty; thermal protection |
| Oil vs oil-free | Oil pumps reach deeper vacuum; oil-free cuts maintenance | Rotary vane (oil) for throughput; diaphragm for low-maintenance |
| Noise & vibration | Affects lab comfort and gauge stability | Tip: If you run multiple cells, size for peak usage, not average. Undersized pumps cause vacuum drift and re-gassing. |
A clean, proven layout (left → right)
Pump → cold/moisture trap3 → vacuum buffer (optional) → de-airing device (chamber or membrane contactor) → micro-filter (0.45 µm)4 → non-permeable line (PTFE/PFA) → back-pressure/flow control → cell
Parallel branch: vacuum manifold → stones/lines pre-evac ports → bleed tees near transducers/top cap
Layout checklist
| Item | Good Practice |
|---|---|
| Line length | Keep runs short; mount de-airing close to controllers/cells |
| Tubing choice | PTFE/PFA or SS to limit re-absorption; avoid silicone/PVC |
| Valves & tees | Put bleed tees at the highest points; use shutoffs for each branch |
| Traps & filters | Cold/moisture trap upstream of pump; 0.45 µm filter downstream of de-airing |
| Isolation & damping | Rubber feet and flexible couplers to reduce vibration |
| Instrumentation | Vacuum gauge at device and at the manifold; optional DO probe on outlet |
| Control | Step vacuum up; avoid sudden pulls that can collapse membranes |
| Bottom-up flooding | Feed de-aired water from the base to push air up and out |
Commissioning routine: evacuate dry lines and stones first → start de-airing → verify vacuum level at the manifold → flood bottom-up with fresh de-aired water → bleed at transducer/top cap.
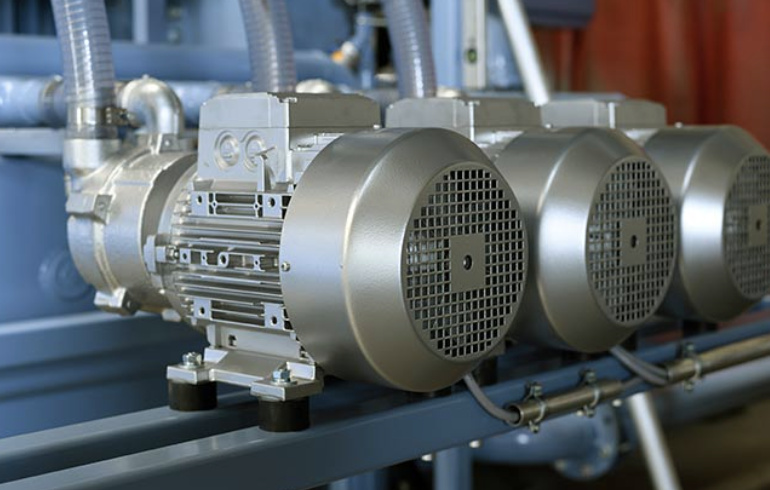
What Are the Long-Term Benefits of an Integrated System?
Integration pays you back every day.
- Throughput up — faster degassing and evacuation cut prep time by 20–50% in multi-cell labs.
- Data quality up5 — stable pore pressures, cleaner effective stress paths, easier B-checks.
- Less maintenance — traps and filters protect pumps; fewer emergency oil changes and rebuilds.
- Energy & wear savings — right-sized pumps run shorter cycles at steadier loads.
- Audit-ready operation6 — fixed layout + logs (vacuum, DO, filter swaps) supports ISO/IEC 17025.
Simple PM schedule (starter template)
| Task | Interval | Notes |
|---|---|---|
| Leak test (soap or decay test) | Weekly | Check manifold, tees, and cap fittings |
| Filter inspection / replacement | Monthly / as needed | Downstream micro-filter and pump inlet |
| Trap drain & clean | Weekly | Prevent moisture carryover to pump |
| Oil check (rotary vane) | Monthly; change 3–6 mo | More often with heavy use/condensation |
| DO or visual bubble check | Each batch | Confirm de-airing target met |
| Gauge verification | Quarterly | Cross-check with reference gauge |
Quick Reference: Device Pairing by Use Case
| Use Case | De-airing Device | Pump Choice |
|---|---|---|
| Teaching / single cell | Small vacuum chamber | Quiet diaphragm (oil-free) |
| Daily commercial testing | Chamber or membrane contactor | Mid-size rotary vane (oil) |
| High-throughput multi-cell lab | Recirculating tank + contactor | Larger rotary vane + buffer |
| Field/portable rigs | Compact chamber | Portable diaphragm |
Final Takeaway
Treat de-airing and vacuum as one integrated circuit. Size the pump to your peak load, keep lines short and non-permeable, control vacuum gently, and add the small things—traps, filters, bleed tees—that prevent big problems. The payoff is faster prep, higher B-values, and data you can trust.
-
Understanding higher saturation quality can help you improve system efficiency and reduce errors. ↩
-
Exploring shared vacuum backbones can enhance your knowledge of effective system integration and performance. ↩
-
Understanding cold/moisture traps is essential for optimizing vacuum systems and ensuring efficient operation. ↩
-
Exploring the role of micro-filters can enhance your knowledge of filtration processes in vacuum applications. ↩
-
Exploring this resource will provide insights into enhancing data quality, crucial for reliable lab results. ↩
-
This link will guide you on maintaining compliance and readiness for audits, essential for lab credibility. ↩

