Soil samples stored for several months still ok for Triaxial?
Short answer: maybe—if moisture, structure, and chemistry stayed honest. Let’s walk through what storage really does, how to triage your samples, and when to say “nope, we’re re-sampling.”
Understanding the Impact of Long-Term Storage
Time quietly edits soils. Even in sealed bags, fabric, suction, ions, and bugs1 keep working in the background.
What can change over months
- Fabric/structure: sensitive clays can rearrange; sands can settle (gravity densification).
- Suction & chemistry: porewater chemistry can equilibrate with air or container; suction relaxes, altering small-strain stiffness.
- Carbonation/oxidation: in cemented or sulfide-bearing soils, chemistry shifts → strength drift.
- Microbial activity: organic soils can generate gas or change pH.
- Salt migration: drying–rewetting cycles move salts to surfaces, changing interface behavior.
Practical takeaway: the longer the shelf time, the more your “initial state” drifts from the field state. Treat stored samples as suspect until proven otherwise.
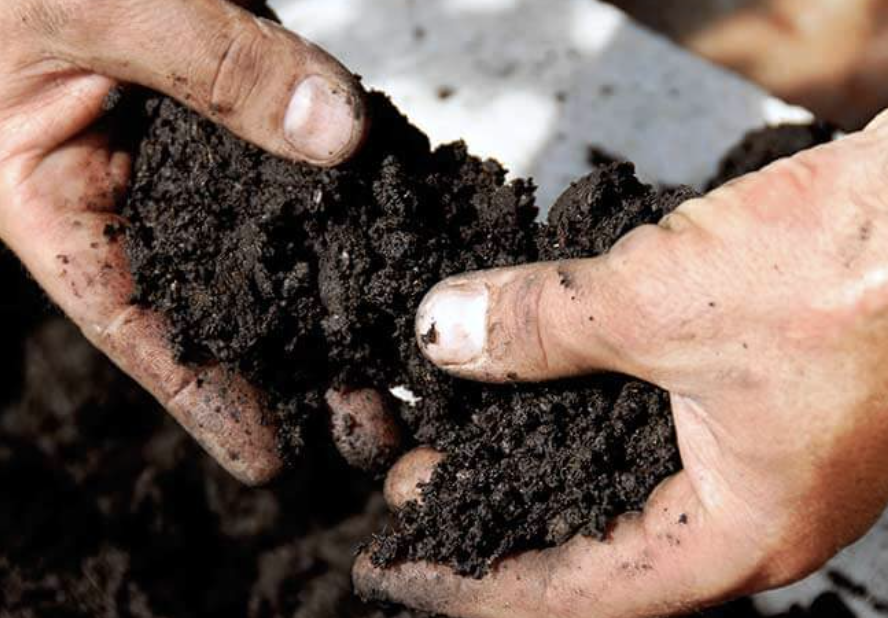
Moisture Content: The Critical Factor
Moisture is the heart of your starting condition. If w% moved, void ratio, suction, and strength2 followed.
Do this first (before trimming)
- Weigh-in bag check: quick mass vs arrival mass (if logged). ≥ ±1–2% change? Red flag.
- Twin moisture tins: one from the outer 10–15 mm, one from the core. Gradients scream “rehab required.”
- Headspace scan: condensation droplets suggest microclimate → likely gradients.
Guidelines by material
- Soft/medium clays: a small moisture loss (1–2%) can shift su and compressibility noticeably. Re-equilibrate or re-sample.
- Silts: capillary changes create crusts; remove outer rind generously.
- Sands: total w% less critical, but density creep3 and segregation still matter (see best practices).
Decision hint
- If Δw > ±1–2% from logged value or outer–inner Δw > 1%, expect biased CU/CD results unless you repair state.
Best Practices for Sample Preservation
If you haven’t stored them yet—start here. If you have, use this to evaluate how far you drifted.
Storage set-up
- Seal: double bag, heat-seal or heavy zip with minimal headspace4; add paraffin/foil wrap for high-fines cores.
- Cool & dark: ~4–10 °C for clays/organics to slow biotic and chemical change; avoid freeze–thaw.
- Orientation: keep tubes vertical to reduce densification in sands.
- Label & log: date, mass at receipt, moisture at receipt (if known), tube orientation.
Before you test (months later)
- Visual triage: look for rind, cracks, rust staining (iron), gas bubbles in water.
- Mass check: compare to receipt mass (same container). Deviation >1% → investigate.
- Moisture profile5: outer vs inner tins (see above).
- Re-equilibrate (if needed):
- Clays: sealed rest 12–24 h after trimming to test diameter; for CU, proceed to back-pressure saturation patiently.
- Silts/Sands: gentle humid rest to remove gradient; do density check during trimming.
- Trim generously: discard at least 10–15 mm from exposed faces and sides of unlined blocks; more if rind evident.
- Record “state rehab”: what you cut, rest times, and any conditioning—leave a trail you can defend.
Quick preservation checklist
| Item | Target | Pass/Fail Cue |
|---|---|---|
| Seal integrity | Double, no leaks | No odor/dust escape |
| Temperature | 4–10 °C (no freeze) | Logger shows stable band |
| Moisture drift | ≤ ±1–2% vs receipt | Mass & tins agree |
| Gradient (outer–inner) | ≤ 1% | If >1%, re-equilibrate/trim |
When to Retest or Discard Stored Samples
Some specimens can be salvaged; some should not see your triaxial cell.
Retest/Discard triggers
- Large moisture drift6: Δw > ±2% or pronounced gradients after trimming.
- Visible alteration: oxidation bands, salt blooms, bio-gas voids, or cementation crusts.
- Density creep in sands: clear settlement/segregation; H/D trimming cannot fix bulk change.
- Contamination: oil, lubricants, or tube corrosion products within the test zone.
- Program criticality: if data feed design-critical parameters7 (e.g., foundation safety margins), bias risk = retest.
Salvageable with caution
- Minor outer rind only → trim more and document.
- Slight moisture drift in clays → sealed rest + careful saturation to B ≥ 0.95–0.98 before CU/CD.
- Silts with surface crust → remove crust, verify moisture, proceed with conservative interpretation.
Go/No-Go matrix
| Condition | Action |
|---|---|
| Δw ≤ ±1% and no gradient | Go (document) |
| Δw 1–2% or small gradient | Condition & Go (trim + rest; note limits) |
| Δw > 2% or chemical/biologic change | Re-sample / Discard |
| Sands with obvious densification | Re-sample (don’t guess density) |
| Critical-design program + any doubts | Re-sample (cheap insurance) |
Bottom Line (and a Calm Plan)
1) Measure before you believe: mass, moisture (outer & inner), and quick visuals.
2) Repair state where possible (trim, sealed rest, meticulous saturation).
3) Set a threshold now (e.g., Δw > 2% → re-sample) so decisions are mechanical, not emotional.
4) Document everything. Months-old samples can still deliver reliable triaxial data—but only if you prove their starting state, not assume it.
-
Understanding these factors is crucial for soil management and can help improve agricultural practices. ↩
-
Understanding this relationship is crucial for effective soil management and construction practices. ↩
-
Exploring density creep can help you mitigate risks in soil stability and ensure better construction outcomes. ↩
-
Understanding minimal headspace is crucial for effective storage, ensuring the integrity of your samples and preventing contamination. ↩
-
Exploring moisture profile analysis helps maintain sample quality and prevents degradation, essential for accurate testing results. ↩
-
Understanding large moisture drift is crucial for accurate soil testing and ensuring reliable data for construction projects. ↩
-
Exploring design-critical parameters helps in grasping their importance in engineering projects, particularly for safety and performance. ↩