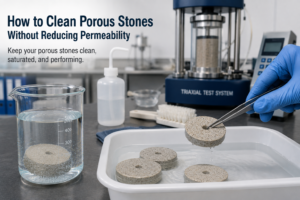
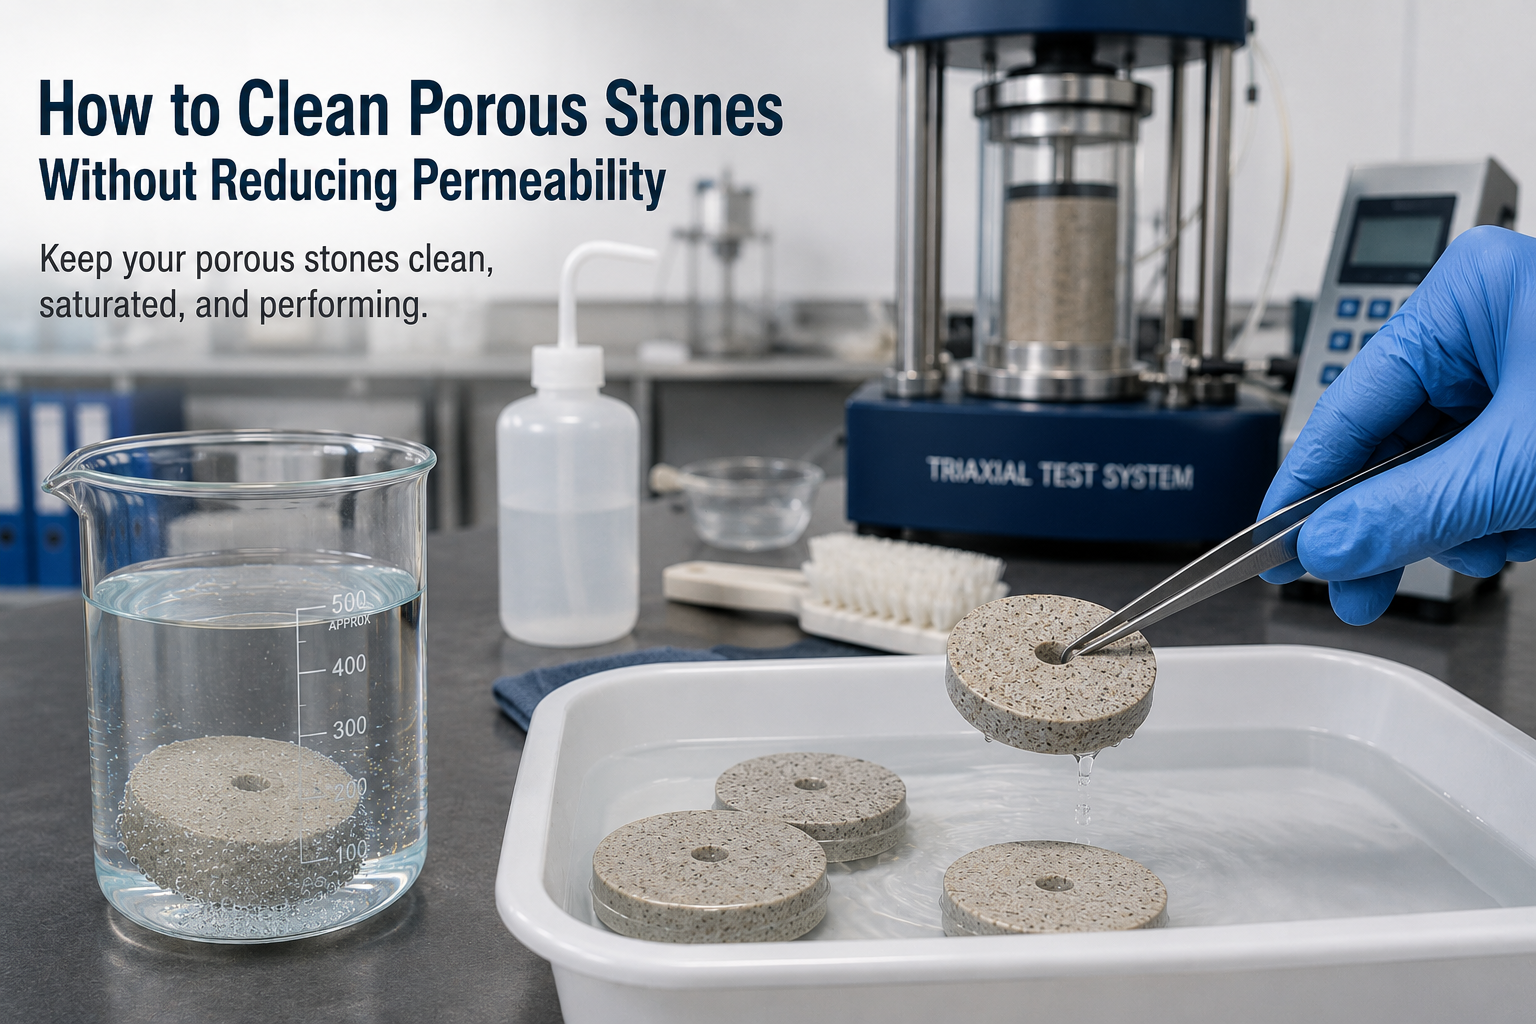
I’ve seen many labs clean porous stones too aggressively. They look cleaner, yes—but sometimes they stop working properly.
Porous stones should be cleaned gently to remove trapped fines, salts, organic matter, and air bubbles without blocking pores, damaging surface structure, or reducing hydraulic permeability.
A clean porous stone should not only look clean. It should still let water pass through evenly.
Why Proper Cleaning Is Essential for Maintaining Porous Stone Performance
Porous stones are small parts, but they control drainage, saturation, and pore pressure response.
Proper cleaning keeps pore channels open, maintains drainage capacity, improves saturation, and prevents delayed pore pressure response during triaxial, consolidation, and permeability tests.
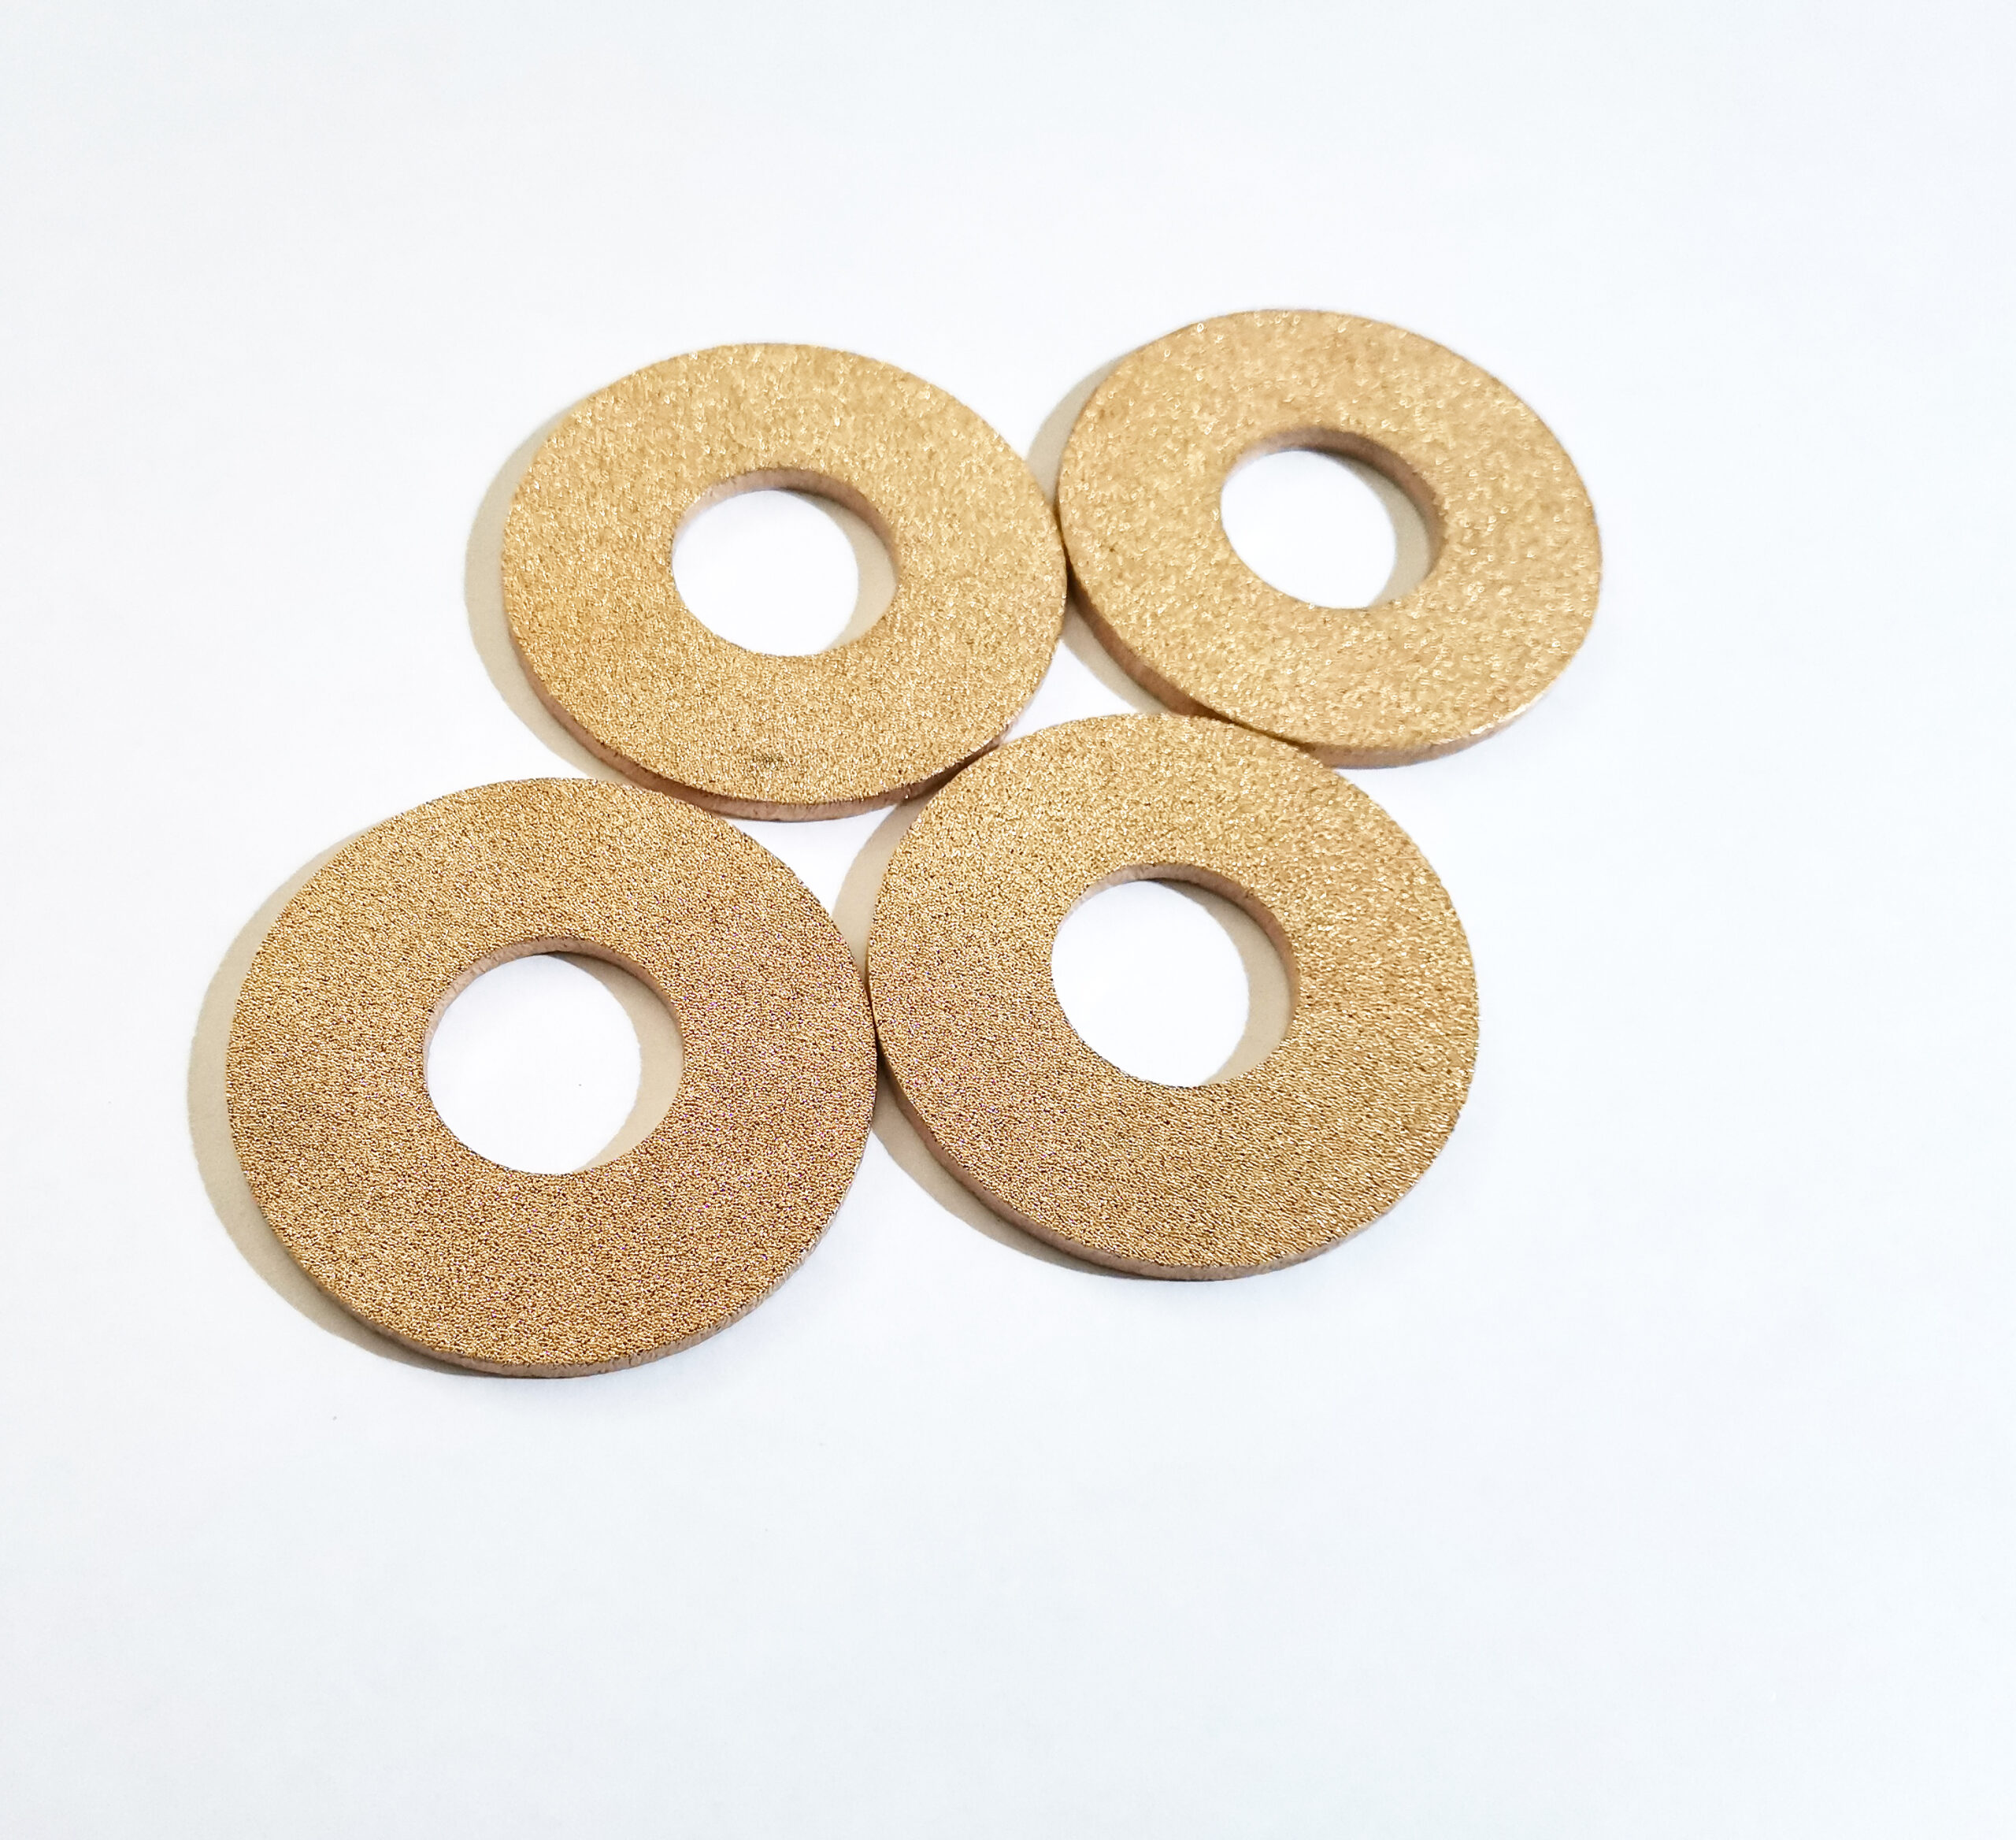
Porous stones sit quietly at the top and bottom of the specimen, but they have an important job. They allow water to move in and out of the sample while still supporting the specimen surface.
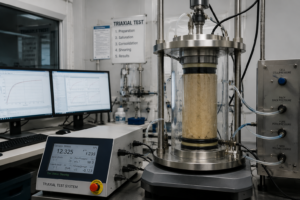
In a triaxial test, a poorly cleaned porous stone can create serious problems:
- slow drainage during consolidation;
- delayed pore pressure equalisation;
- poor saturation response;
- low or unstable B-value;
- incorrect volume change readings;
- longer test duration;
- unreliable permeability results.
The problem usually starts when fine soil particles enter the pores. Clay, silt, carbonate powder, salt crystals, and organic matter can block flow paths inside the stone. The surface may look acceptable, but the internal pore network may already be partly clogged.
I like to think of a porous stone as a tiny drainage filter. If the pores are open, water flows smoothly. If they are blocked, the test system becomes slow and unreliable.
This matters especially in:
- CU triaxial tests;
- CD triaxial tests;
- consolidation testing;
- permeability measurement;
- soft clay testing;
- low-permeability soil studies.
A clogged porous stone changes the boundary condition. Instead of the specimen draining freely, drainage becomes restricted by the stone itself. Then the laboratory may mistakenly think the soil has lower permeability or slower consolidation behaviour.
Another hidden issue is trapped air. If a porous stone is not fully saturated after cleaning, air bubbles can compress during testing. This affects pore pressure response and may reduce the measured B-value.
So proper cleaning is not only about hygiene. It is about preserving hydraulic performance.
A useful internal checklist can be built around three questions: porous stone performance checklist.
| Cleaning Goal | Why It Matters |
|---|---|
| Remove fine particles | Keeps flow paths open |
| Remove salts | Prevents crystal blockage |
| Remove organic residue | Reduces surface contamination |
| Remove trapped air | Improves saturation response |
| Avoid pore damage | Protects permeability |
The best cleaning method is not always the strongest one. It is the one that removes contamination while keeping the pore structure unchanged.
Common Cleaning Methods: What Works and What to Avoid
Cleaning should be strong enough to remove blockage, but gentle enough to protect pore structure.
Effective methods include soaking, backflushing, ultrasonic cleaning, and de-aired water rinsing. Avoid harsh acids, wire brushing, overheating, and high-pressure jets that may damage pores.
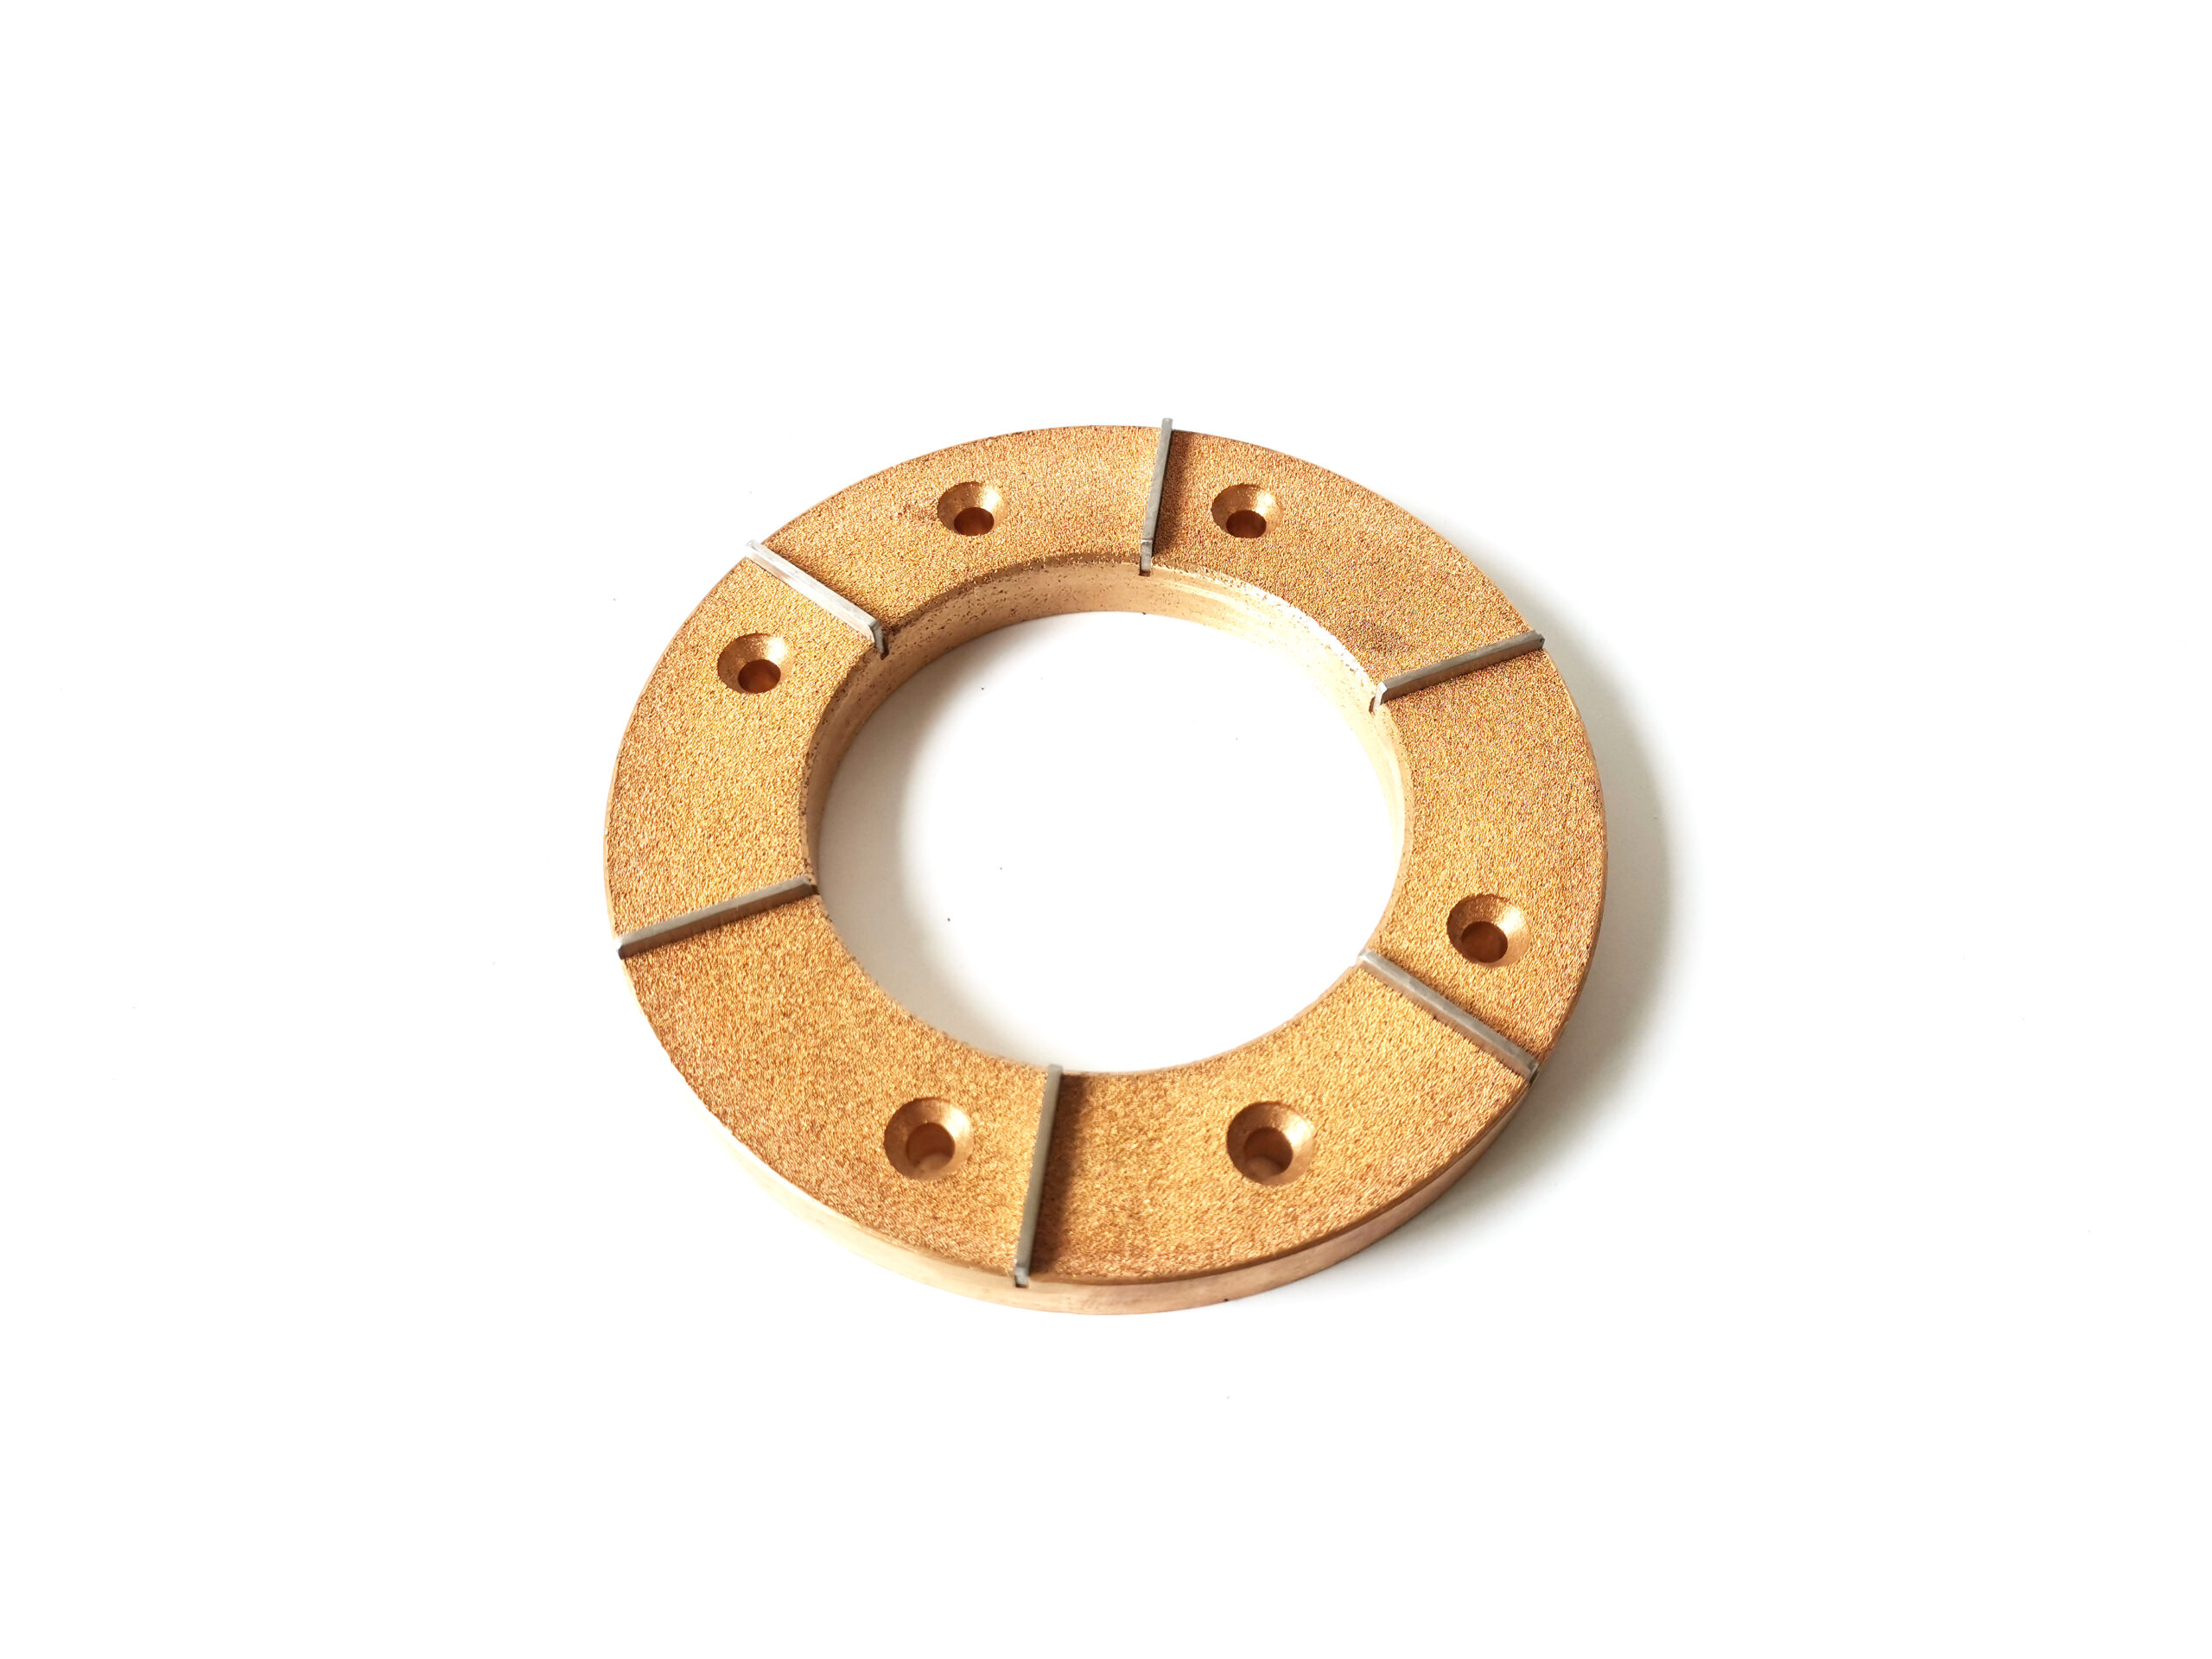
There are many ways to clean porous stones. Some are safe. Some look useful but quietly reduce performance.
1. Soaking in clean water
This is the simplest first step. Soaking helps loosen fine particles, salt, and dried soil residue.
For normal clay or silt contamination, I usually start with:
- distilled water;
- de-aired water;
- warm water if needed;
- enough soaking time to soften residue.
Do not rush this stage. If soil has dried inside the pores, mechanical force alone may not remove it.
2. Backflushing
Backflushing means pushing water through the porous stone in the reverse flow direction. This is one of the most useful methods because trapped particles are often lodged near the surface.
Gentle backflushing can remove fines without damaging the structure.
Important rule: use controlled pressure. Too much pressure may disturb the internal pore network or force contaminants deeper.
3. Ultrasonic cleaning
Ultrasonic cleaning can work very well for fine particles. It creates small vibrations that help loosen material from pore channels.
But it should be used carefully.
Recommended approach:
- use clean water or mild laboratory detergent;
- avoid long ultrasonic cycles;
- rinse thoroughly after cleaning;
- dry or re-saturate properly before storage.
4. Mild detergent cleaning
If the stone has organic residue, a mild neutral detergent may help. After detergent cleaning, rinse many times with clean water. Any remaining detergent may change surface tension and affect saturation.
What to avoid
Some cleaning methods are risky:
| Method to Avoid | Why It Can Be Harmful |
|---|---|
| Strong acid soaking | May attack stone material or change pore surface |
| Wire brushing | Damages surface pores |
| High-pressure jetting | Forces particles deeper or cracks weak stones |
| Open-flame drying | Causes thermal shock and microcracks |
| Dirty tap water | Adds minerals and new deposits |
| Long chemical exposure | Changes surface chemistry |
If salt crystals are present, such as after saline soil or halite-related testing, repeated soaking and gentle flushing are safer than aggressive chemical attack. Let the salt dissolve slowly, then flush.
The cleaning sequence I trust most is simple:
- Remove visible soil gently.
- Soak in clean water.
- Backflush at low pressure.
- Use ultrasonic cleaning if needed.
- Rinse with de-aired or distilled water.
- Re-saturate before use.
A short SOP can be saved here: porous stone cleaning SOP.
Cleaning is successful only when permeability is preserved. That means the next step is not looking at the stone—it is testing its flow performance.
How Can You Check Whether a Porous Stone Still Meets Performance Requirements?
A clean stone must pass water evenly and respond quickly under pressure.
Check porous stone performance by measuring flow rate, observing drainage uniformity, confirming saturation, and comparing response time against a known clean reference stone.
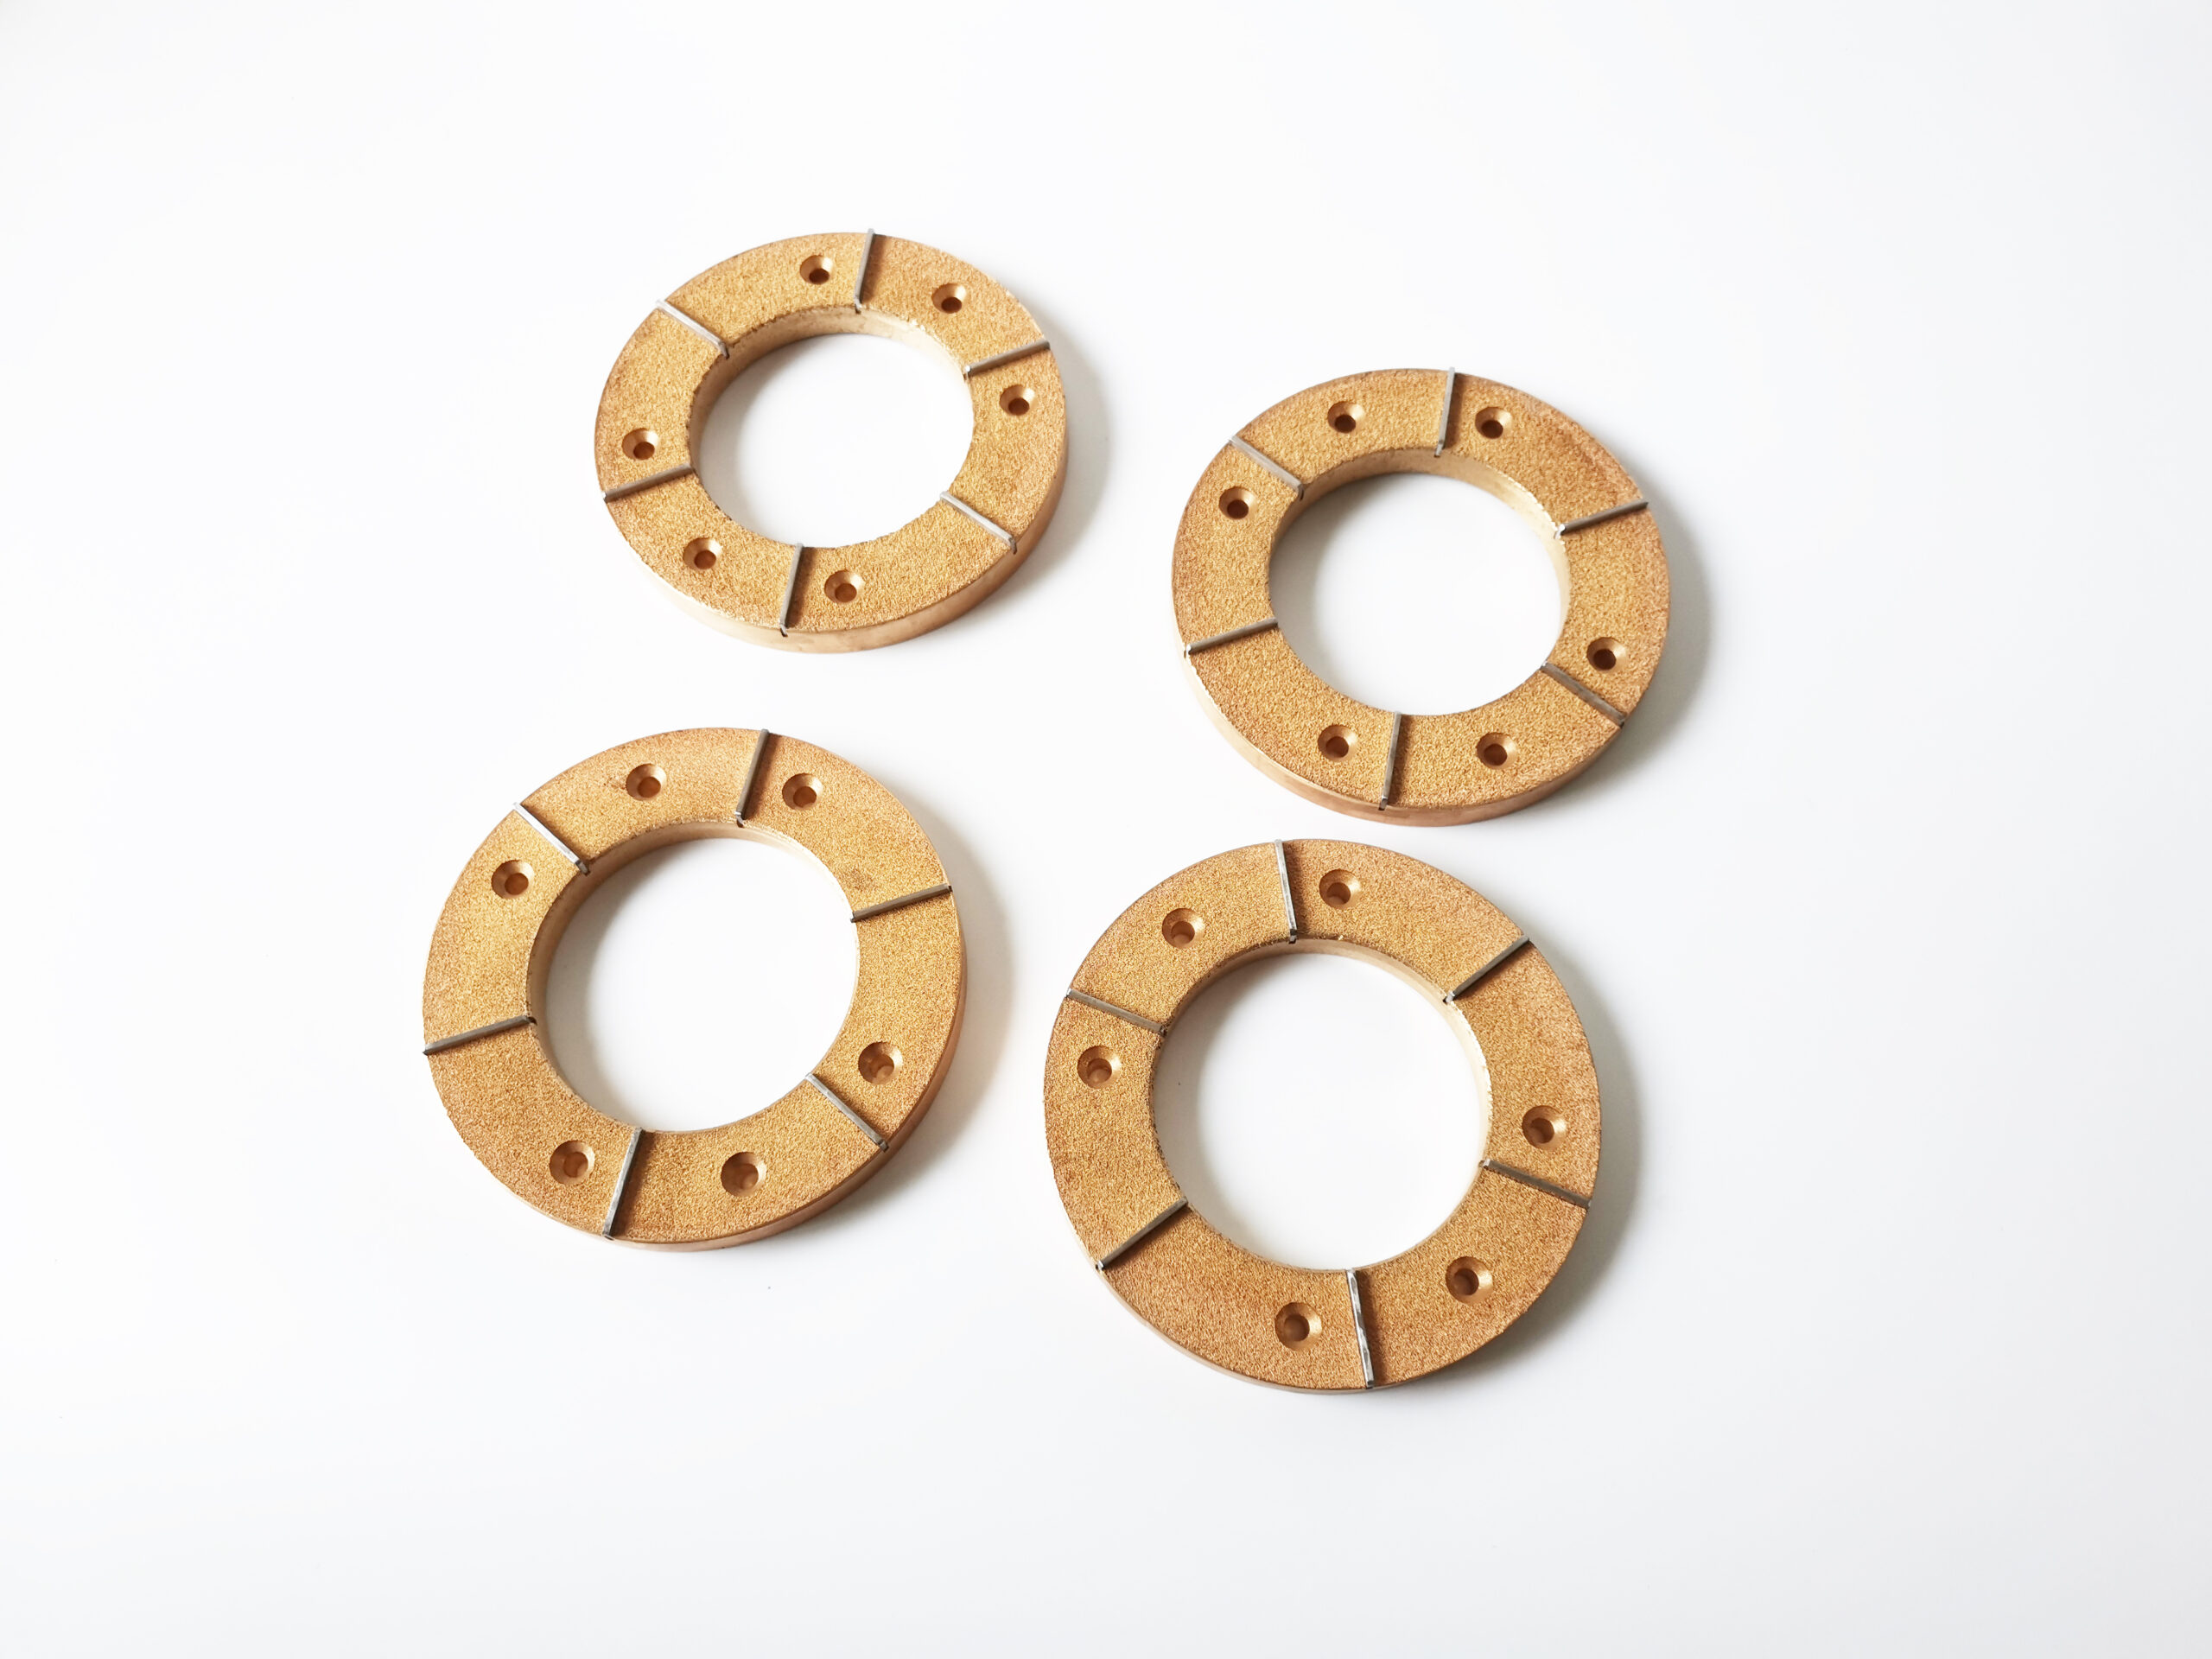
Visual inspection is useful, but it is not enough.
A porous stone can look clean while still being partly blocked inside. That is why performance checks matter.
1. Flow rate comparison
The simplest method is to compare water flow through the cleaned stone against a reference stone of the same type.
You can apply a small constant head or low pressure and measure how much water passes through in a fixed time.
If the cleaned stone has much lower flow than the reference, it may still be clogged.
2. Uniform wetting check
Place the stone in contact with water and observe wetting behaviour. A healthy porous stone should wet evenly.
Warning signs include:
- one side wets much slower;
- bubbles continue escaping for too long;
- dry patches remain visible;
- flow comes from only one area.
These signs suggest partial blockage or trapped air.
3. Saturation response check
Before triaxial testing, porous stones should be fully saturated. If air remains inside the stone, pore pressure response may become delayed.
For high-quality CU testing, poor saturation may contribute to:
- low B-value;
- slow pressure equalisation;
- unstable pore pressure readings.
4. Pressure response test
In more advanced labs, engineers check whether pore pressure applied at one side is transmitted quickly through the porous stone and drainage line.
If pressure response is delayed, the stone may be clogged, or the drainage system may contain air.
5. Record service history
A porous stone used with clay slurry, cemented soil, organic samples, saline soil, or high-temperature tests may degrade faster than one used only with clean sand.
A simple tracking table helps:
| Check Item | Acceptable Sign | Warning Sign |
|---|---|---|
| Flow rate | Similar to reference stone | Much slower flow |
| Wetting | Uniform surface wetting | Dry patches |
| Air release | Short bubble release | Long bubble stream |
| Pressure response | Quick stabilisation | Delayed response |
| Surface condition | Smooth and intact | Cracks, polishing, blockage |
If a porous stone fails performance checks after cleaning, do not keep using it just because it “looks fine.” The cost of one bad triaxial test is far higher than the cost of replacing a stone.
A practical reference sheet can be linked here: porous stone flow check.
Best Practices for Long-Term Maintenance and Replacement
The best cleaning method is prevention: stop contamination before it enters deep into the pores.
Maintain porous stones by pre-saturating, using filter papers when needed, cleaning immediately after testing, storing in clean water, and replacing stones when flow response declines.
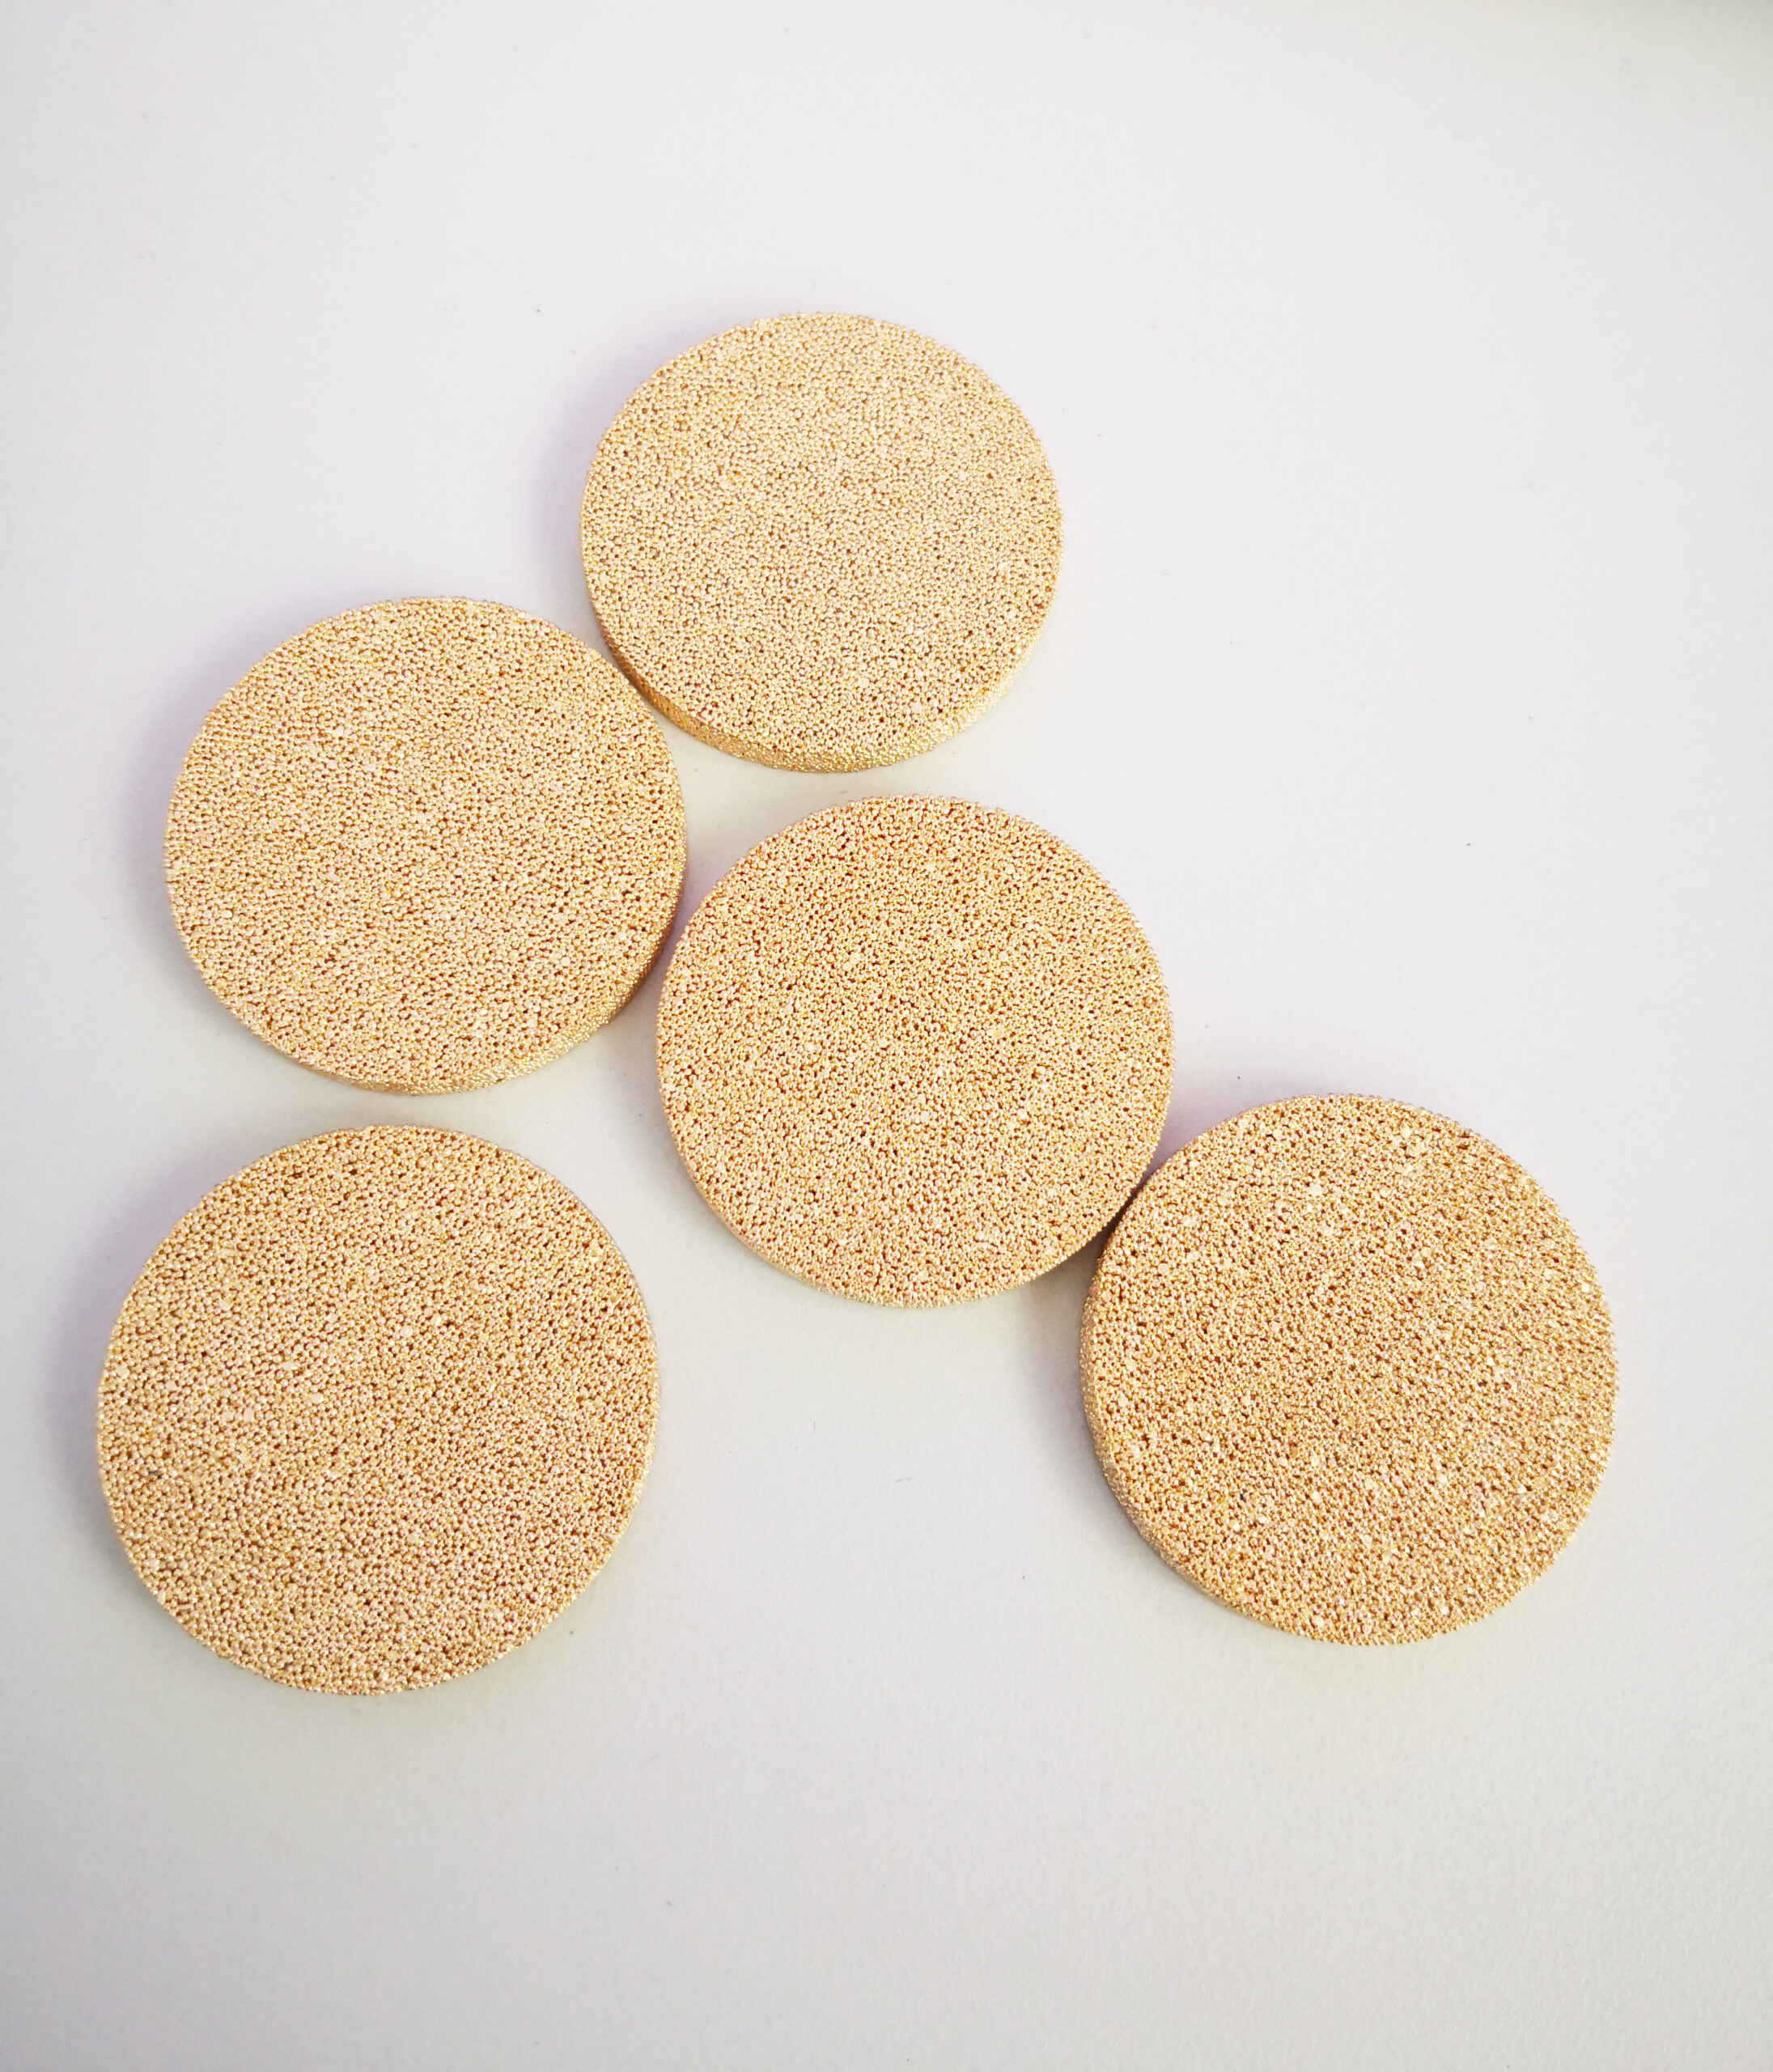
Long-term maintenance is mostly about discipline. Nothing fancy. Just consistent habits.
1. Clean immediately after testing
Do not let soil dry inside the pores. Dried clay or salt crystals are much harder to remove later.
After each test:
- remove loose soil gently;
- rinse the stone;
- soak it if needed;
- label it if used with special chemicals or saline soil.
2. Use filter paper wisely
Filter paper can reduce fine particle migration into porous stones, especially in clay and silt testing.
However, filter paper also introduces its own flow resistance. Use it consistently if comparing results across tests.
3. Store stones properly
For stones used frequently, storage in clean de-aired or distilled water can help maintain saturation. For long-term dry storage, make sure the stone is fully cleaned first.
Avoid dirty water storage. It can create mineral deposits or microbial growth.
4. Separate stones by application
If possible, do not use the same stones for every soil type.
Consider separate sets for:
- clean sand;
- clay and silt;
- saline soil;
- chemically treated soil;
- high-temperature tests.
This reduces cross-contamination.
5. Replace before failure becomes obvious
A porous stone does not need to break to become unreliable. If flow rate drops, response becomes slow, or cleaning no longer restores performance, replacement is the safer choice.
6. Build stones into your lab QA system
Porous stones should be part of the same quality culture as membranes, O-rings, pressure lines, and sensors.
This is also where HOWDY’s experience as a membrane specialist naturally connects with wider testing reliability. In triaxial systems, consumables are not minor parts. Latex membranes, porous stones, O-rings, and drainage elements all shape the boundary condition.
At HOWDY, our main focus is high-quality latex membranes, including custom sizes and large-diameter membranes for advanced soil and rock testing. But when we support labs, we always remind them: a good membrane cannot fully protect your data if the porous stone is clogged or the drainage path is unstable.
Reliable triaxial testing needs a complete boundary system:
- clean porous stones;
- saturated drainage lines;
- stable latex membranes;
- correct O-rings;
- accurate pressure controllers.
A simple maintenance schedule can help:
| Maintenance Task | Suggested Frequency |
|---|---|
| Rinse after test | Every use |
| Backflush | After fine-grained soils |
| Ultrasonic clean | When flow slows |
| Flow comparison | Monthly or per project |
| Replace stone | When flow cannot recover |
For advanced labs, pairing high-performance membranes with properly maintained porous stones gives more stable saturation, clearer pore pressure response, and better repeatability.
A useful internal link can be placed here: triaxial consumables maintenance guide.
Conclusion
Clean porous stones gently, test their flow, and replace them when needed. Good drainage keeps triaxial data honest.