Membrane Stretcher in Soil Testing: Function, Types, and Best Practices
A membrane stretcher helps you slide a latex membrane over a cylindrical soil specimen smoothly—without tears, trapped air, or wrinkles. Use it well and you’ll get faster prep, higher B-values, and cleaner, more repeatable triaxial results.
How Does a Membrane Stretcher Function?
A stretcher pre-expands1 the latex sleeve so it can glide over the specimen with minimal friction or disturbance.
Typical workflow
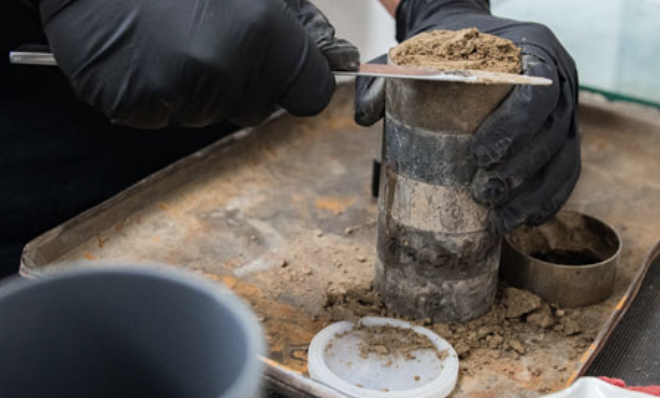
- Load the membrane onto the stretcher (like rolling a sleeve onto a tube).
- Align the stretcher over the specimen seated on the pedestal with the bottom porous stone.
- Unroll the membrane evenly from bottom to top, keeping steady tension.
- Seal with O-rings at the pedestal and top cap; check for wrinkles and trapped air.
Why it works
- Reduces local tensile stress on thin latex.
- Minimizes side friction and specimen disturbance.
- Avoids folds that distort stress paths and cause leaks under confining pressure.
Vacuum-assisted stretchers add gentle suction so the membrane hugs the tool evenly before transfer—great for very soft clays.
Why Is a Membrane Stretcher Important?
Small installation errors grow into big data problems. A good stretcher directly improves:
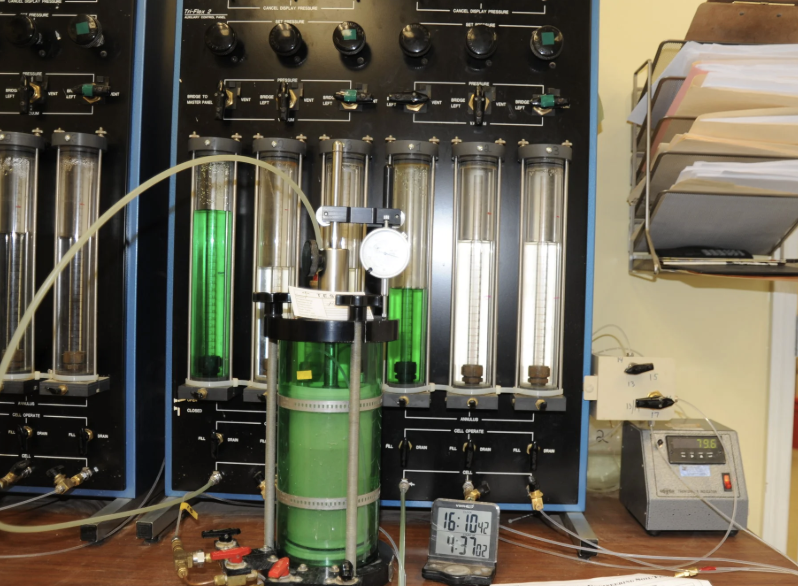
- Saturation quality2: fewer leaks/bubbles → easier B ≥ 0.95.
- Uniform deformation: less handling = truer stress–strain response.
- Repeatability: consistent technique across technicians and batches.
- Time efficiency3: fewer re-fits, fewer failed starts, smoother workflows.
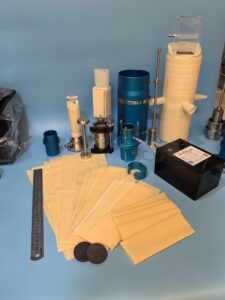
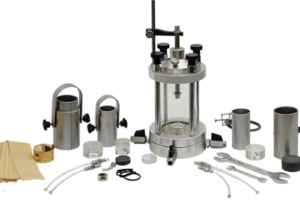
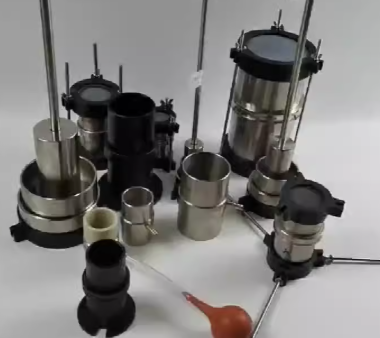
What Types of Membrane Stretchers Are Available?
| Type | How It Works | Best For | Pros | Cons |
|---|---|---|---|---|
| Manual tube4 (acrylic / polycarbonate / stainless) | Membrane is rolled onto a polished tube and unrolled onto the specimen | Routine samples, teaching, field kits | Low cost, simple, portable | Operator skill matters; higher risk of trapped air |
| Vacuum stretcher5 (tube with vacuum port) | Vacuum pulls membrane tight to the tube, then transfers to the specimen with minimal contact | Soft/fragile soils, high-throughput or audit-driven labs | Faster, more uniform, fewer bubbles | Higher cost; needs pump, traps, and setup |
| Hybrid kits (multiple tubes, sizes) | Preload several membranes across sizes to cycle through specimens | Batch prep across 38/50/70 mm | Speeds throughput; flexible sizing | More pieces to clean/store |
Material notes
- Transparent acrylic/polycarbonate: easy to see folds and bubbles.
- Stainless: robust, easy to polish, chemical resistant.
- Geometry: tapered/flared entry, rounded edges, ultra-smooth finish are must-haves.
Best Practices for Using a Membrane Stretcher
Fit, finish, and cleanliness
- Match stretcher ID to specimen diameter (allow 2–5% membrane stretch).
- Use polished surfaces; no sharp edges.
- Handle with clean, dry, oil-free gloves; oils weaken latex.
Setup routine (fast and reliable)
- Preload the membrane on the stretcher; lightly moisten with de-aired water (or a drop of glycerin solution) if needed.
- Seat specimen and porous stones; verify heights and alignment.
- Unroll slowly, maintaining even tension; fix minor folds immediately.
- Double O-rings6 top and bottom for high confining pressures.
- Bottom-up flood with de-aired water to purge residual air.
- Quick leak/visual check under good light before moving on to saturation.
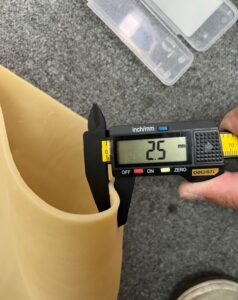
Sizing & selection tips
- Thin membranes (≈ 0.3–0.4 mm) for soft clays; medium (0.5–0.6 mm) for sands/silts; thicker (0.7–0.8 mm) for coarser materials.
- Consider a vacuum stretcher if you chase higher B-values, run many specimens, or work with fragile samples.
Troubleshooting cheatsheet
| Symptom | Likely Cause | Quick Fix |
|---|---|---|
| Membrane tears while rolling | Overstretching; sharp edge on tool | Reduce tension; polish/round edges; use slightly thicker membrane |
| Persistent wrinkles | Oversize sleeve; uneven tension | Switch to correct diameter; re-unroll with steady pull |
| Air pockets under membrane | Rolled too fast; surface too dry | Slow down; lightly wet with de-aired water; bottom-up flood |
| Leaks at O-rings | Poor seating; single O-ring | Reseat; use two O-rings; inspect for nicks/debris |

Care and maintenance
- Rinse with de-aired water, wipe dry; avoid solvents that craze plastics.
- Store upright, dust-free, out of sunlight; keep a scratch-free protective sleeve.
- Schedule periodic edge inspection/polish to maintain a mirror finish.
Using the right stretcher—sized correctly, finished beautifully, and used with a calm, repeatable motion—turns a fragile step into a controlled process. The payoff shows up everywhere: faster prep, fewer leaks, higher B-values, and test curves you can trust.
-
Understanding pre-expansion can enhance your techniques for handling delicate specimens effectively. ↩
-
Understanding saturation quality can help you improve your installation processes and reduce errors. ↩
-
Exploring time efficiency strategies can lead to smoother workflows and reduced operational costs. ↩
-
Explore the benefits of Manual tubes for soil sampling, including cost-effectiveness and portability. ↩
-
Learn how Vacuum stretchers enhance soil sampling speed and quality, making them ideal for fragile soils. ↩
-
Exploring the functionality of Double O-rings can enhance your knowledge of pressure systems, essential for various applications. ↩