I’ve learned a hard truth in soil testing: the boundary is never “invisible.” If you ignore it, it shows up later in your plots.
Boundary effects are measurement biases caused by the specimen–membrane–end-cap system. Latex membranes can add restraint, trap tiny volumes, or leak slowly—changing stress–strain curves, pore pressure trends, and volume change results.
Let’s make the boundary feel simple, not mysterious.
Understanding Boundary Effects in Triaxial Soil Testing
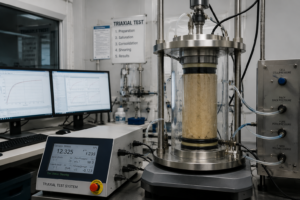
A triaxial test is not just soil under stress. It’s soil plus everything touching it.
Boundary effects happen when the specimen’s response is influenced by membranes, end platens, porous stones, and sealing rings—so the test result reflects the setup as well as the soil.

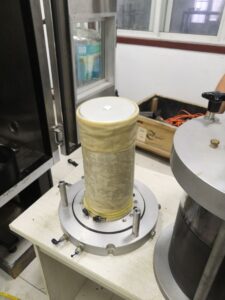
In an ideal world, the specimen feels a perfectly uniform confining pressure, drains exactly how we want, and fails naturally. In the real lab, the specimen is wrapped, clamped, pressed, and connected. That’s the boundary.
I describe boundary effects to new technicians like this: imagine running on a treadmill. You are doing the work, but the belt, the slope, and the shoes all influence what your legs “feel.” Soil is the runner. The membrane and hardware are the treadmill.
Typical boundary sources:
- End platens and porous stones: create end friction and non-uniform strain near the ends.
- Membrane: adds hoop tension, can wrinkle, and can penetrate surface voids in sands.
- Seals and O-rings: can cause micro-leaks or local restraint.
- Instrumentation paths: tubing, local strain devices, and ports can create local stiffness or leak paths.
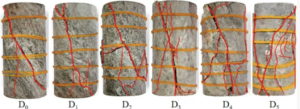
Boundary effects are especially visible in:
- CD tests (volume change is sensitive),
- CU tests (pore pressure stability matters),
- high confining pressure programs,
- coarse or angular sands, where surface roughness amplifies membrane penetration.
When people tell me, “the curves are strange,” I ask one question first: did we control the boundary the same way every time? That single question often solves the puzzle.
I keep a quick “boundary checklist” near the cell: boundary effect checklist.
| Boundary source | Typical symptom | Why it matters |
|---|---|---|
| End friction | higher apparent strength | changes failure mode |
| Wrinkles/folds | noisy volume curve | false dilation/compression |
| Micro-leaks | low B-value (CU) | distorted effective stress path |
| Membrane penetration | extra contraction (sand) | wrong compressibility |
How Latex Membrane Properties Influence Boundary Behaviour
Latex is great—until its properties become part of the result.
Thickness, stiffness (Young’s modulus), fit (ID vs OD), surface finish, and aging determine how latex transmits stress, creeps under load, and interacts with soil roughness.

Latex has a superpower: it stretches smoothly and seals well. That’s why it’s everywhere in triaxial labs. But that same elasticity means latex is not a “neutral wall.” It has stiffness, it creeps, and it carries tension.
Here’s how key properties affect boundary behaviour:
Thickness
- Thicker membranes resist radial strain more. This can add extra restraint and slightly inflate apparent strength or mute dilation.
- Thinner membranes reduce restraint and improve fidelity, but they tear easier and wrinkle easier if the fit isn’t perfect.
Stiffness (effective Young’s modulus)
Latex is viscoelastic. It can appear stiffer when loaded fast, and softer when warm. That means the same membrane can behave differently across labs or across seasons unless temperature and rate are controlled.
Fit (ID vs specimen OD)
This is the biggest practical factor.
- Too tight → over-stretch, mid-height thinning, higher tear risk.
- Too loose → folds, trapped pockets, false volume signals.
Surface interaction (membrane penetration)
In sands, confining pressure pushes latex into surface voids. That creates extra apparent contraction and can hide true dilation.
Aging and storage
Heat, UV, and ozone can change latex behaviour. Old latex can get brittle or tacky, raising failure and leak risk.
That’s why I don’t talk about “latex vs not latex” first. I talk about which latex, which thickness, which fit, and which batch.
If you want a simple visual reminder, I keep this mini guide: membrane property map.
| Property | If uncontrolled… | Likely boundary effect |
|---|---|---|
| Thickness too high | extra restraint | strength bias |
| Fit too loose | wrinkles | false volume change |
| Fit too tight | thinning/tears | failures + drift |
| Aging | brittle/tacky | leaks, scatter |
Impact of Boundary Effects on Stress–Strain and Volume Change Measurements
Boundary effects rarely shout. They whisper—and look like real soil behaviour.
They can shift the q–ε curve (stiffness, peak), distort volume change (extra contraction or muted dilation), and bias effective stress paths through leaks or restraint changes.

This is the part that makes engineers nervous—and I understand why. Boundary effects can create believable patterns.
Stress–strain (q–ε) impact
Extra radial restraint from a thick or stiff membrane can make the specimen look slightly stronger. You may see a higher peak q, a steeper initial slope, or less post-peak softening. In dense sands, dilation may look reduced because the membrane resists radial expansion.
Volume change impact (CD tests)
Wrinkles and membrane penetration are the two big offenders:
- Wrinkles act like mini reservoirs. As pressure changes, they compress and expand, creating “breathing” volume curves.
- Penetration in sands inflates early contraction. It’s not all soil skeleton compression—part is latex pressing into voids.
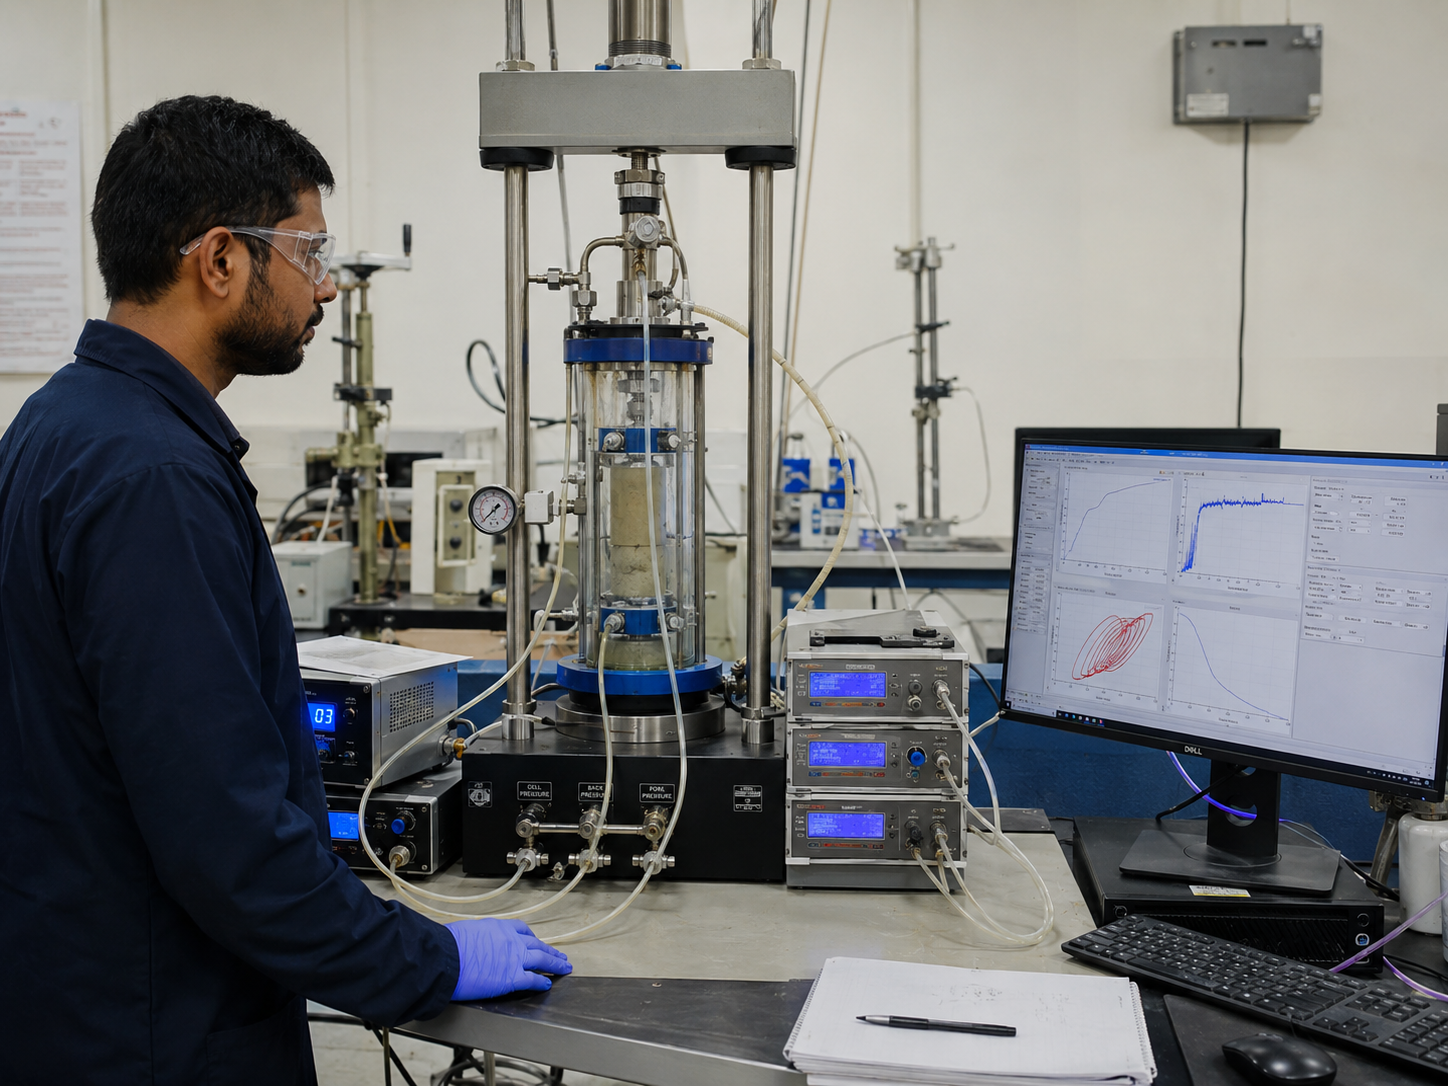
Pore pressure impact (CU tests)
Micro-leaks are the silent killer. They don’t always show big bubbles. Instead, they show:
- B-value that refuses to reach 0.95,
- slow pore pressure drift during holds,
- inconsistent stress paths between repeats.
Repeatability impact
Even when a single test looks acceptable, boundary effects often increase scatter across a series. That’s when teams start doubting the soil, the operator, or the model. Many times, the boundary was simply inconsistent.
I like a simple “red flag list.” If you see any of these, suspect boundary before soil interpretation: data red flags.
| Measurement | Boundary symptom | Misinterpretation risk |
|---|---|---|
| q–ε | higher peak with new membrane | “soil is stronger” |
| CD volume | extra early contraction in sand | “soil is more compressible” |
| CU pore pressure | drifting u during hold | “drainage in soil” |
| Repeat series | scatter increases | “soil is variable” |
Methods to Minimise Boundary Effects in Advanced Triaxial Testing
You don’t need perfection. You need control, consistency, and a few smart checks.
Minimise boundary effects by correct membrane sizing, appropriate thickness, smooth mounting, temperature control, baseline dummy checks, and (when needed) custom membrane designs for complex rigs.

Here’s the routine I recommend for labs doing high-precision work:
1) Nail the membrane fit
Keep ID close to OD (snug, not tight). Use two ID bands per specimen diameter so you never force a fit. Re-seat at the first wrinkle. A calm mount beats a clever fix.
2) Choose thickness with intent
Thin for fidelity (especially CD on clays), medium for robustness (sands/high σ₃), and avoid “one thickness for everything.” If your program is sensitive, keep the same thickness across the entire series.
3) Reduce end effects
Use consistent porous stones, keep caps parallel, and apply interface lubrication consistently. Don’t let one test be “dry” and the next test “wet” at the ends.
4) Control temperature and time
Latex creep and system expansion show up in long tests. Log temperature and avoid big day-night swings.
5) Use baseline checks
A simple dummy-cylinder pressurisation with the same membrane and plumbing can separate “system drift” from soil behaviour. It’s the fastest sanity check in the lab.
6) Use specialist solutions when rigs are complex
This is where membrane specialists earn their keep. If you have ports, flanged ends, very large diameters, or repeated long-duration runs, custom membrane geometry can reduce wrinkles, improve sealing, and stabilise boundary behaviour.
That’s also where HOWDY fits naturally. We focus on being membrane specialists, not generic suppliers. We help labs reduce boundary effects with:
- tight size bands for common diameters,
- multiple thickness grades for different soils and σ₃ ranges,
- transparent options to catch bubbles and folds early,
- custom-shaped membranes (flanged/ported) for advanced rigs,
- and stable lot control for repeatability.
Advice is part of our promise—“latex membrane free” means we’ll help you choose honestly, even if the best answer is “keep it standard and tighten SOP.” If you want to discuss your rig and test plan, here’s a simple contact path: HOWDY support.
| Method | Best for | Why it works |
|---|---|---|
| Snug sizing + re-seat | All tests | prevents wrinkles/leaks |
| Thickness matched to soil | Sands vs clays | balances fidelity and durability |
| Dummy baseline | Long tests | identifies system drift |
| Custom shapes | Ports, large rigs | stabilises sealing and fit |
Conclusion
Boundary effects are manageable: control fit, thickness, and process—then let membrane specialists (like HOWDY) help you keep the boundary quiet and your data loud.