When Is the Right Time to Test Your Soil? Expert Tips for Better Yields
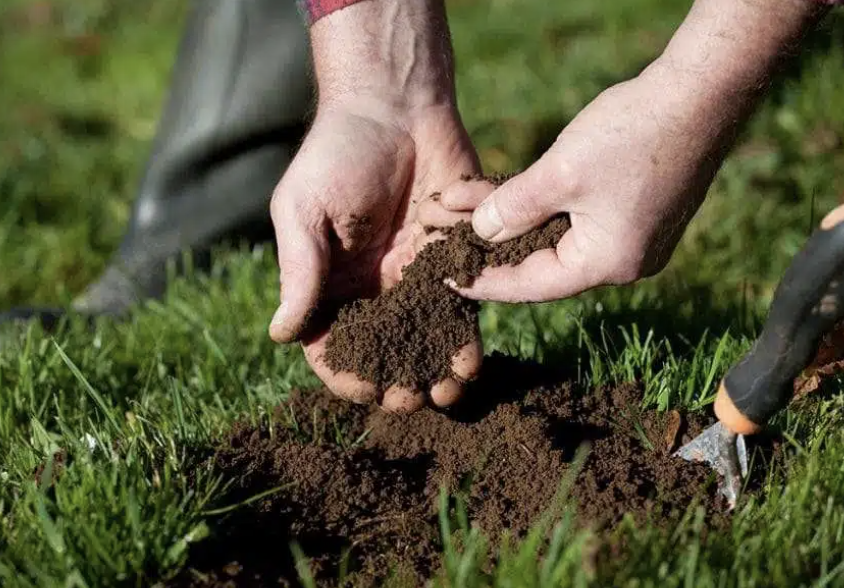
I treat soil testing like maintenance on a truck: do it at the right time, and everything else runs smoother. Here’s a plain, field-ready guide to when to test so your fertilizer dollars actually turn into yield.
Timing Is Fertility: Why Pre-Plant Tests Beat Guesswork
Testing before you plant lets you correct pH1, balance salts, and place nutrients precisely2—while it still matters.
My pre-plant timing rules
- 4–8 weeks before planting (row crops & vegetables):
Enough time for lime/gypsum/sulfur to start working and to plan variable-rate P/K. - Late fall–early spring for perennials (orchards, vineyards, berries):
Adjust pH and P/K before budbreak. - Lawns/turf: spring or fall, aligned with renovation or feeding.
Quick seasonal table
| System | Best Test Window | Why it works |
|---|---|---|
| Annual field crops | 4–8 weeks pre-plant | Set pH, write VRx scripts, stage fertilizer |
| Vegetables | 4–6 weeks pre-plant | Fix salts/pH, band P where it pays |
| Perennials | Post-harvest → early spring | Adjust P/K & pH ahead of growth |
| High-value/sandy soils | Every year pre-plant | Fast-changing, high payback |
Pre-plant testing = fewer “emergency” fixes and more money left in your pocket.
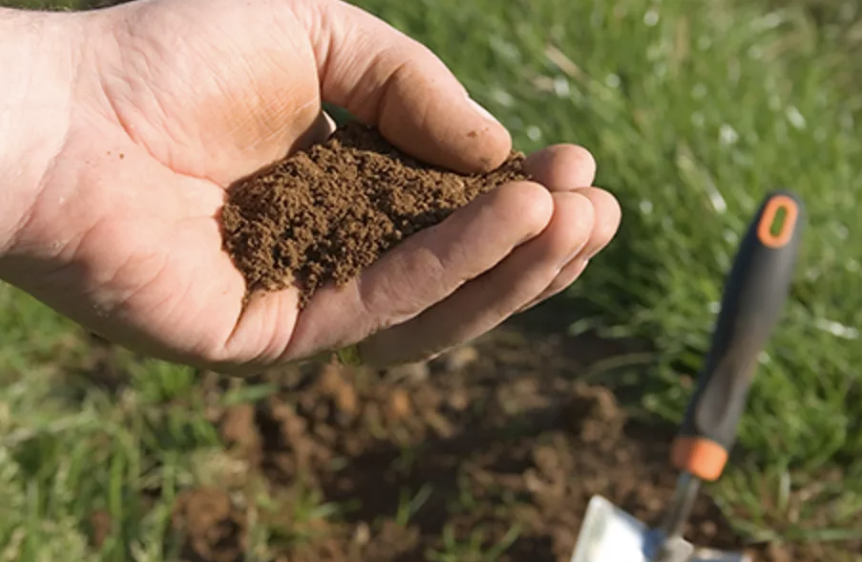
Harvest to Insight: Using Post-Season Data to Plan Smarter
Right after harvest, the field is still “telling the truth.”
What I do post-season
- Pull zone samples while yield and as-applied maps are fresh in my head.
- Check pH drift3, EC/SAR (salinity/sodicity), and nutrient drawdown4.
- Mark hot/cold spots for next season’s trials (truth strips).
Why it’s worth it
- You see where prescriptions worked (or didn’t).
- You lock in next year’s lime/gypsum budget before prices move.
- You avoid spring surprises when time is tight.
Cadence that holds up
- Every 2–3 years for stable loams.
- Annually for high-value crops, sandy/low-OM soils, or active pH/salt correction.
- 3–6 months after big changes (heavy lime/manure, new water source): verify impact.
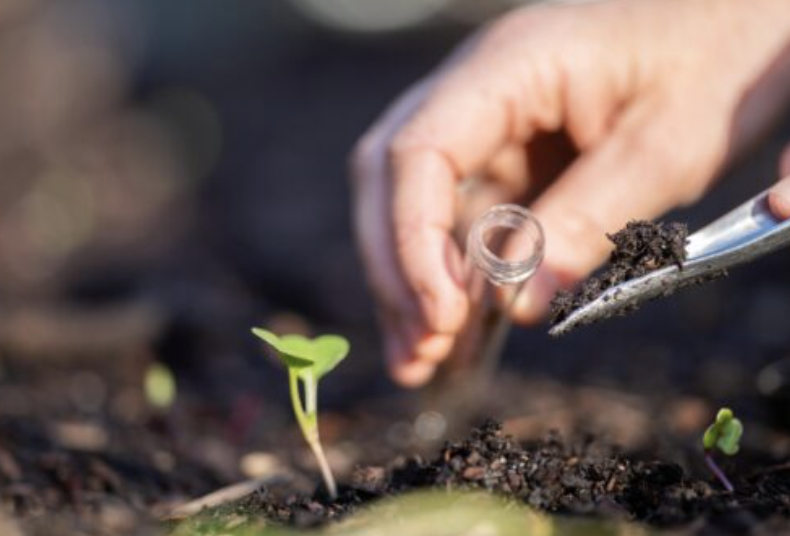
Signals from the Field: When Symptoms Demand Immediate Testing
When plants whisper, I listen—and test.
Red flags that skip the line
- Uneven growth5 in clean side-by-side passes.
- Interveinal yellowing6 (often pH or Fe/Zn/Mn issues).
- Leaf tip burn or white crusts (salinity).
- Water pooling/crusting after rain (structure or sodicity).
- New field or recent earthworks (topsoil disturbance).
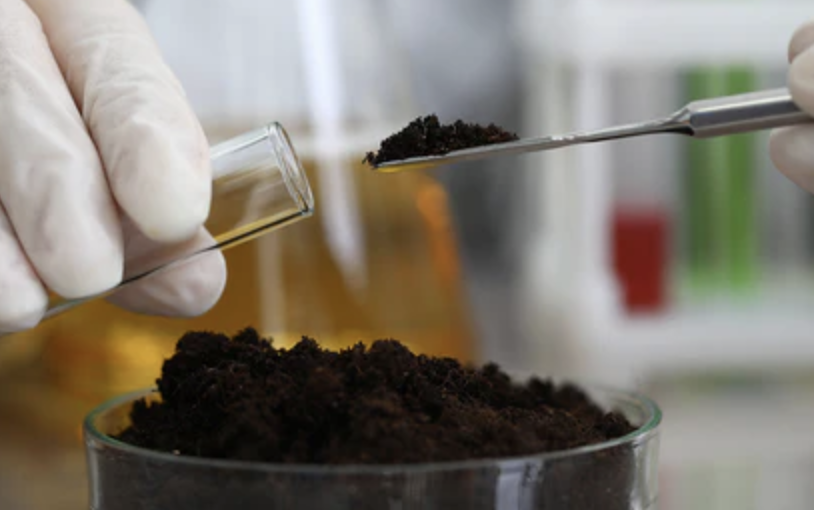
What I test right away
- pH + buffer pH (lime or acid strategy)
- EC + SAR/ESP (salinity/sodicity, gypsum need)
- OM% & CEC (capacity and loss risk)
- P/K/S + key micros (Zn/B/Fe as crop needs)
- Optional nitrate at depth for N plans
Rule of thumb: if I can name a symptom but not the cause, I test now, not “after harvest.”
From Numbers to Actions: Turning Soil Reports into Yield Gains
A soil report isn’t a grade—it’s a recipe. I split actions into fix first and feed next.
1) Fix chemistry first (pH & salts)
- [pH 7.5 → don’t fight the whole profile; acidify bands/fertigation, use EDDHA-Fe for chlorosis.
- EC high / SAR high → drainage + gypsum + leaching with good water; avoid salty fertilizers until numbers drop.
2) Feed with precision (P/K/N/S & micros)
- P low → band P near the seed/root; broadcast later to build.
- K low → split K on sands; broadcast on high-CEC clays.
- N → base on yield goal + credits; split apps with stabilizers where loss risk is high.
- S & micros → low OM/coarse soils often need S; use chelates under high pH.
3) Strengthen resilience (OM, structure, water)
- Add tested compost/manure7, grow cover crops (grass + legume), reduce aggressive tillage.
- Manage traffic & compaction; fix drainage before throwing more fertilizer at symptoms.
- Use moisture sensors (or a shovel) to irrigate to field capacity—no more, no less.
Fast decision matrix (pin this)
| Finding | Immediate Move | Longer Plan |
|---|---|---|
| pH 5.2, low Ca | Zone-rate lime; band P | Maintenance lime; track buffer pH |
| High EC & SAR | Gypsum + leach; low-salt ferts | Tile/ditch; change water source |
| Low P & K | Band P; split K on sands | Build with broadcast in off-years |
| Low OM, compaction | Cover crop + shallow till | Compost; controlled traffic |
| N losses showing | Split N + inhibitor | Raise OM; smarter irrigation timing |
One-page workflow I actually use
1) Draw zones (yield + elevation + soil map).
2) Sample on schedule (pre-plant & post-harvest core panel).
3) Fix first (pH/salts), feed next (P/K/N/S/micros).
4) Execute + save as-applied files (what the machine really did).
5) Truth strips & ROI check after harvest.
6) Adjust next season’s zones/rates with what worked.
Bottom Line
Test before you plant to set the season up right. Test after harvest to learn while the field is still talking. When symptoms pop up, don’t guess—test. Then turn those numbers into two clean lists: fix chemistry and feed with precision. Do that on a steady cadence and your yields—and your margins—tend to follow.
-
Understanding soil pH is crucial for optimal plant growth. Explore this link to learn how pH affects nutrient availability. ↩
-
Discover effective techniques for nutrient placement to enhance crop yield and health. This resource provides valuable insights. ↩
-
Understanding pH drift is crucial for maintaining soil health and optimizing crop yields. Explore this link to learn more. ↩
-
Nutrient drawdown can significantly affect crop yields. Discover more about its implications and management strategies. ↩
-
Understanding the causes of uneven growth can help you identify and address potential issues in your plants. ↩
-
Exploring interveinal yellowing will provide insights into nutrient deficiencies and how to correct them for healthier plants. ↩
-
Discover the benefits of using tested compost and manure to enhance soil quality and fertility for better yields. ↩