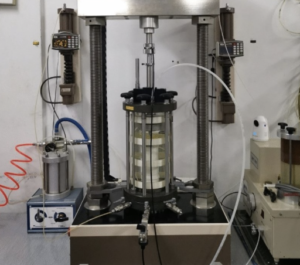
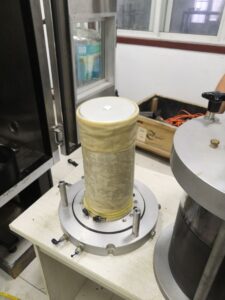
Choosing the Right Membrane Stretcher for Your Triaxial Test System
Getting the membrane onto the specimen cleanly is half the battle in triaxial prep. The right membrane stretcher makes that step fast, repeatable, and gentle on fragile soils—so you hit high B-values and avoid leaks.
What Are the Main Types of Membrane Stretchers?
Most labs choose between manual tube and vacuum-assisted stretchers, with a few hybrids for batch work.
| Type | How It Works | Best For | Strengths | Trade-offs |
|---|---|---|---|---|
| Manual tube (acrylic/PC/SS) | Pre-roll latex on a polished tube, then unroll onto specimen | Routine samples, teaching, field use | Low cost, portable, simple to clean | Operator-dependent; higher risk of trapped air/wrinkles |
| Vacuum stretcher | Vacuum pulls membrane tight to the tube for hands-light transfer | Soft clays, high throughput, audit-driven labs | Faster, uniform fit, fewer bubbles/tears | Needs pump, traps, seals; higher price |
| Hybrid/batch kits | Multiple tubes preloaded with membranes | Batch preparation across sizes | High throughput, minimal downtime | More inventory to clean/store |
| Size-specific vs “adjustable” | Fixed IDs vs modular sleeves/adapters | Labs with multiple diameters (38/50/70 mm) | Tight fit; flexible sizing with adapters | Adapters add joints to clean and inspect |
Material notes:
- Transparent acrylic/polycarbonate = easy to spot folds/air.
- Stainless = robust, solvent-tolerant, great polish.
- Always prefer rounded lips + tapered entry + mirror finish.
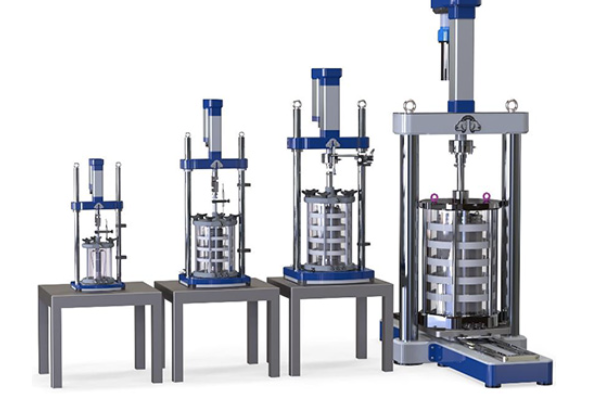
Why Does Membrane Stretcher Choice Matter?
Small prep errors become big data errors. The stretcher you pick directly affects:
- Saturation quality1 → easier B ≥ 0.95 with fewer retries.
- Specimen integrity2 → less side friction and disturbance, more uniform deformation.
- Repeatability → standardized motion/tension across technicians and shifts.
- Throughput & cost → fewer torn sleeves, faster prep, fewer failed starts.
- Safety margin at high confining pressures → clean seats, double O-rings, no nicks.
If you work with soft/structured clays, thin membranes (0.3–0.4 mm), or multi-cell rigs, the stretcher’s finish and method (vacuum vs manual) matter even more.
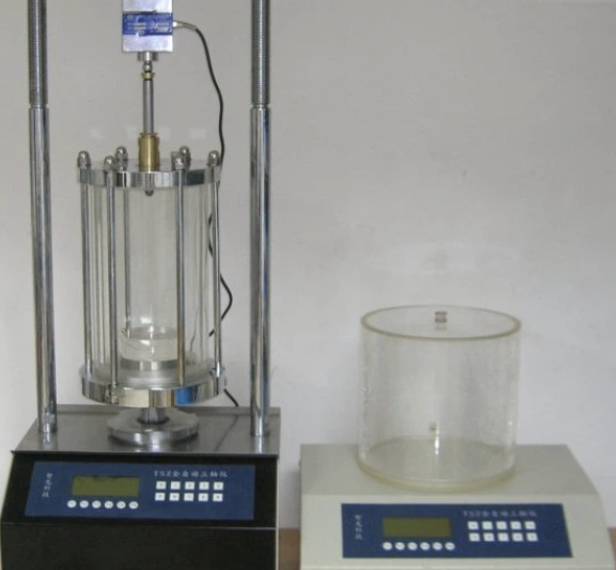
How to Match a Stretcher to Your Lab Needs?
Use your workload, specimen types, and compliance needs to decide.
| Lab Scenario | Specimen / Workload | Recommended Stretcher | Why |
|---|---|---|---|
| Teaching / occasional tests | Standard sands & clays, 1–3/day | Manual tube3 (transparent) | Low cost, easy to learn and maintain |
| Commercial routine lab | Mixed soils, 5–15/day | Vacuum stretcher4 or hybrid | Speed + uniformity across operators |
| Research on soft clays | Thin membranes, high precision | Vacuum stretcher | Fewer bubbles, gentler handling |
| Field / portable rigs | On-site sampling | Manual tube (SS) | Rugged, no pump required |
| Multi-diameter workflows | 38/50/70 mm programs | Modular kit (adapters) | Quick changeover with tight fit |
Sizing rule of thumb: choose a stretcher ID that yields ~2–5% membrane stretch on the specimen—snug but not stressed.
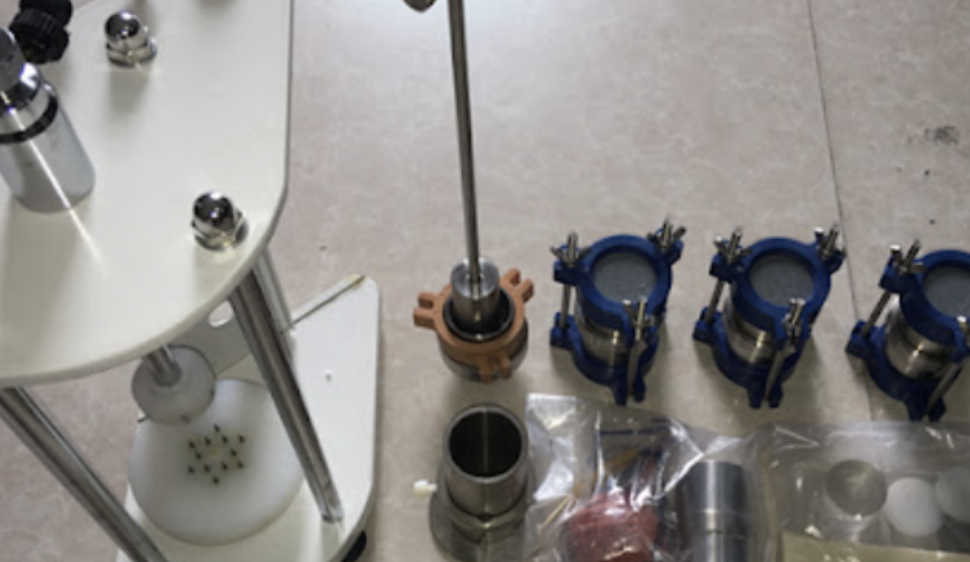
What Factors Should You Consider Before Buying?
Make a quick checklist and you’ll buy once, not twice.
Fit & Finish
- Diameter match: IDs for your common sizes (e.g., 38/50/70 mm).
- Geometry: tapered/flared entry, fully rounded edges, mirror-polished bore.
- Visibility: clear body helps spot folds and bubbles (if not using SS).
Workflow & Integration
- Vacuum capability: side port, reliable O-rings/ferrules, compatible with your pump and moisture trap5.
- Batch prep: consider multiple tubes6 to preload membranes during peak runs.
- Plumbing: prefer PTFE/PFA lines; keep runs short; add quick disconnects.
Membrane & Soil Pairing
- Latex thickness: 0.3–0.4 mm (soft clays), 0.5–0.6 mm (silts/sands), 0.7–0.8 mm (coarse/rough).
- Surface protection: plan for filter paper drains or a thin under-sleeve with rough specimens.
Cleaning & Durability
- Chemistry: resistant to de-aired water, mild detergents; avoid plastics that craze.
- Disassembly: minimal crevices; fast wipe-down between specimens.
- Storage: protective sleeve/case to keep lips scratch-free.
QC & Standards
- Documentation: if you operate under ISO/IEC 17025, a vacuum stretcher pairs well with SOPs and logs.
- Repeatability checks: quick leak/decay test on vacuum models; visual criteria for manual models.
Quick Pre-Purchase Checklist
- [ ] Correct IDs for all specimen diameters
- [ ] Tapered, rounded, polished entry and bore
- [ ] (If vacuum) Port + seals + trap + hose kit
- [ ] Compatible with membrane thickness range you use
- [ ] Easy to clean; no blind gaps; solvent-safe as needed
- [ ] Spare O-rings, adapters, and protective storage included
Pro Tips for First-Time Setup
- Let membranes warm to room temperature; handle with clean, oil-free gloves.
- Use a light film of de-aired water (or a drop of glycerin solution) for smooth transfer.
- Double O-rings at both ends for high confining pressures.
- Bottom-up flooding after install to purge residual air.
- Log membrane size/thickness and any auxiliary layers used.
Conclusion
Pick a stretcher that fits your diameters, your workload, and your soils. Manual tubes win for simplicity and cost; vacuum stretchers win for speed, uniformity, and delicate samples. Get the geometry and finish right, keep lines short and clean, and your payoff is immediate: faster prep, higher B-values, and cleaner stress–strain curves.
-
Exploring saturation quality can help you improve data accuracy and efficiency, leading to better outcomes in your projects. ↩
-
Understanding specimen integrity is crucial for ensuring accurate data collection and analysis, which can significantly impact your results. ↩
-
Discover the benefits of manual tubes for cost-effective and easy soil sampling techniques. ↩
-
Explore this link to understand how vacuum stretchers enhance precision and efficiency in soil testing. ↩
-
Understanding moisture traps is crucial for maintaining optimal vacuum conditions in your system. ↩
-
Exploring the benefits of multiple tubes can enhance your efficiency during peak production runs. ↩

