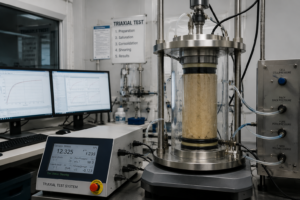
How to Install a Latex Membrane on a Triaxial Soil Sample: Step-by-Step Tutorial
When I first learned triaxial testing, I quickly realized that installing the latex membrane is an art—one that directly impacts the accuracy of the entire experiment.
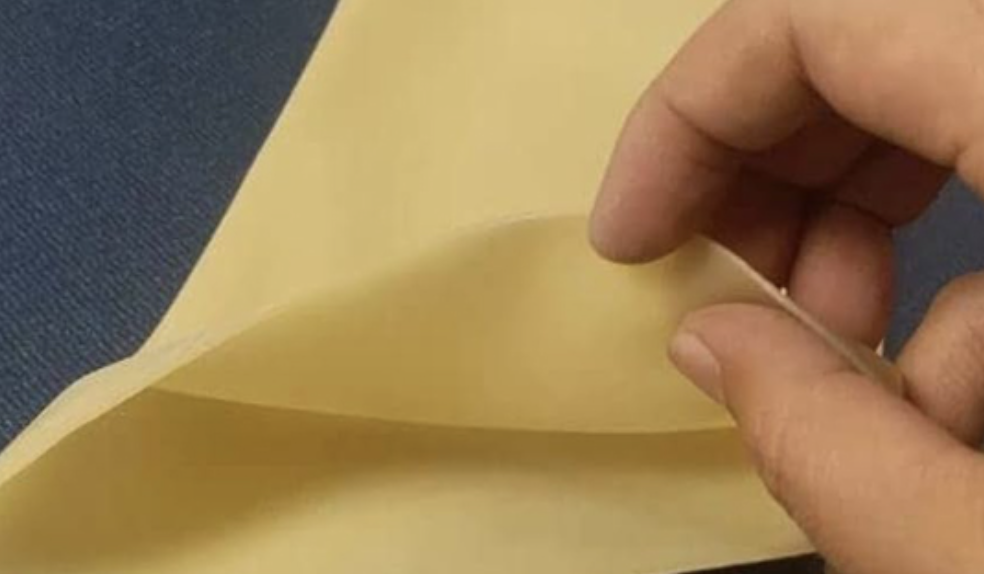
Installing a latex membrane on a soil specimen involves careful preparation, precise handling, and proper sealing techniques. A well-fitted membrane prevents leaks, ensures uniform stress application, and guarantees reliable test results.
Let’s dive into the tools, preparation steps, and a full installation walkthrough.
What Tools and Materials Are Needed?
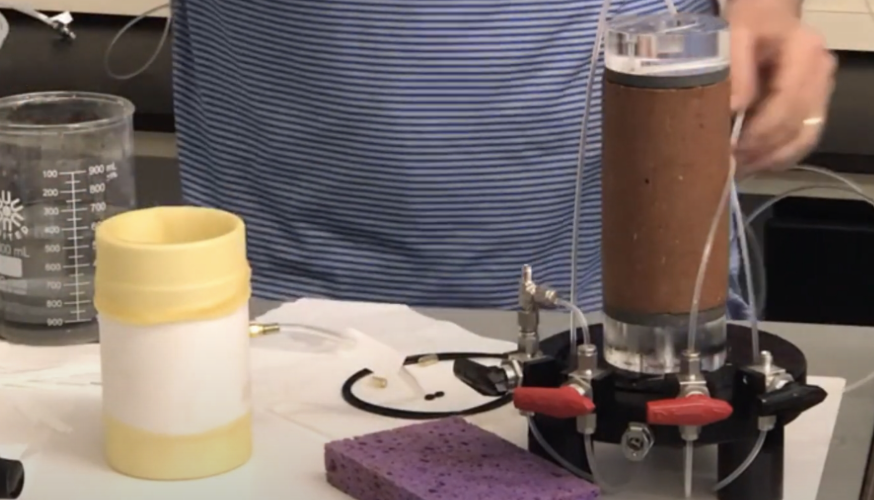
Before you start, gather everything you need. Having the right tools on hand makes the process smooth and reduces the risk of damaging the membrane.
The essential items include latex membranes1 of the correct size, membrane stretcher, O-rings, de-aired water, and a vacuum pump2.
Recommended Toolkit:
| Tool/Material | Purpose |
|---|---|
| Latex membrane | Seals the soil specimen |
| Membrane stretcher | Expands the membrane for easy fitting |
| O-rings | Secures membrane at top and bottom |
| Vacuum pump | Helps remove air bubbles |
| De-aired water | Saturates porous stones and membrane |
| Lubricant (optional) | Eases membrane sliding during setup |
A clean workspace and dry hands are just as important—avoid contamination or stretching the membrane too thin.
How to Prepare the Soil Specimen?
A well-prepared specimen makes membrane installation3 easier and test results more accurate.
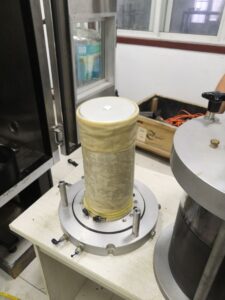
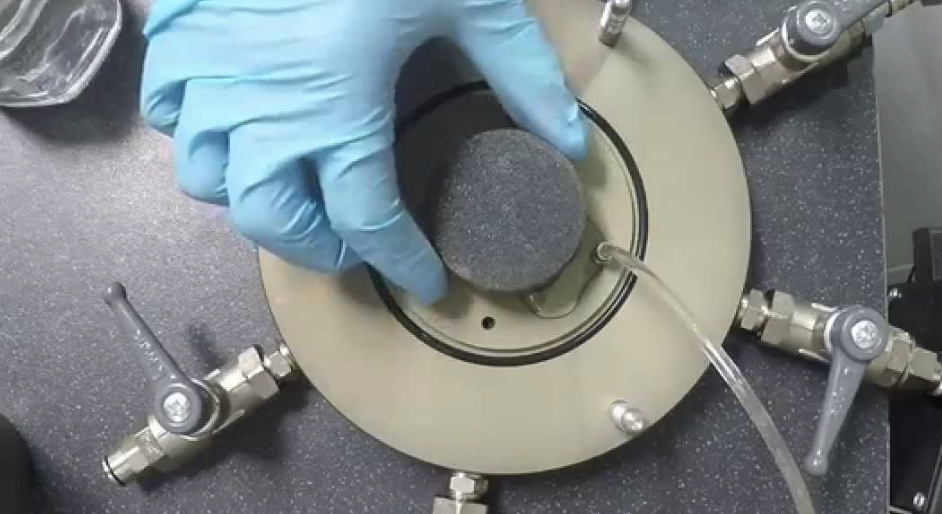
The soil sample4 should be trimmed to the correct dimensions and placed on the base pedestal with porous stones. Ensure the surface is smooth and even.
Preparation Steps:
- Trim the soil specimen to match the mold size (typically 38mm or 50mm diameter for standard tests).
- Place porous stones on the top and bottom of the sample.
- Remove excess water or debris from the surface to ensure a tight membrane seal.
- Apply a thin layer of de-aired water to reduce friction during membrane installation.
| Preparation Task | Why It Matters |
|---|---|
| Proper trimming | Ensures uniform stress distribution |
| Clean sample surfaces | Prevents leaks under pressure |
| Correct pedestal setup | Stabilizes the specimen |
Step-by-Step Latex Membrane Installation
This is the heart of the process. Go slow and steady—rushed installation can lead to leaks or tears.
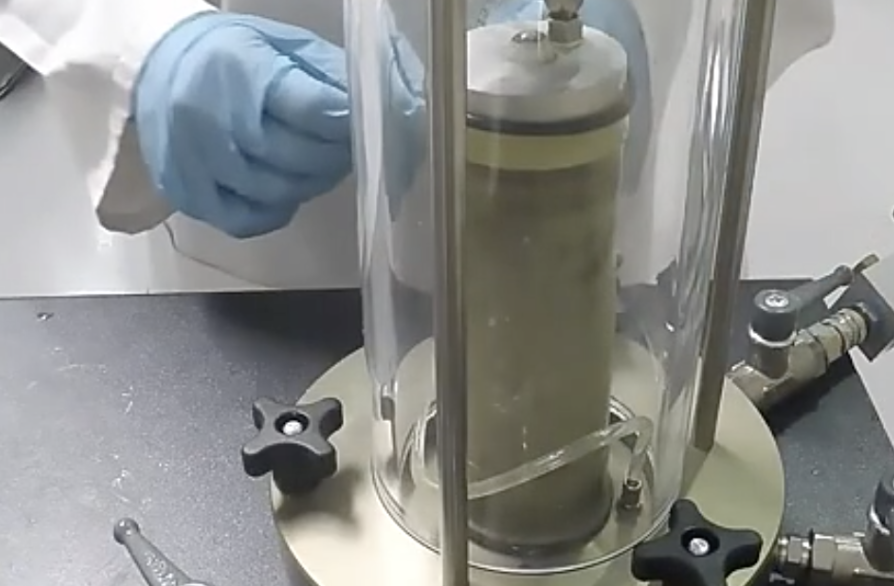
Using a membrane stretcher5 and vacuum method6 ensures the membrane slides smoothly over the specimen without trapping air.

Installation Steps:
- Stretch the membrane using the membrane stretcher7 (either glass tube or vacuum-assisted).
- Roll the membrane halfway back onto the stretcher, leaving space to fit over the base pedestal.
- Place the membrane’s lower end over the base pedestal and gently roll it down over the specimen.
- Slide the membrane evenly to avoid wrinkles or folds.
- Secure both ends with O-rings8—one on the base pedestal and one on the top cap.
- Check for trapped air by lightly pressing along the surface.
| Step | Key Tip |
|---|---|
| Stretching | Don’t over-stretch—membrane tears |
| Rolling | Keep tension even to avoid folds |
| Securing | Use 2 O-rings for added safety |
Final Checks and Leak Testing
Once the membrane is installed, it’s time to confirm everything is sealed and ready.
Leak testing ensures no water or air escapes under confining pressure, preventing test failure.
How to Test for Leaks:
- Apply a small vacuum around the membrane and observe for bubbles.
- Gently press the membrane—it should cling to the sample without gaps.
- Check O-ring tightness to make sure both ends are fully secured.
- Inspect visually for pinholes or thin spots.
| Test Check | Result if OK |
|---|---|
| Vacuum hold | Membrane stays in place |
| No bubbles in water | Seal is tight and reliable |
| Even membrane thickness | No weak spots or damage |
Conclusion
Proper latex membrane installation isn’t difficult, but it requires patience and precision. With the right tools, careful specimen preparation, and thorough leak testing, you’ll set yourself up for accurate and repeatable triaxial test results.
A well-installed membrane is your first line of defense against test errors—so take your time and get it right.
-
Explore this link to find top-rated latex membranes that ensure a successful installation and durability. ↩
-
Learn about the functionality of vacuum pumps in membrane installation to enhance your understanding and efficiency. ↩
-
Exploring this resource will provide you with essential tips and techniques for effective membrane installation. ↩
-
This link will guide you through the proper methods for preparing soil samples, ensuring accurate test results. ↩
-
Understanding the membrane stretcher’s function can enhance your installation process and prevent issues. ↩
-
Exploring the vacuum method can provide insights into achieving a flawless installation with minimal air traps. ↩
-
Explore this link to understand the functionality and applications of a membrane stretcher in various processes. ↩
-
Learn about O-rings and their importance in creating airtight seals, enhancing your understanding of their role in various projects. ↩